
Children's Furniture
![]()
![]()
![]()
![]()
![]()
With the birth of our first Grandchild I discovered that I now had a renewed reason for building children's furniture. It started with "Lauren's Toy Chest" and was quickly followed by what I call "Lauren's Chair". Since then I have made several of these chairs for our friends for their grandchildren
Country
Woodcrafts
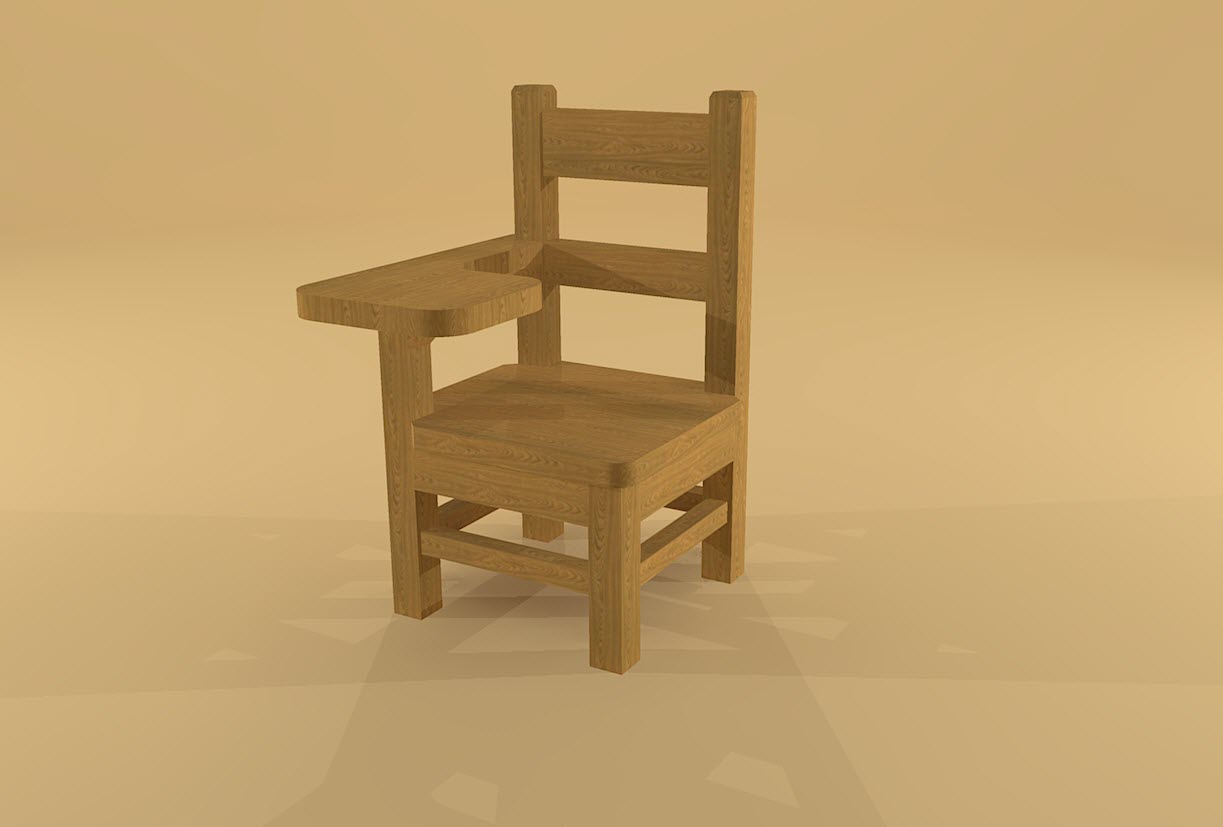 |
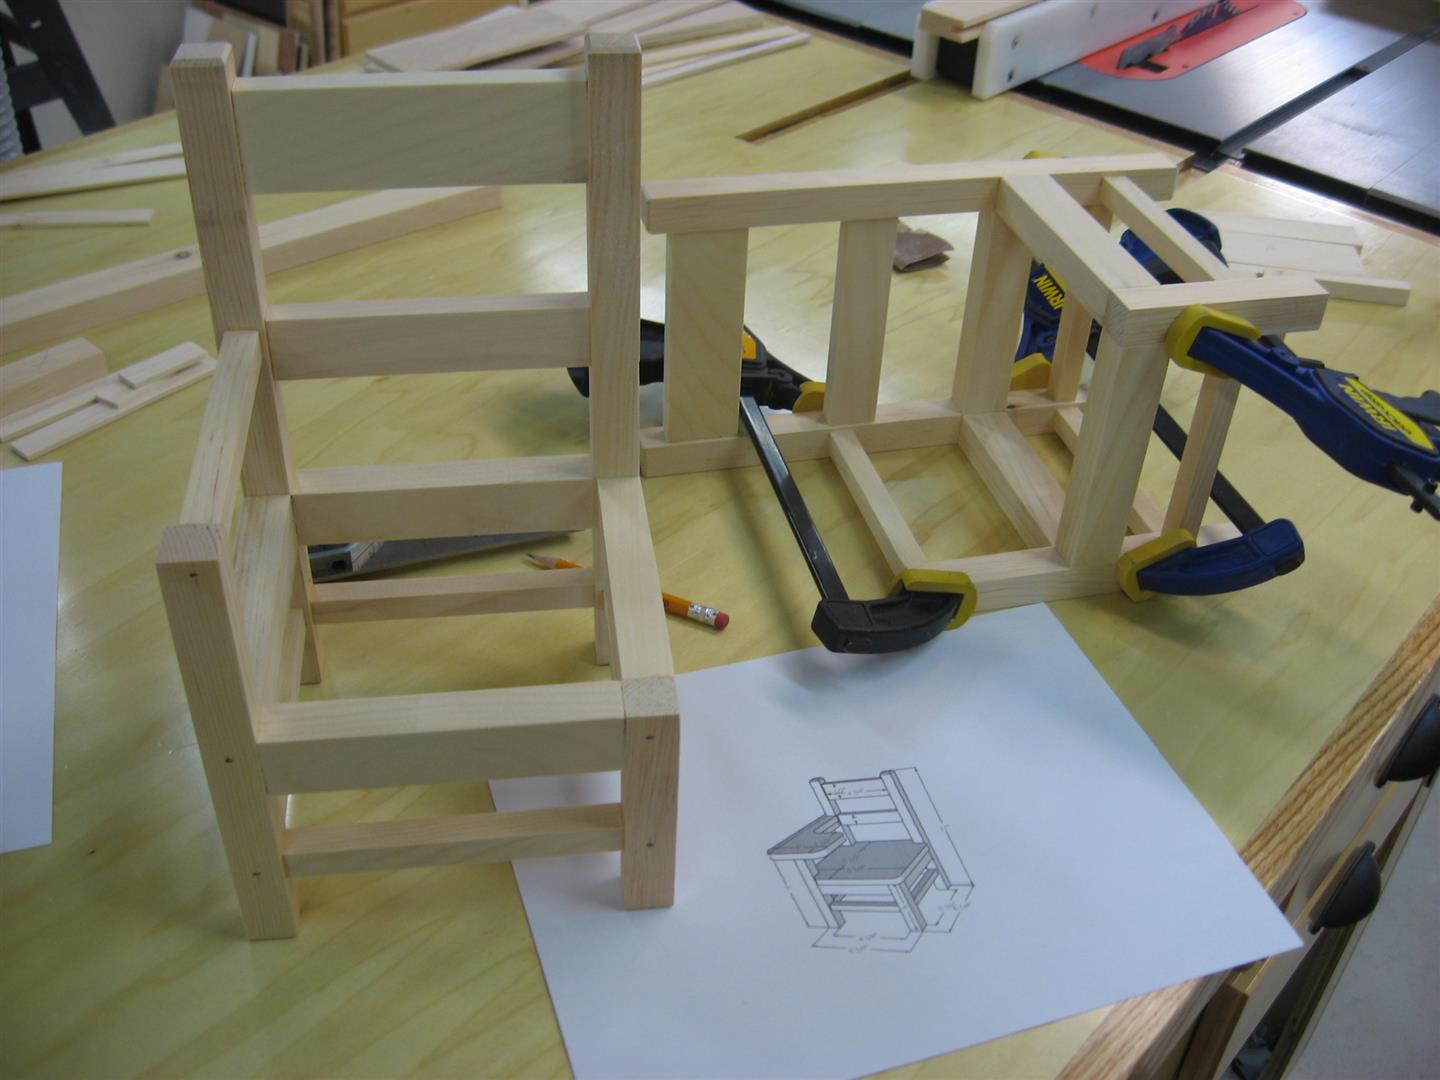
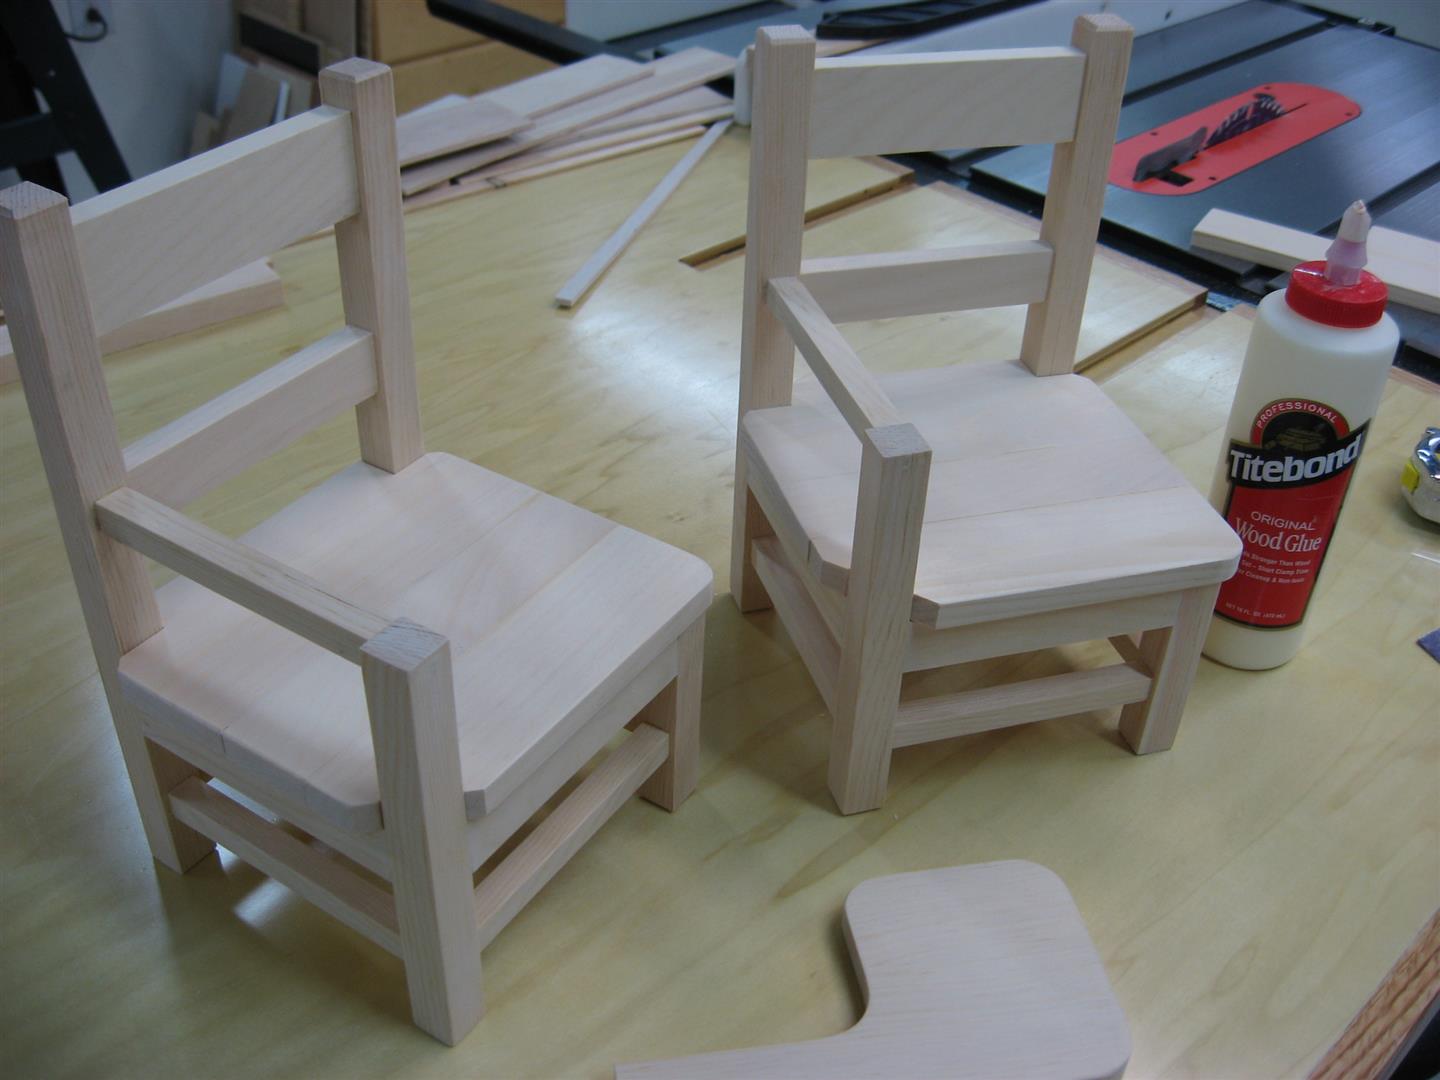
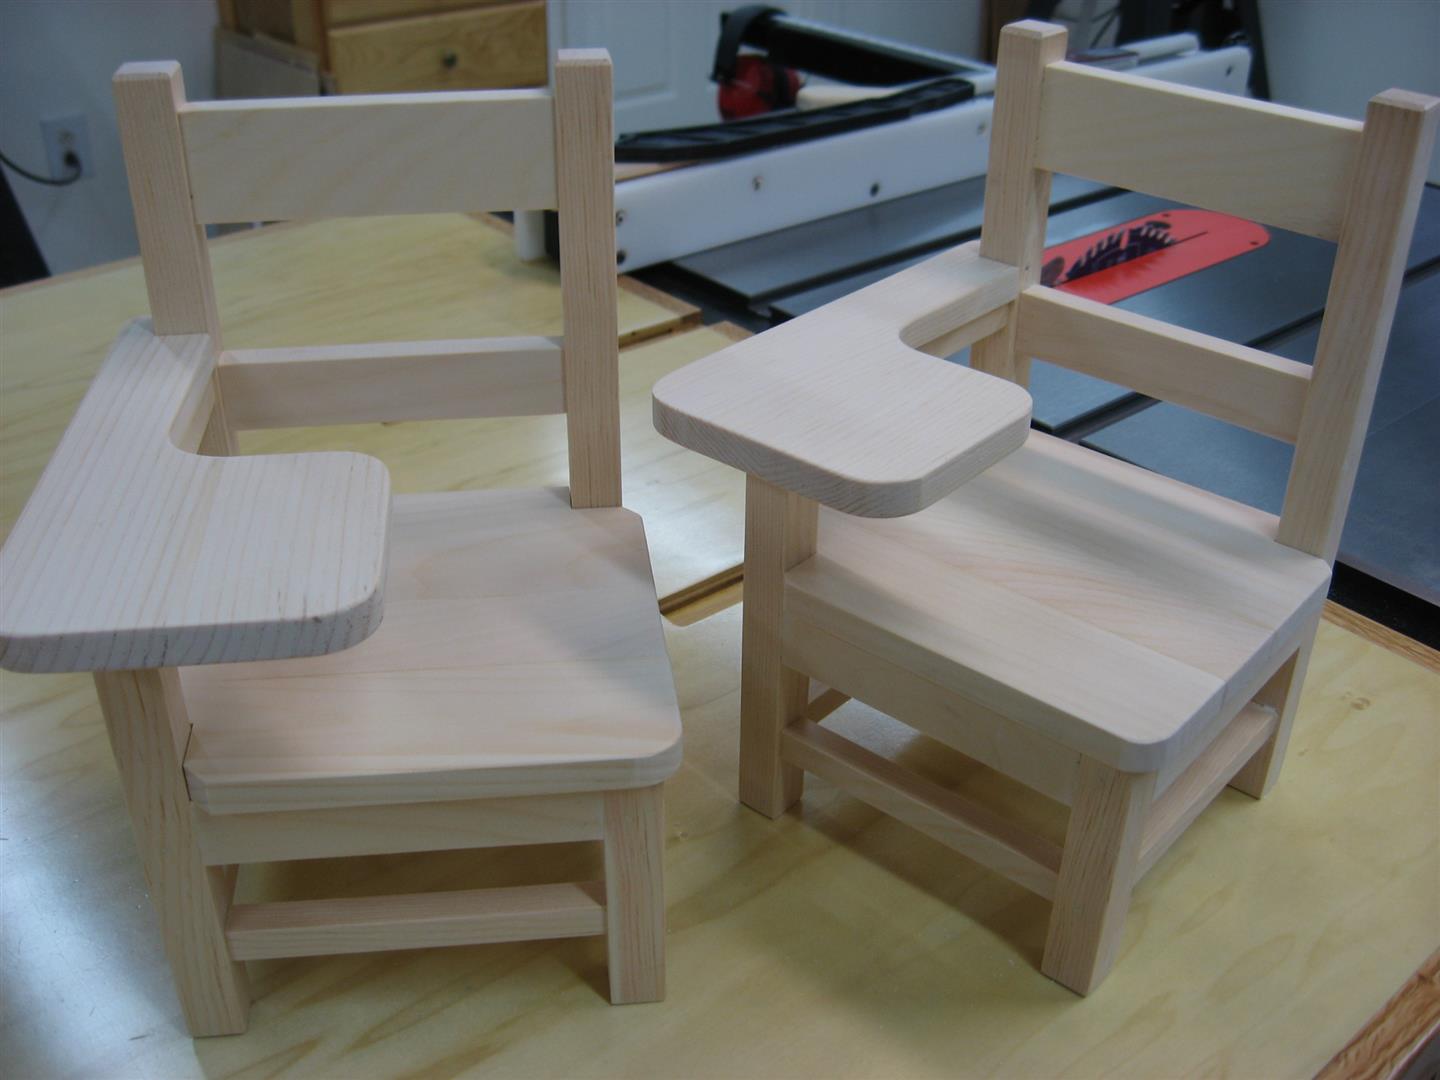
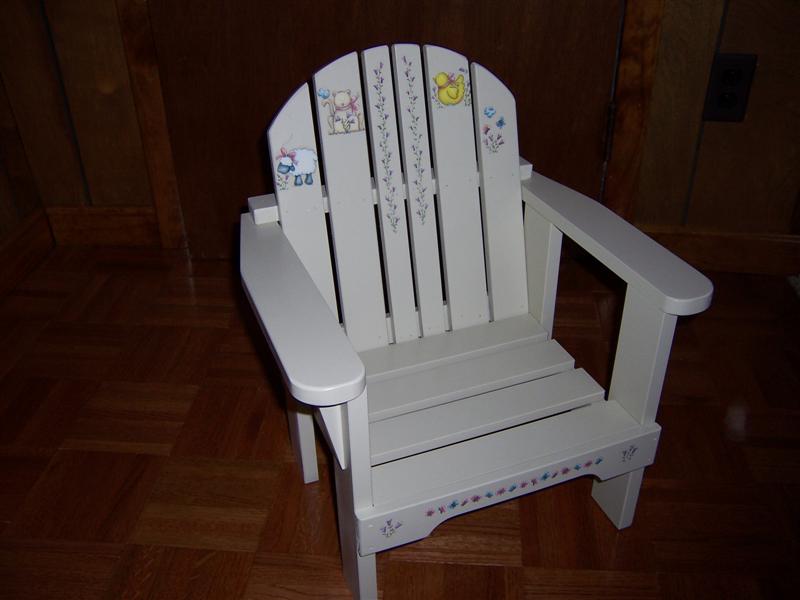
American Girl Doll School Chair I built two of these School Chairs for my Granddaughter's American Girl Doll during December of 2013. She loves to play school so these were a perfect Christmas gift. The chairs were painted white with purple accents to match the Doll Armoire below.
|
|
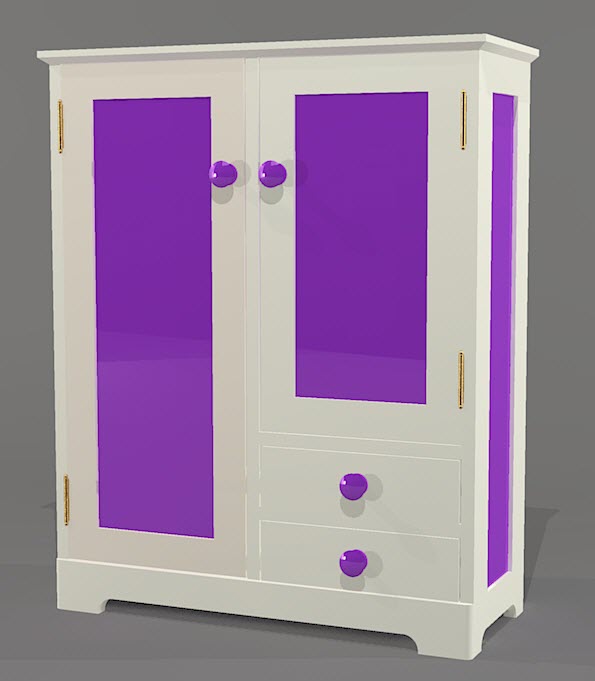 |
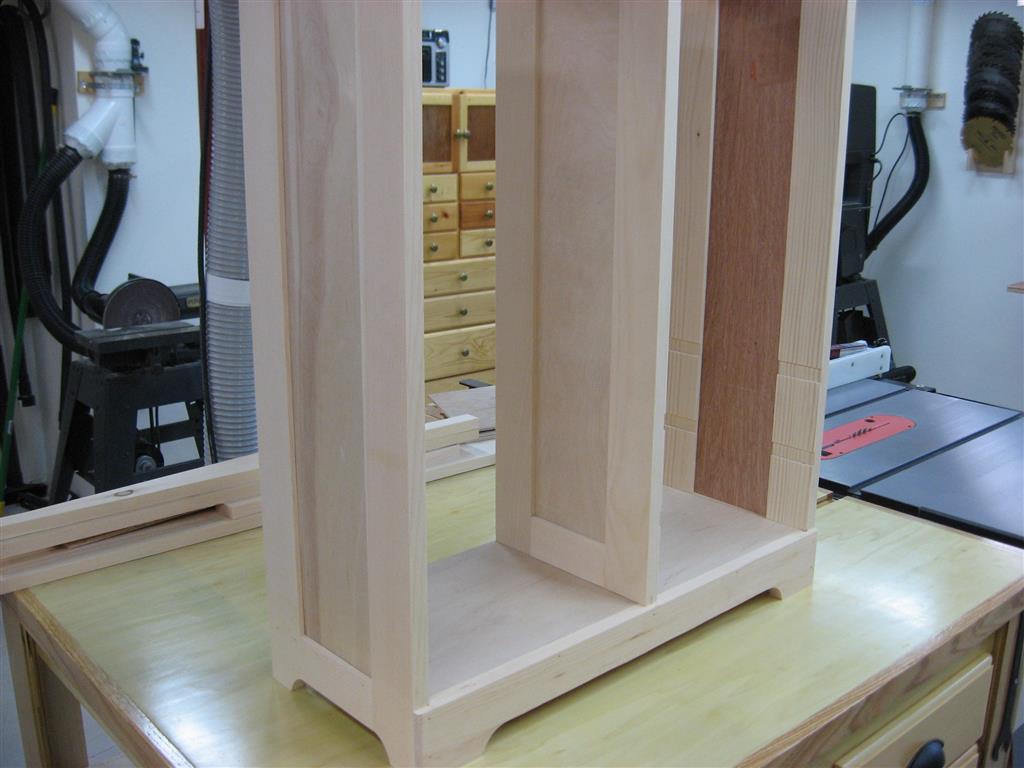
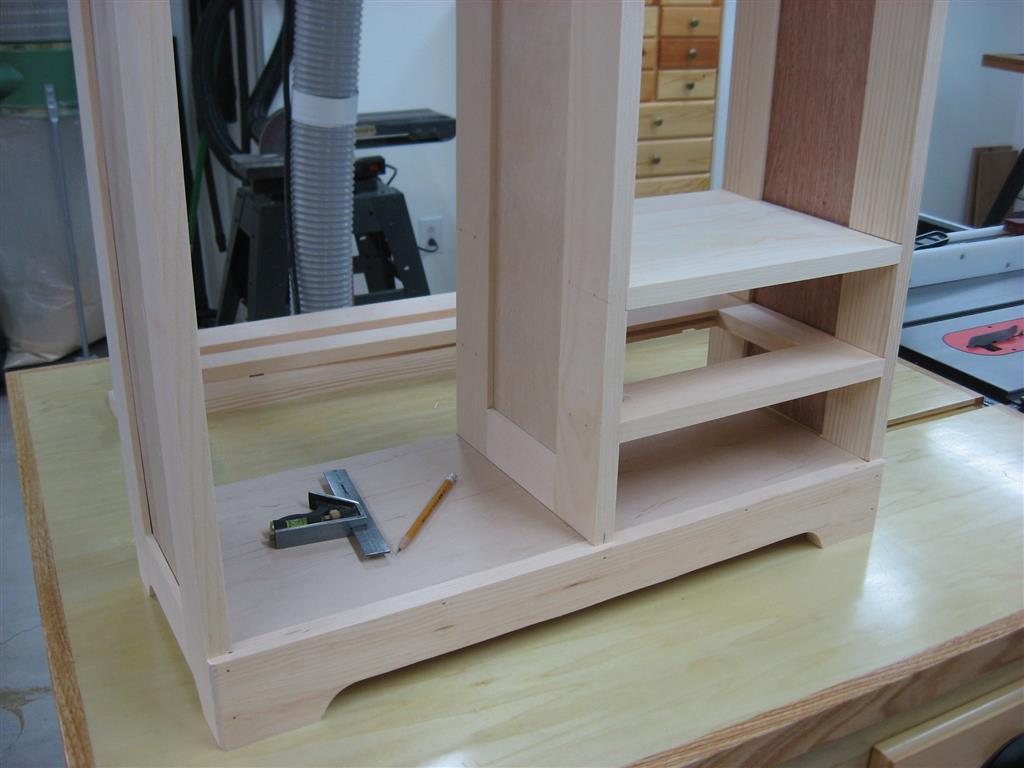
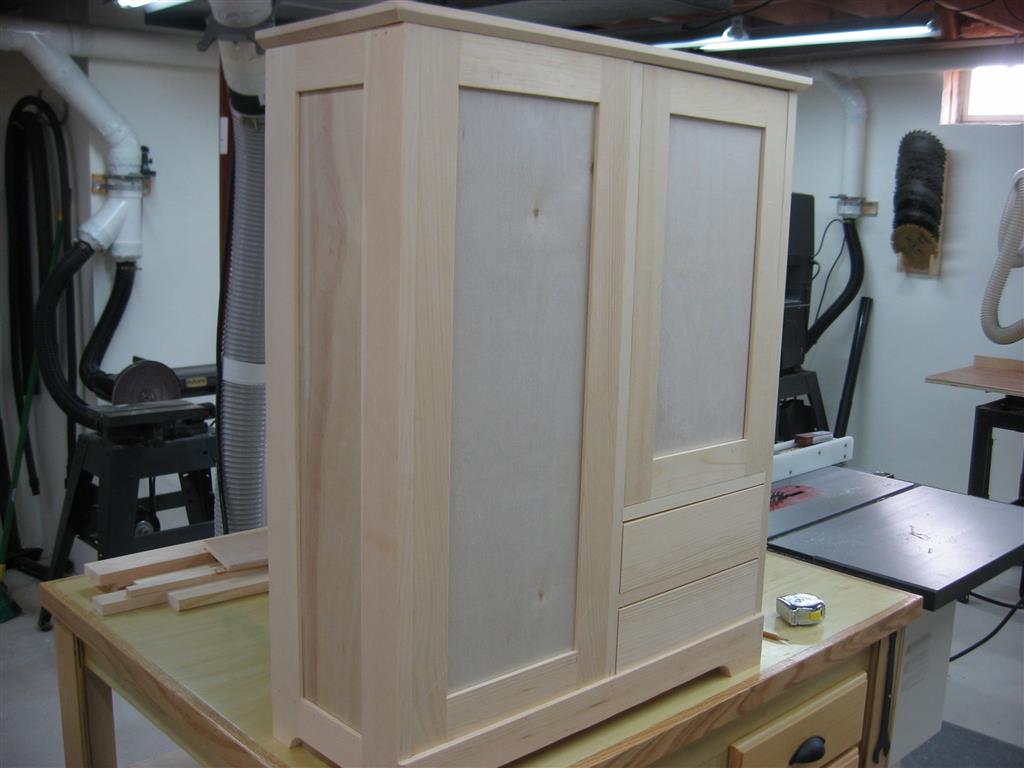
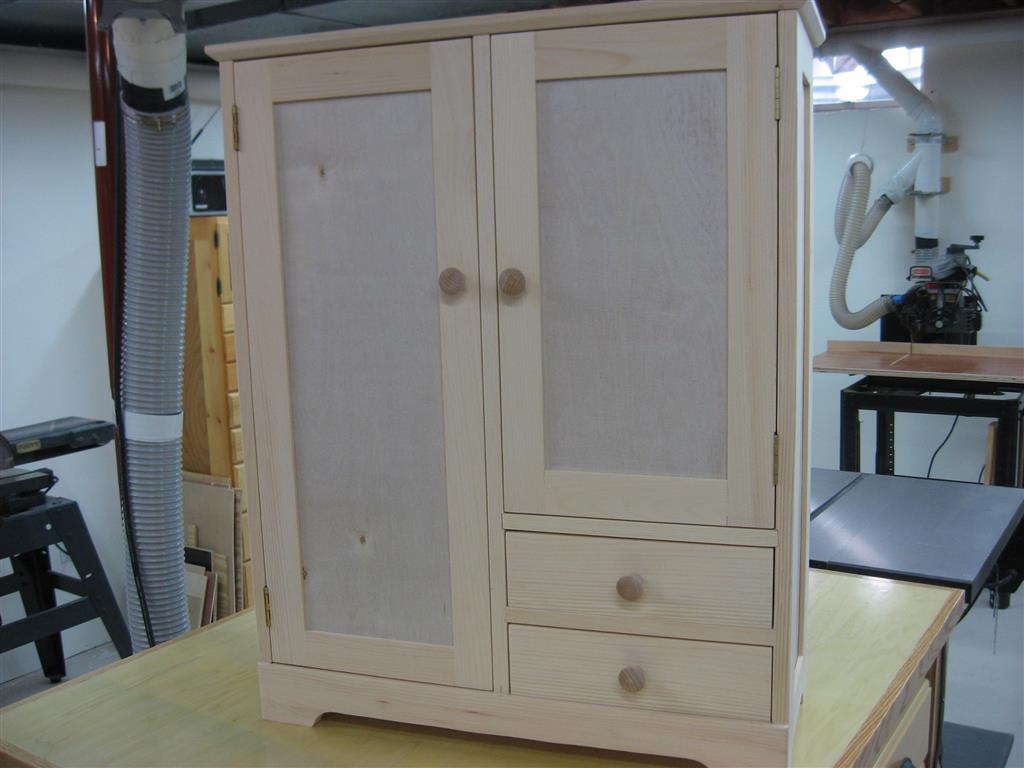
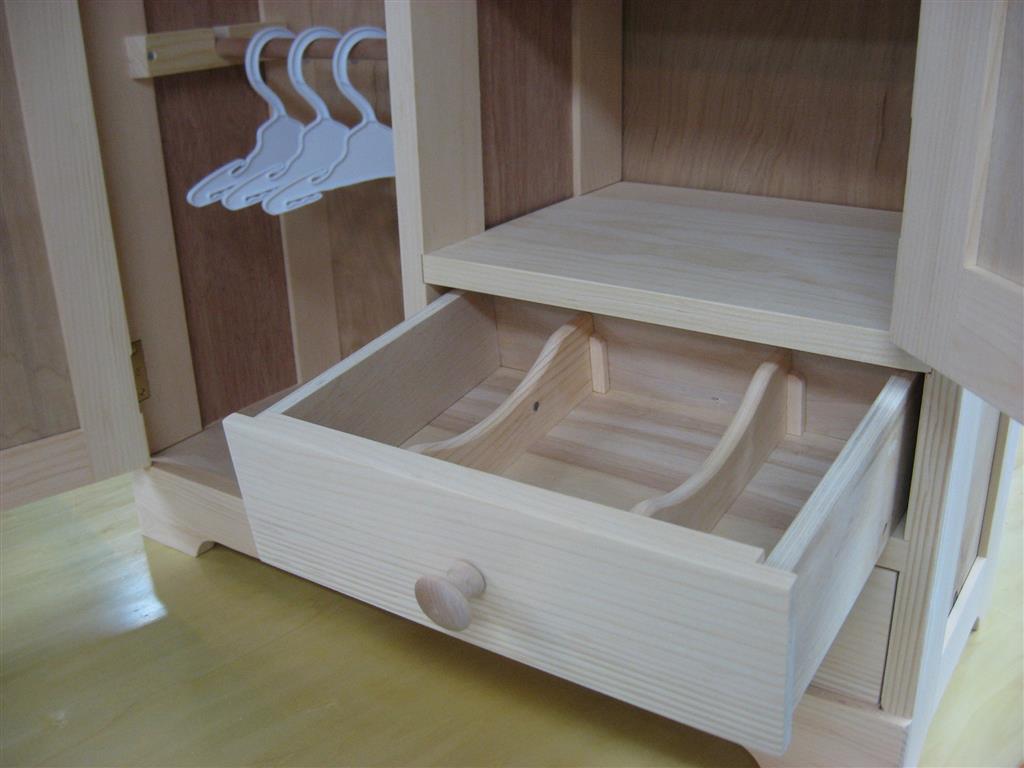
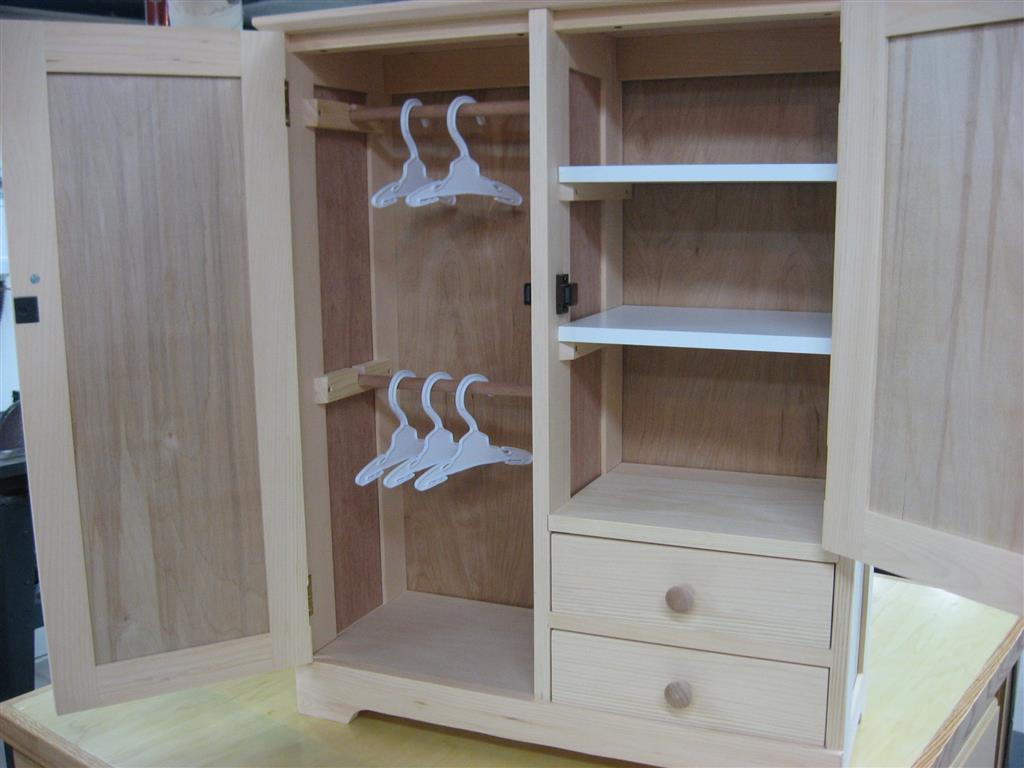
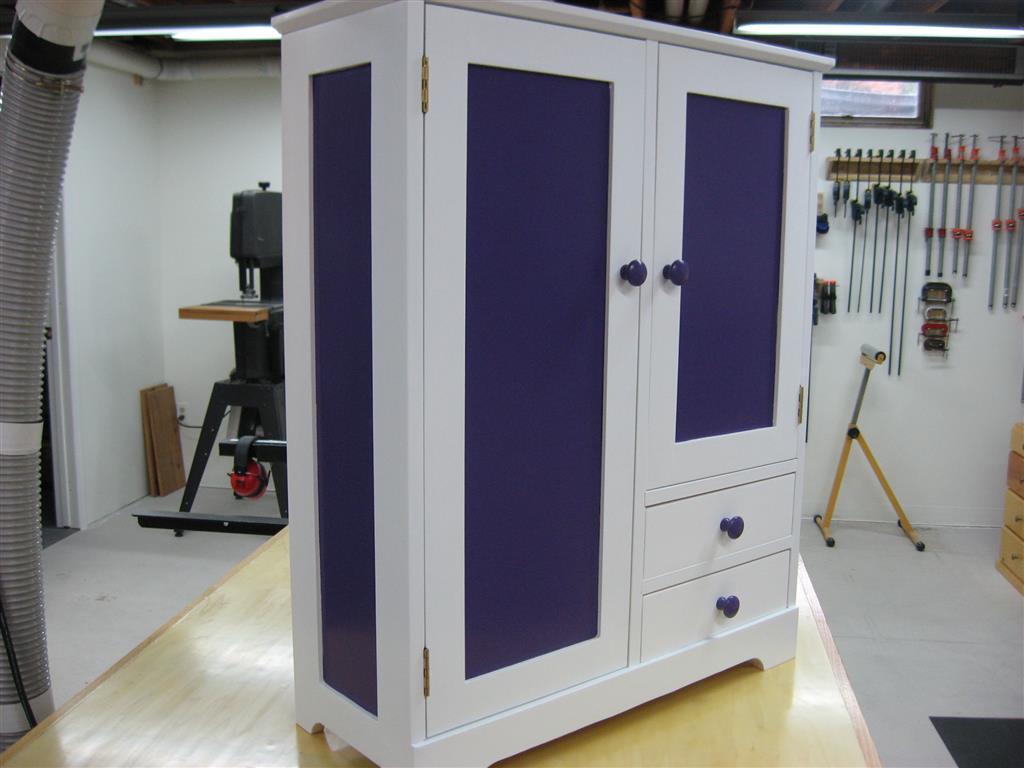
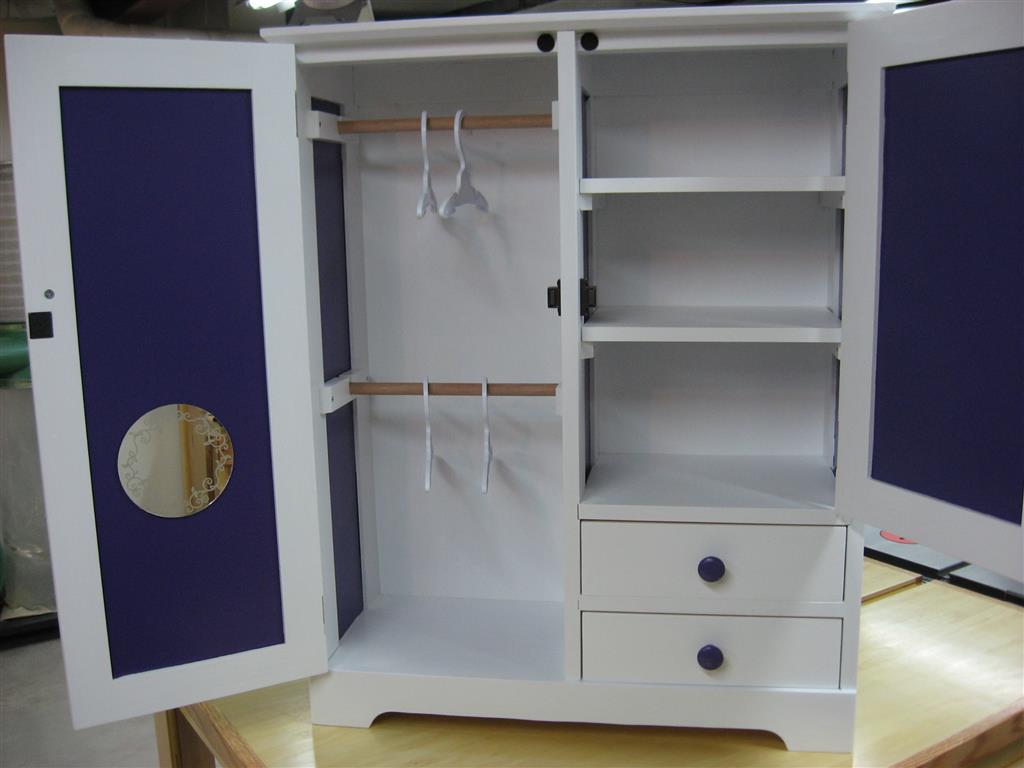
Doll Armoire I built this Doll Armoire based on a request from my 9 year old Granddaughter. She provided the input for the basic design which was to be used for her American Girl doll. The color of choice was white with purple accents. The overall dimensions are 26"W x 10"D x 33" H. The case work, center divider and doors were built using frame and panel construction. The construction phase of the project, including painting, took 25 hours.
|
|
 |
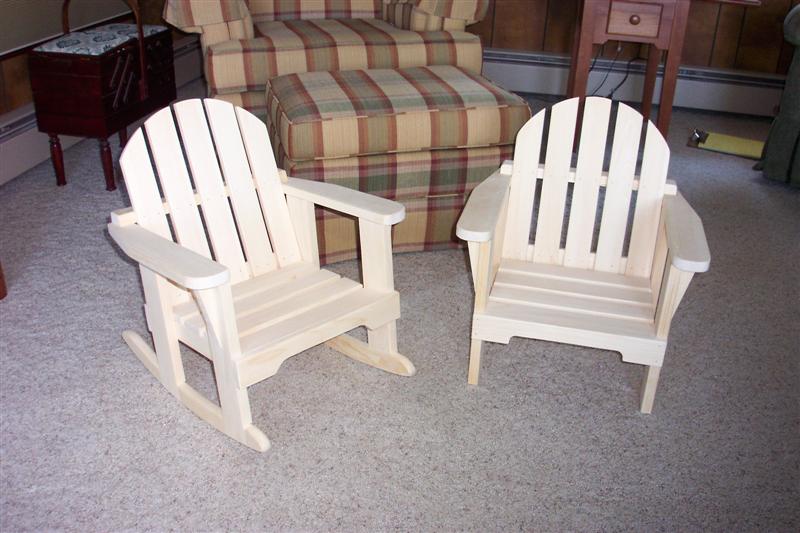
This was my first attempt at building a child's chair for our new granddaughter, Lauren. I had seen a chair like this on a trip to the Adirondacks and I began drawing the plans for "Lauren's Chair" as soon as I got home. I have made several of these now as gifts for friends. This is an easy and fun weekend project. The overall dimensions are 17"W x 14"D x 20" H.
|
|
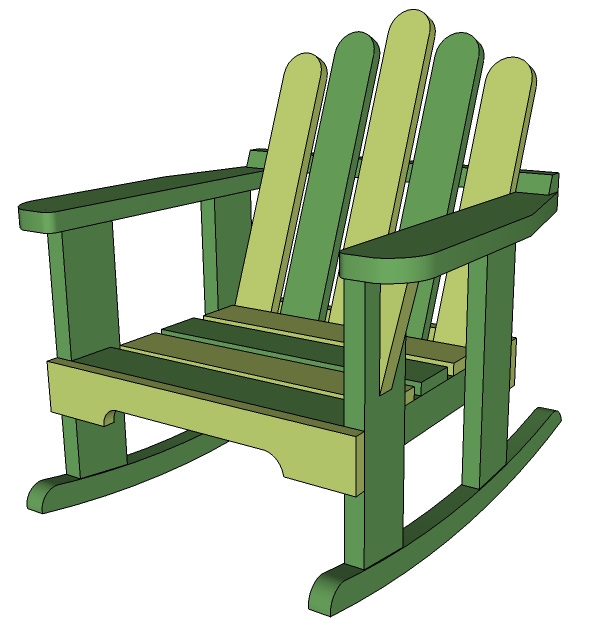 |
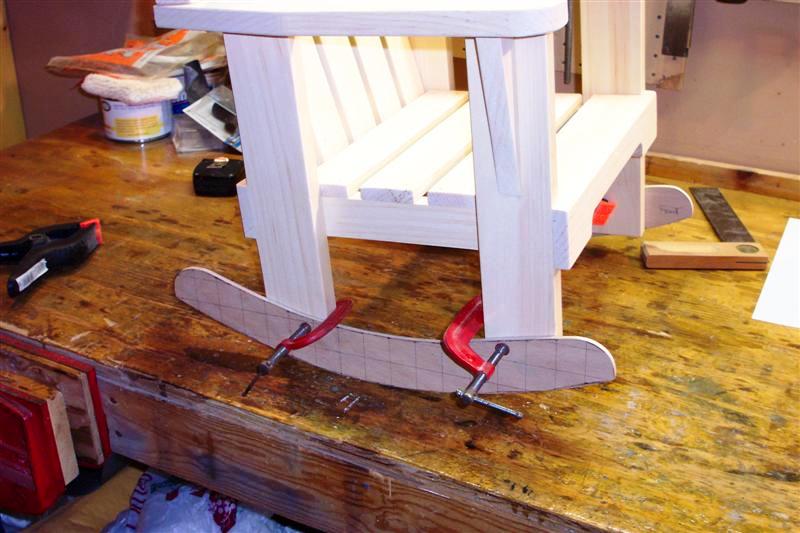
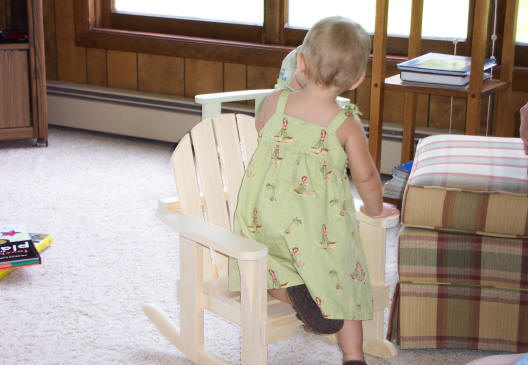
Lauren's Rocking Chair The next obvious challenge for me was to put rockers on Lauren's chair. The overall chair is the same as the "Lauren's Chair" above. The real change happens in the attachment of the rocker and the bottom of the four legs which need to be shaped to fit the curve of the rockers. Rocker Curve and Shape: Looking at full size rocking chairs that I had at home as a possible guide for making the rockers was not overly helpful for this small chair. So, I went to the drawing board which took me a few tries to get the shape of the rockers correct. The process was mostly a trial and error method where I drew a rocker pattern on paper, traced it to 1/4" plywood and then clamped the rockers to the chair to test out the rocking motion. Here's a [PICTURE] of my first attempt at testing the rocker with a curve that was a little too steep and not long enough in the back. Attaching the Rockers: I eventually decided to use a lap joint to attach the rockers to the chair. I liked the overall look of the rockers flush with the chair legs rather than screwed to the outside of the legs. This method takes a little longer but the overall look is better. You'll need to cut-out the rockers, cut the legs and lay them in their correct position, then lay the rockers on the legs and mark their location. They can then be taken to the saw to cut the half-laps. Here's a [PICTURE] of Lauren testing out an unfinished rocking chair. |
|
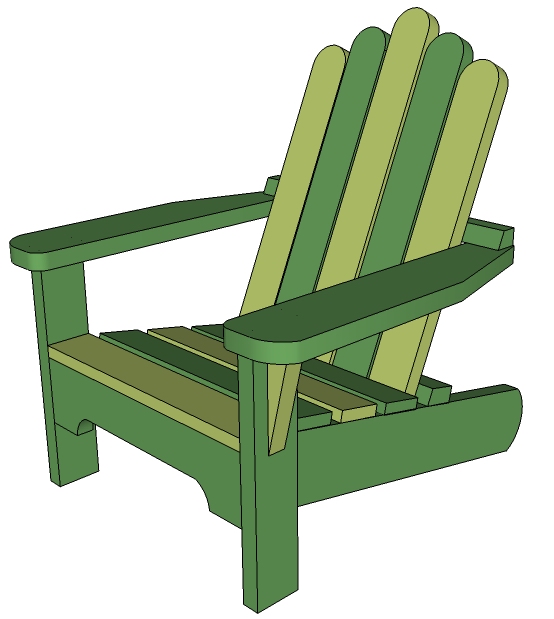 |
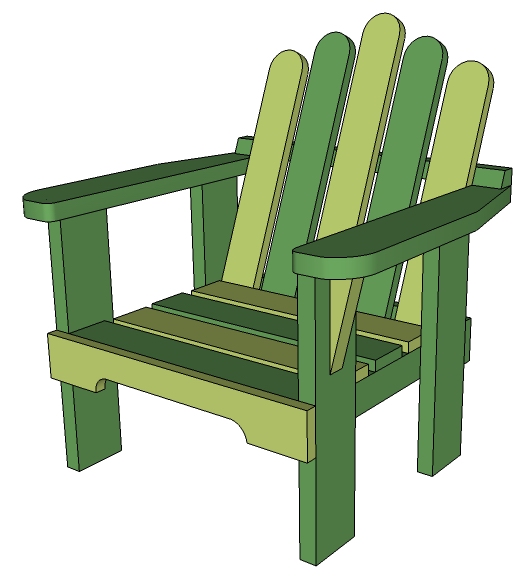
Adirondack Style Chair After I had built several "Lauren's Chairs" I thought that it would be a simple task to transition the original chair design into a true Adirondack style chair. Even though this chair is quite different than the original "Lauren's Chair" the amount of time required to construct it is about the same. The overall dimensions are similar as well, 17" x 17" x 20" H |
|
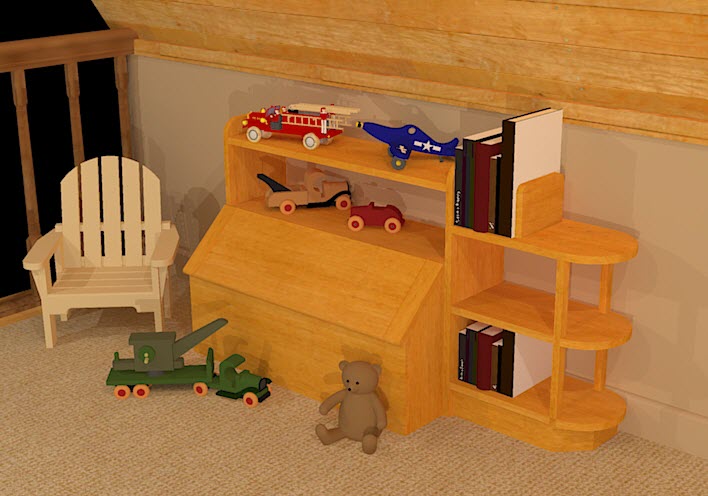 |
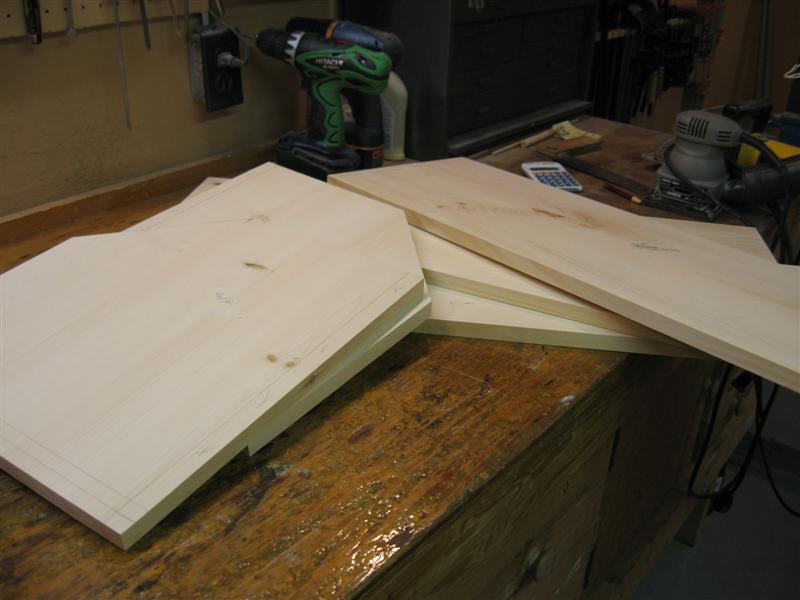
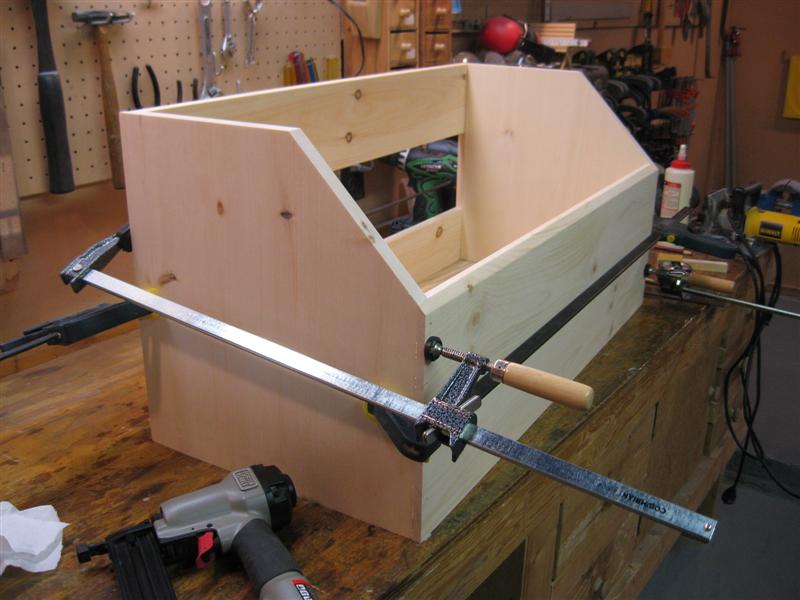
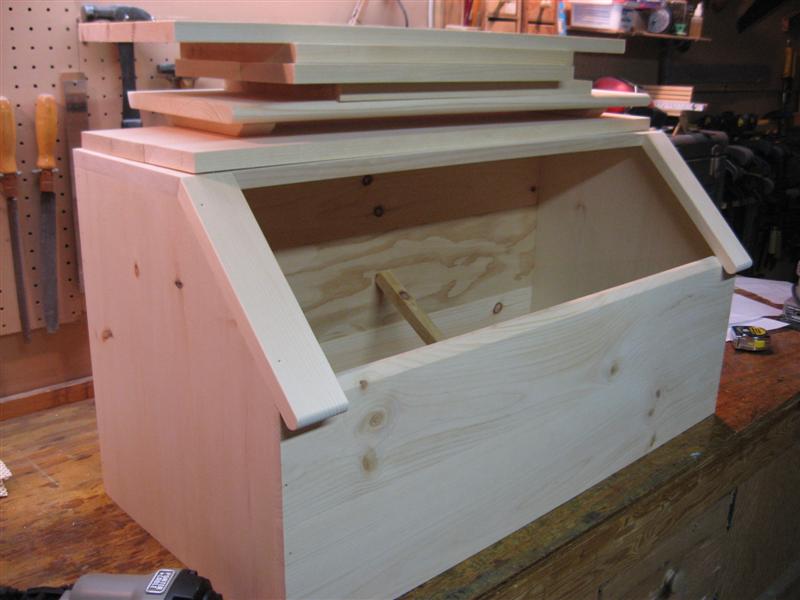
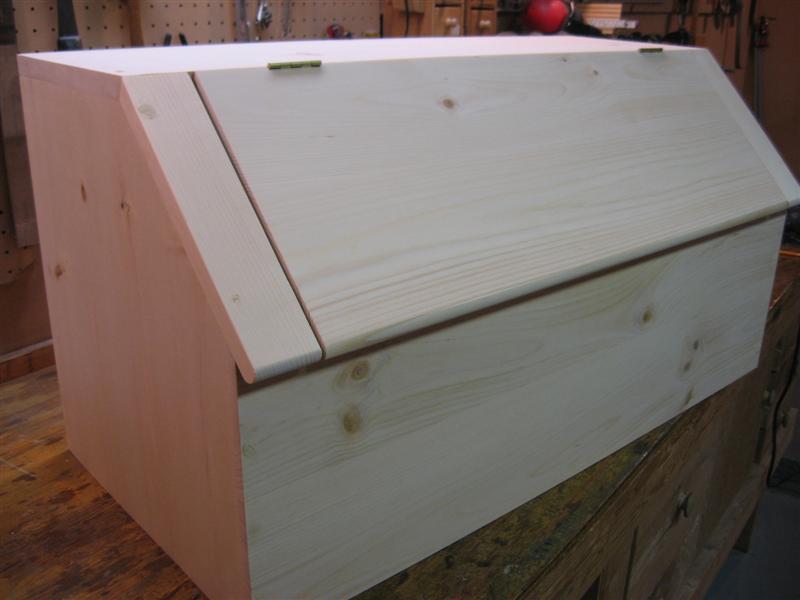
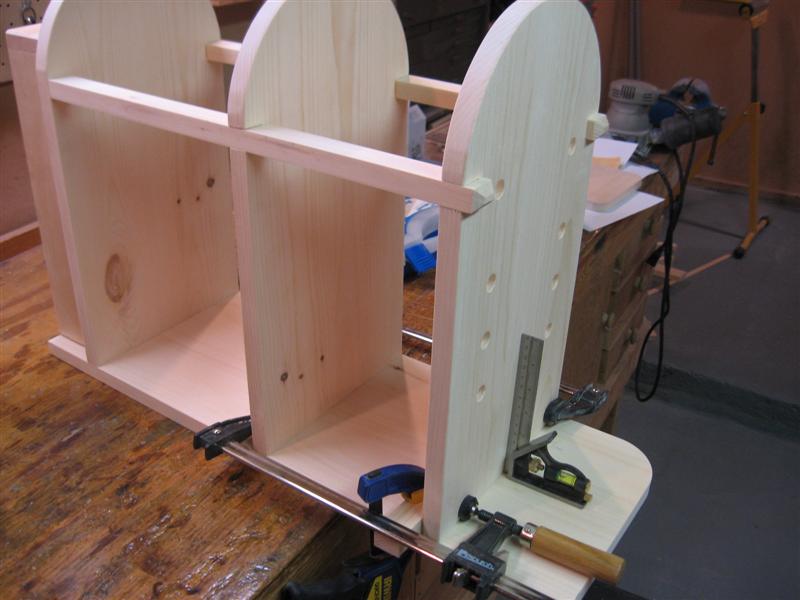
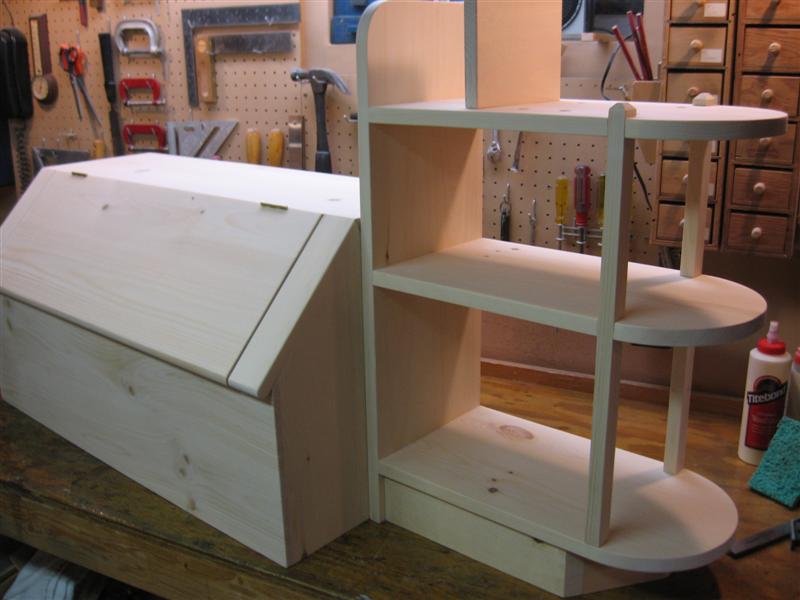
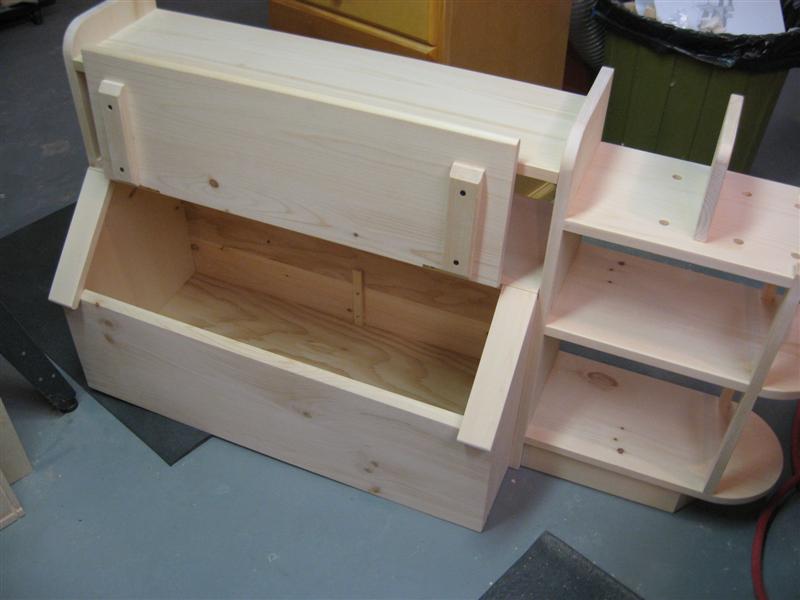
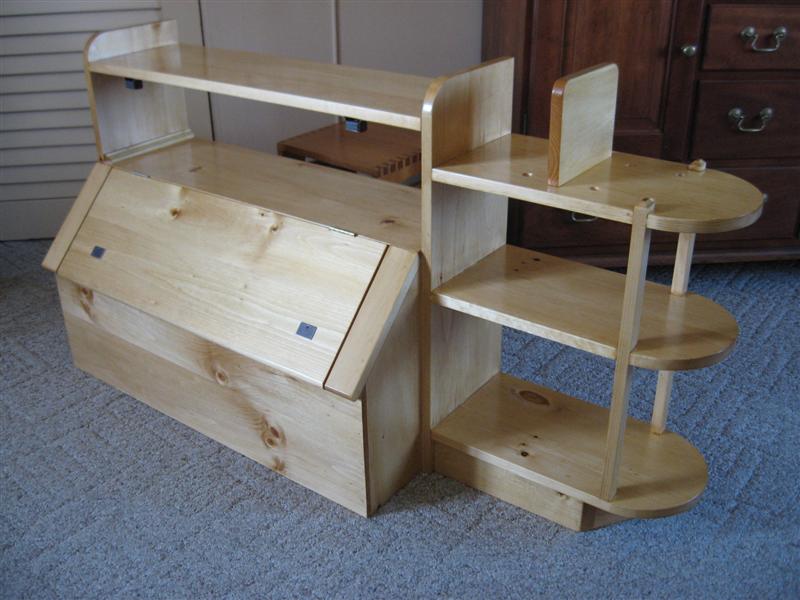
Toy Chest and Bookshelf This combined toy chest and bookshelf was made in April of 2011 to fit into the loft area in our lake house. I designed this specifically to fit into the loft area to accommodate the growing collection of books and toys that were finding there way there. The construction phase of the project took 21 hours. It is now in the finish phase.
|
|
 |
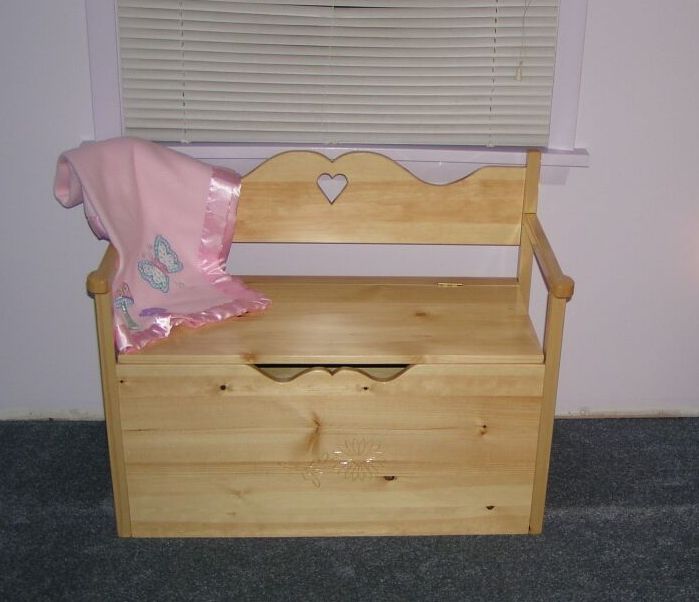
Lauren's Toy Chest Several years ago when our children were little I had made a toy chest for them that had a small back and could functioned as a bench too. Although now a little beaten up and scared through use, that chest still holds a collection of toys for when the "grandchildren" come to visit. So now, many years later it was time to build another toy chest for our granddaughter. Finding The Right Design: Like the original toy chest, my primary objective was to build a chest that looked like a bench as much as a toy box. While looking for some new design ideas I ran across a picture of a toy chest similar to the picture to the left and knew right away that this was the one. To give the chest a little more character I also carved a flower on the front. The chest was built in pine and finished in a natural color. The overall dimensions are 35"W x 15"D x 28" H. A picture of the finished toy chest is [HERE]. |
|
 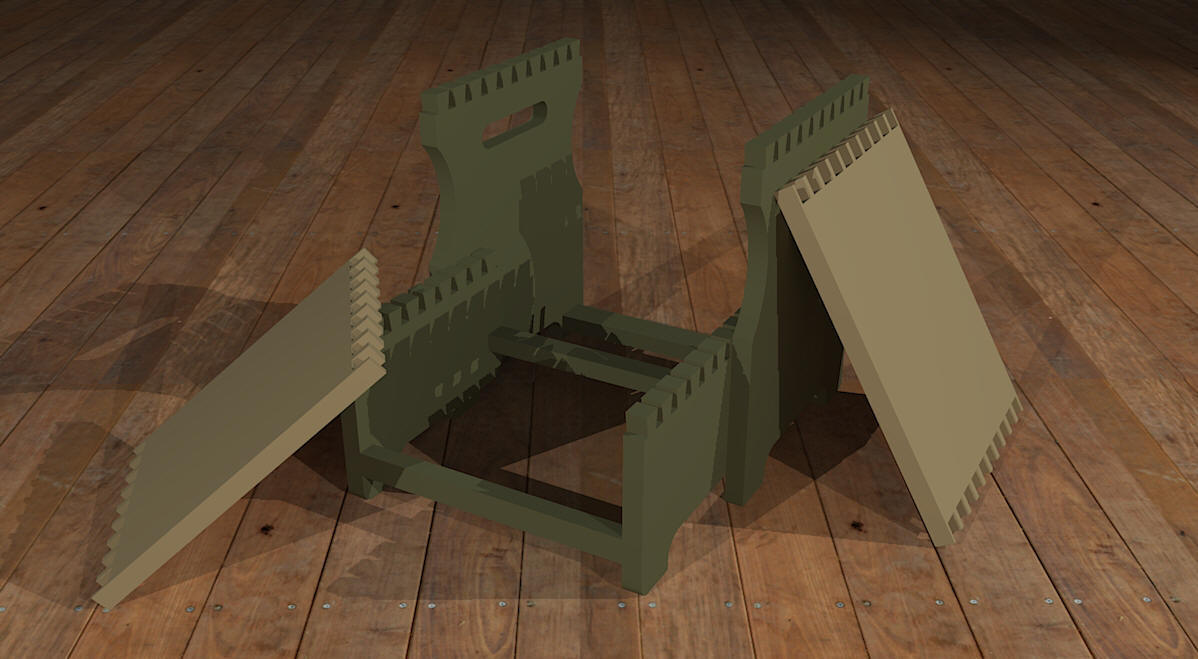 |
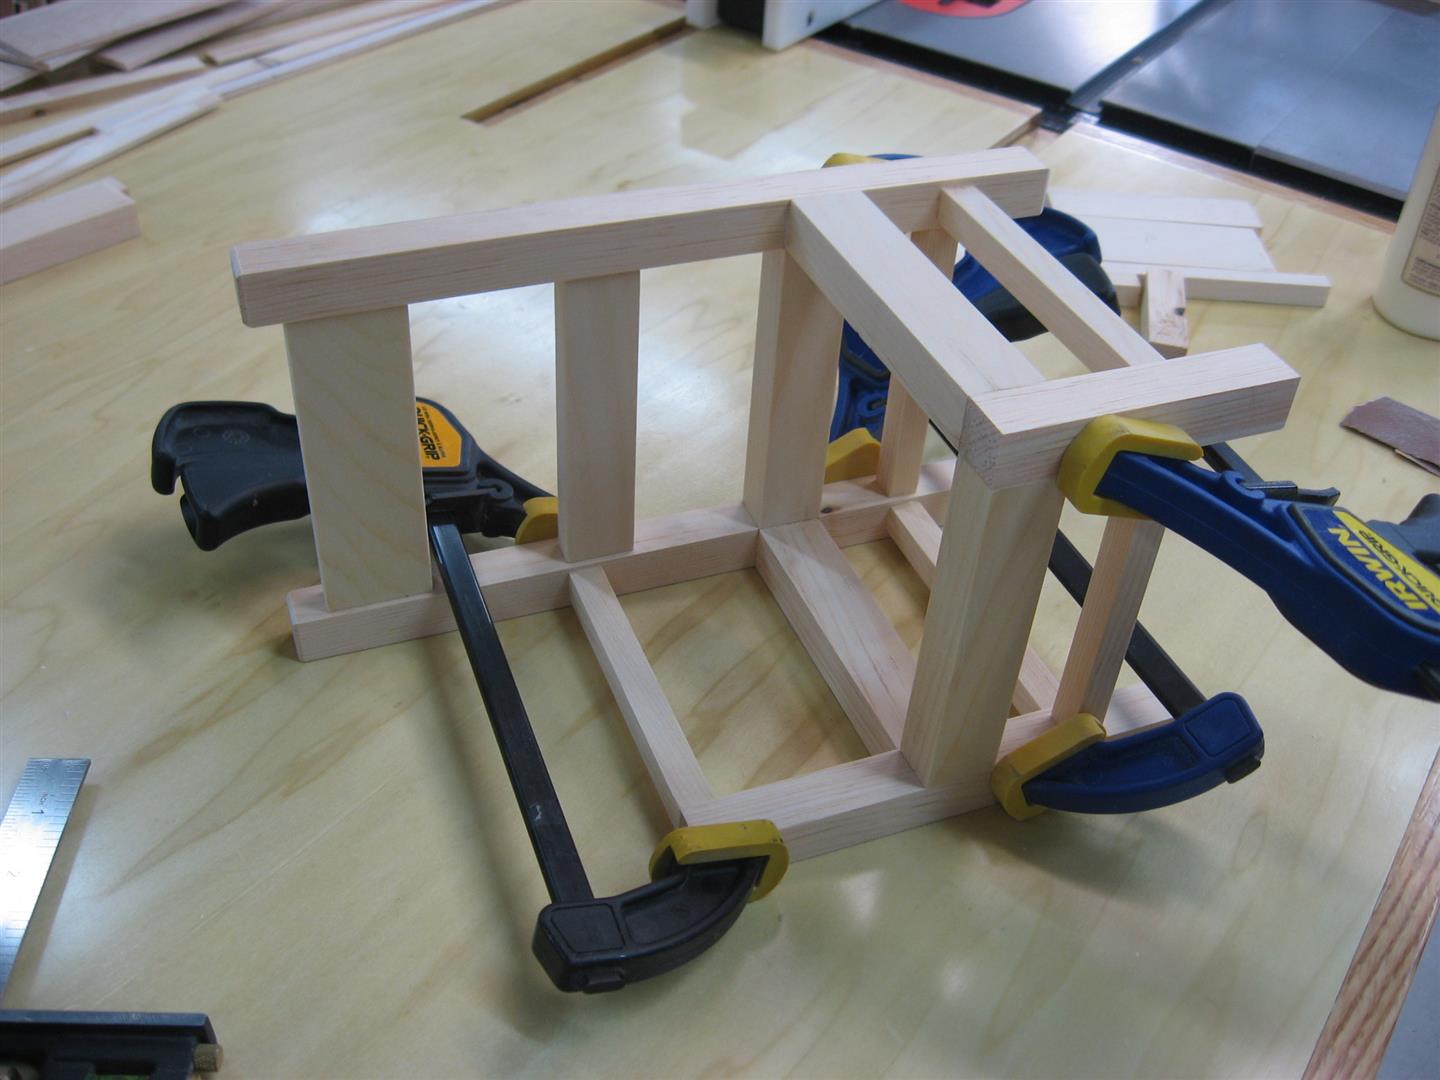
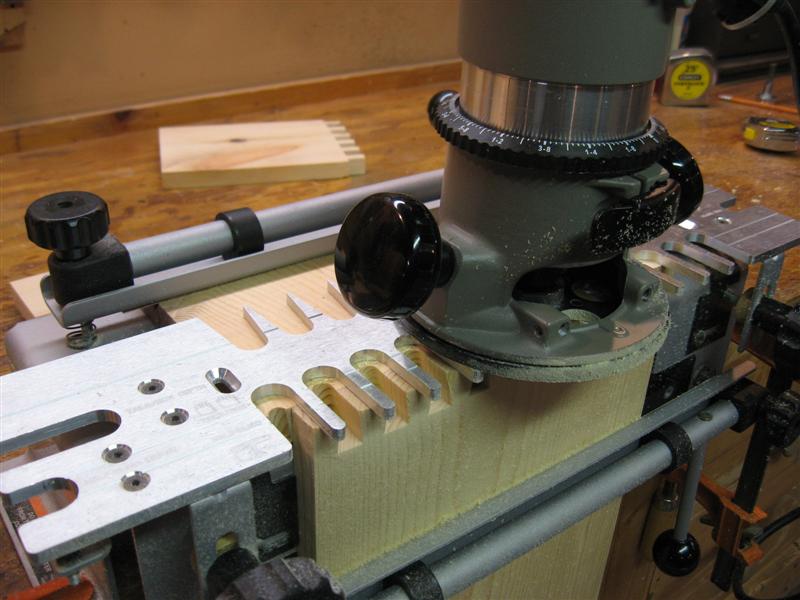
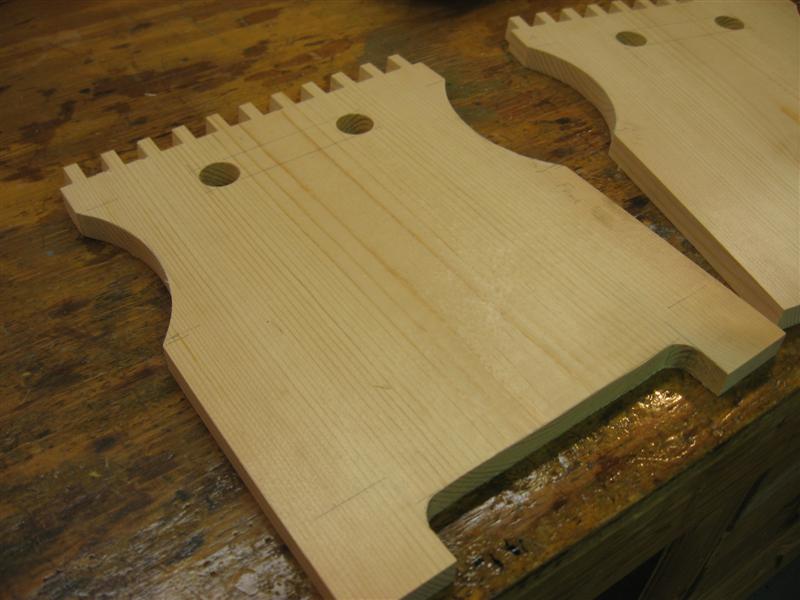
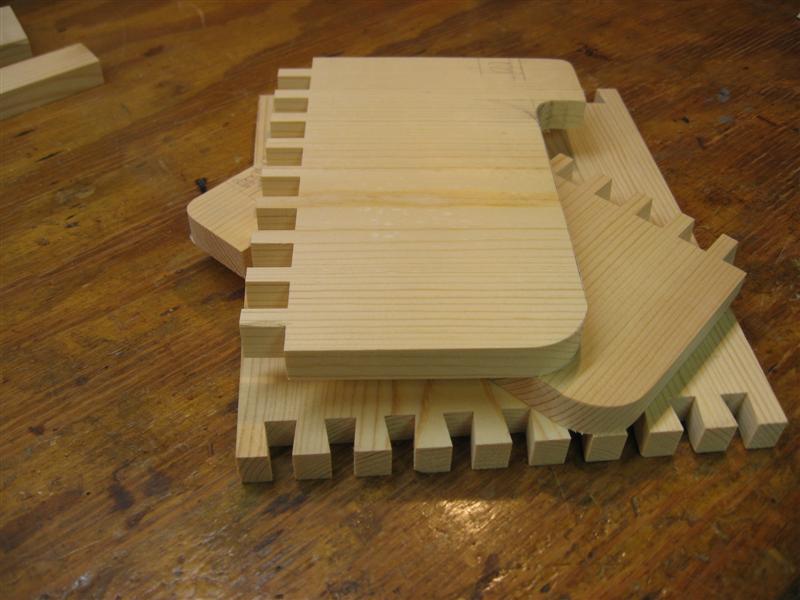
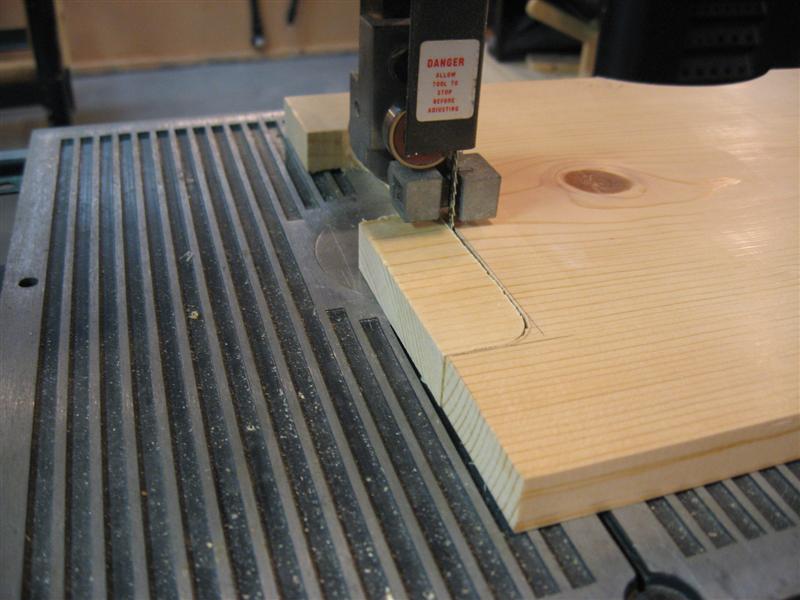
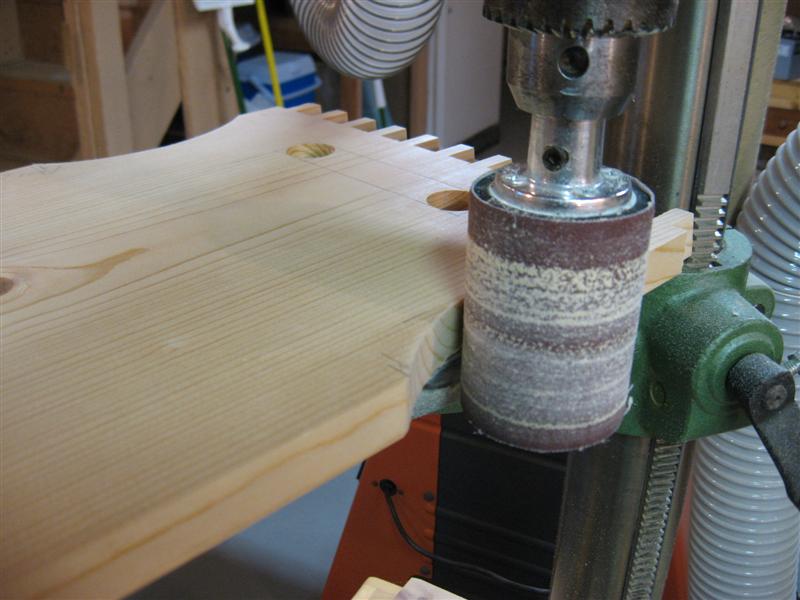
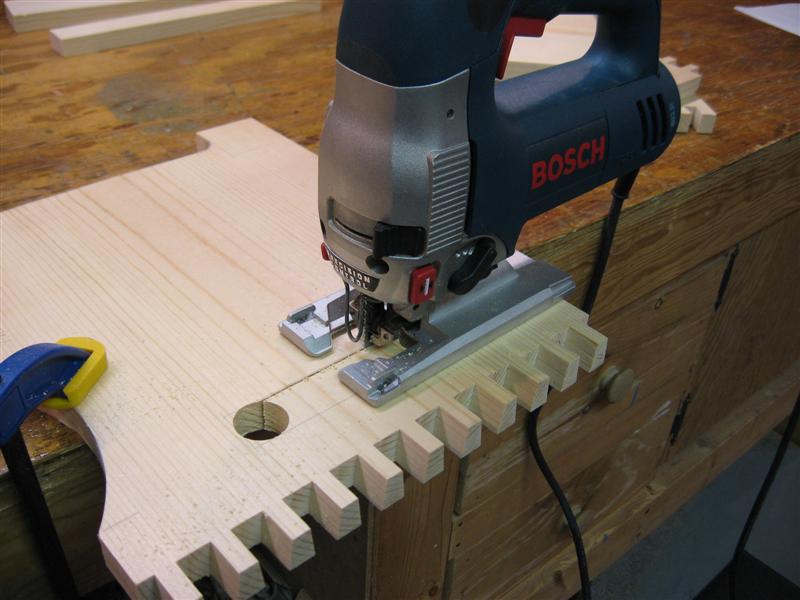
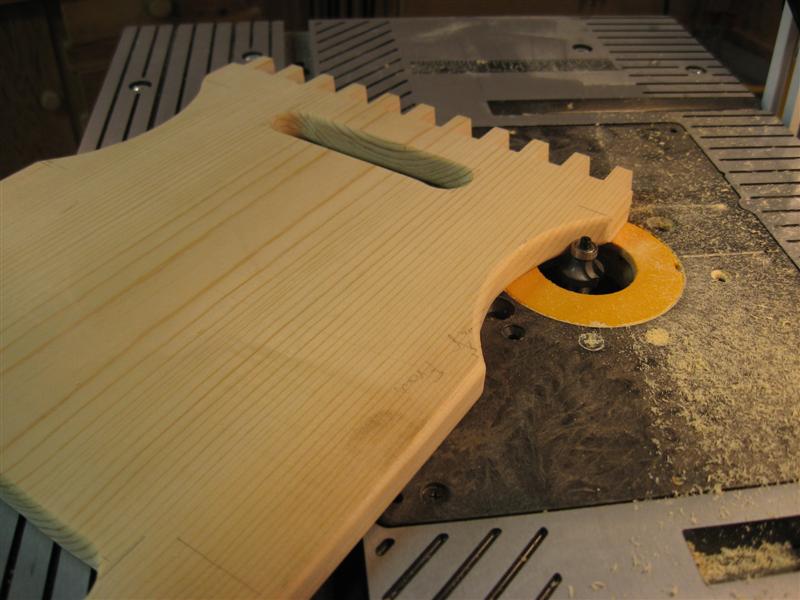
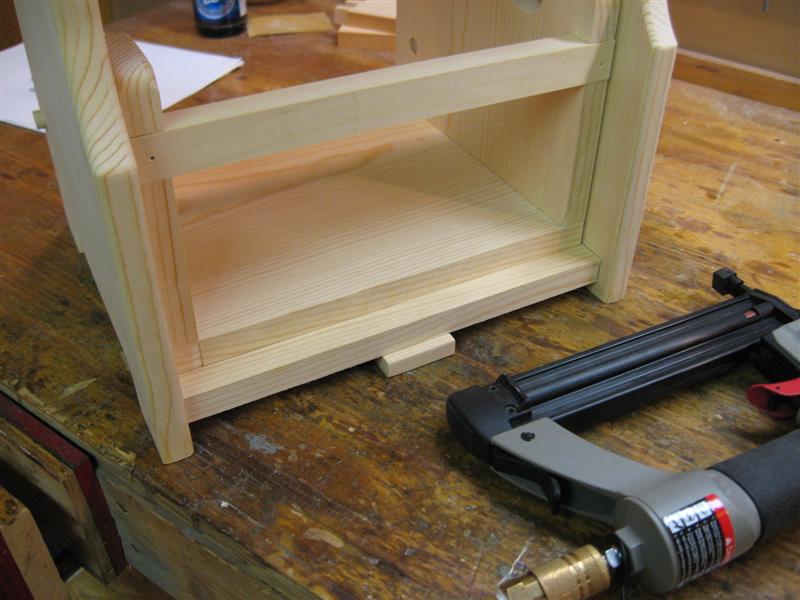
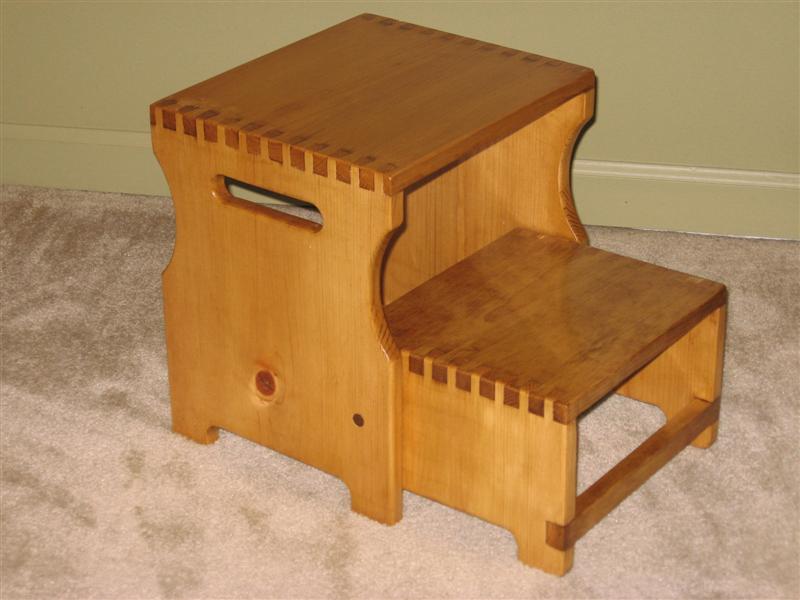
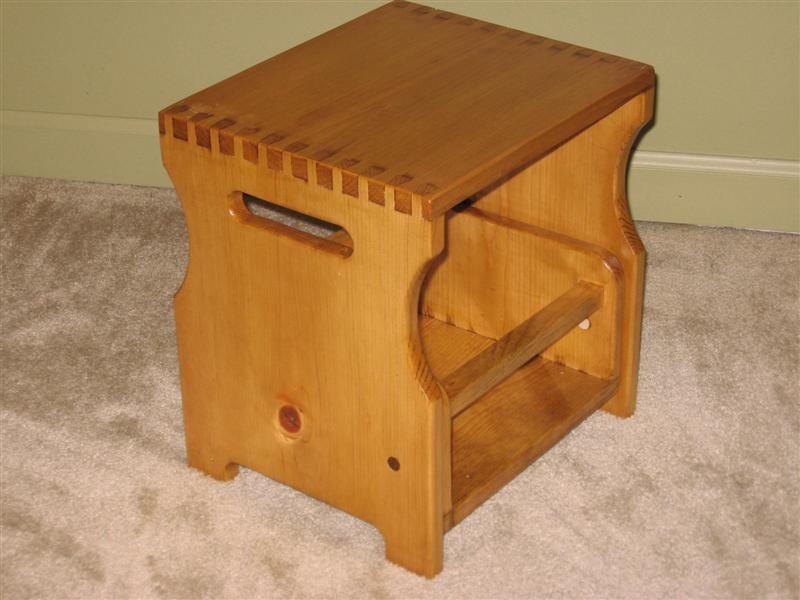
Folding Step Stool - (3-30-08) This is a folding step stool that I designed and built for our Granddaughter Lauren so she could reach the sink to wash her hands. The upper and lower steps are dovetailed for added strength. The bottom step folds under to make the step more compact and I added side handles to make it easier to carry.
Here are a few photos of the in-process construction steps.
|
|
