Furniture
![]()
![]()
![]()
![]()
![]()
![]()
Click on any picture thumb to see an expanded view
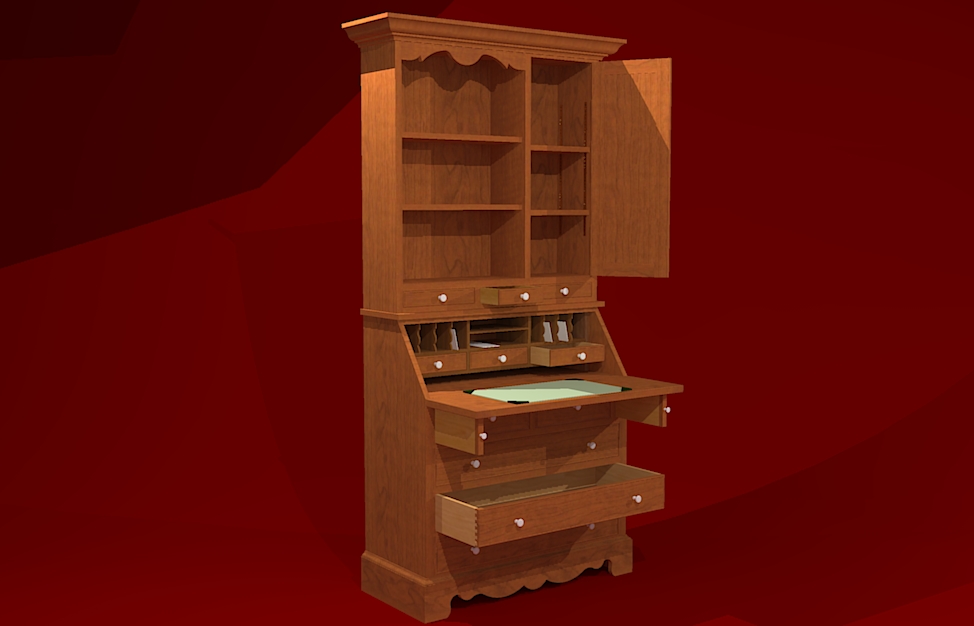
Here ere are just a few examples of recent and past projects that have come out of the woodshop. The Candle Lantern was made in a weekend, the Wine Cabinet took about 2 weeks to complete and the Secretary Desk took the better part of a month to complete
Country
Woodcrafts
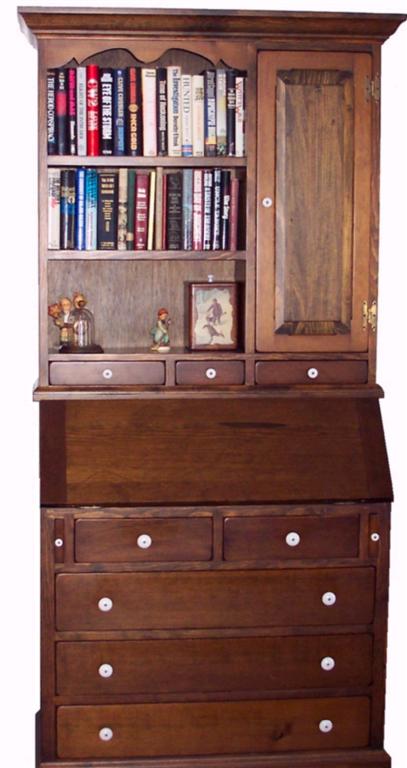 |
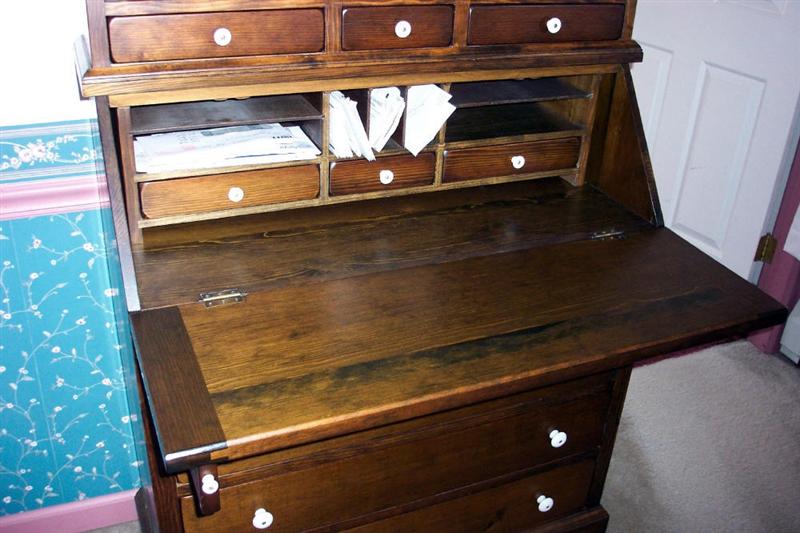
Secretary Desk This Secretary Desk was the first project that I designed from the ground up because I couldn't find a complete plan that I liked. I built the desk in 1977, just after I built the Dry Sink and a China Cabinet. The design that I ended up with was based on several components that I had seen in various other Secretary Desks. I took the best design features from each and married them together and came up with this desk. One of the unique features that I liked the best was the integration of a door into the book base as well as the three exposed small drawers. The desk is made from solid pine and constructed in two pieces, the bottom cabinet including the drop down desk and the upper book case. The sides and drop table are made from solid pine glue ups. The overall dimensions are 37"W x 17"D x 80"H. The SketchUp drawing for this desk is in my DRAWINGS page. 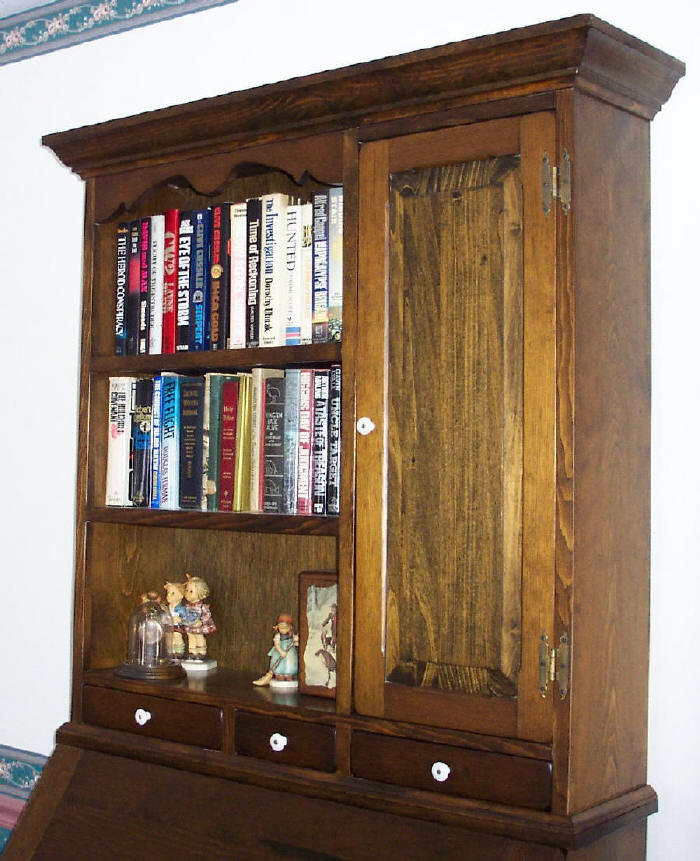
|
 |
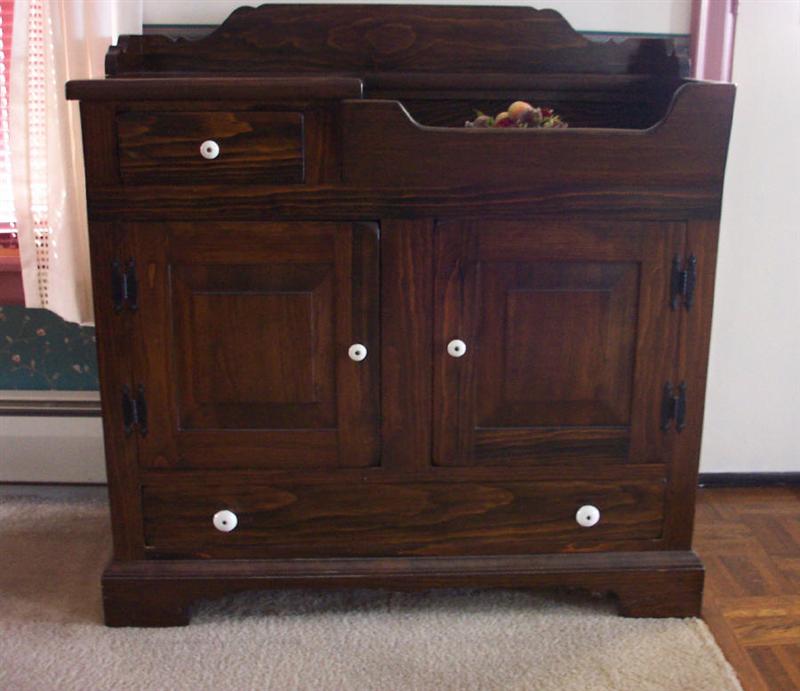
Dry Sink This Dry Sink was from a plan that came from the book "Thick Pine Early American Furniture". The book provided good information on construction techniques and the plans were simple enough to follow. As you can see, in the early 1970s I was into Early American furniture. I learned how to make raised panel doors from these projects. The Dry Sink is made from solid pine and the overall dimensions are 38"W x 16"D x 38"H. The SketchUp drawing for this dry sink is in my DRAWINGS page.
 |
 |
End Table Here's another piece that came from the book "Thick Pine Early American Furniture". The design is also derived from the Early American look. The End Table is made from solid pine and uses the same construction techniques as the Dry Sink. The overall dimensions are 31"W x 15"D x 23"H. |
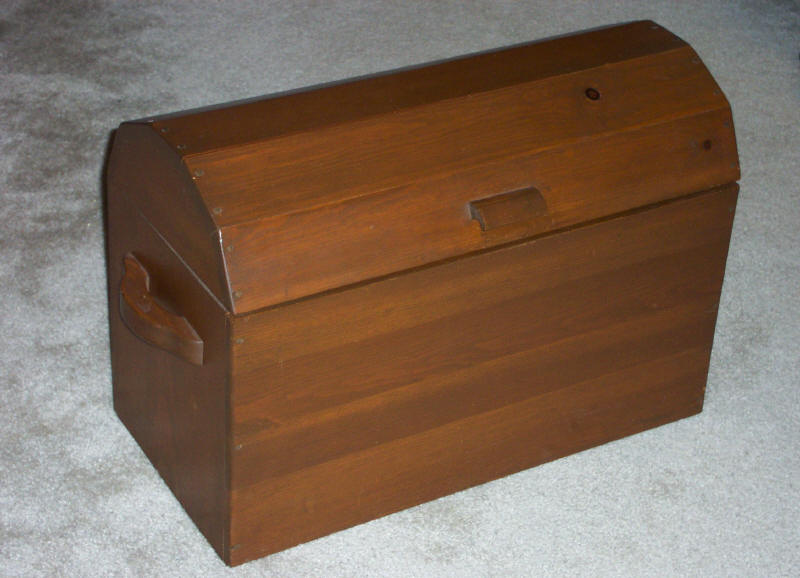 |
Blanket Chest I call this a Blanket Chest, but it's a relatively small chest at 24"W x 12"D x 17"H. This design is another of my creations and was, at the time, made specifically for a space in our family room. It still holds winter scarf's, mittens and the occasional blanket. The intension of the arched top was to make it look like an old chest. The chest is made from solid Pine and the inside is finished with a small print wall paper. 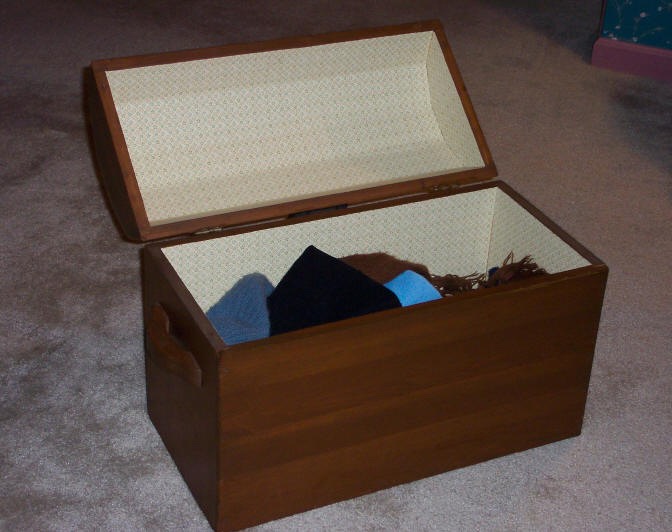 |
 |
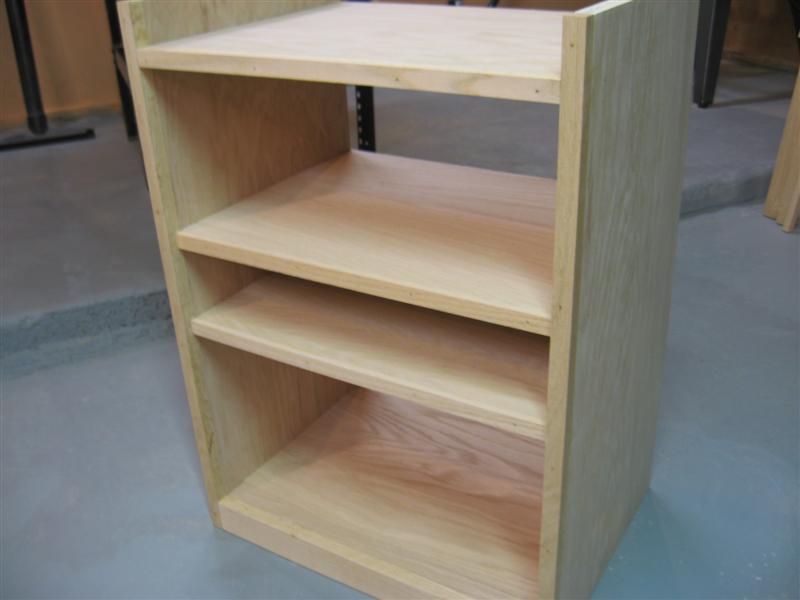
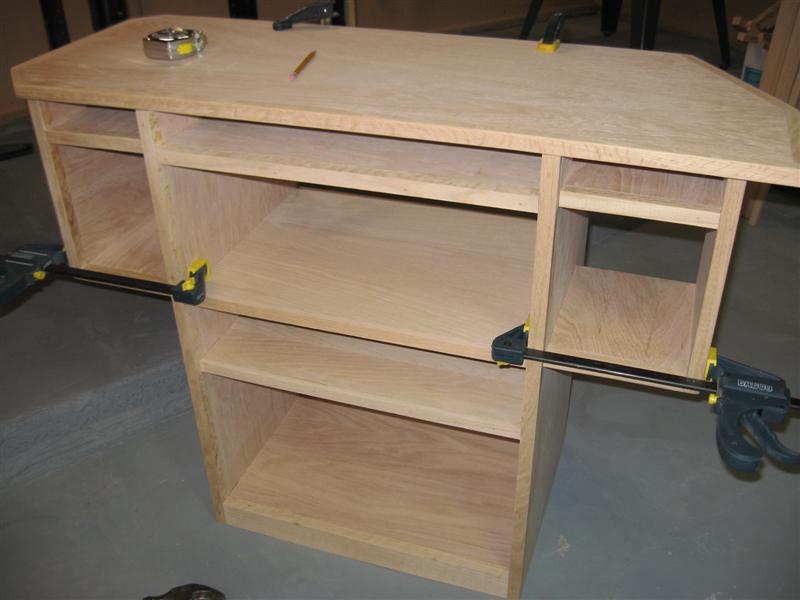
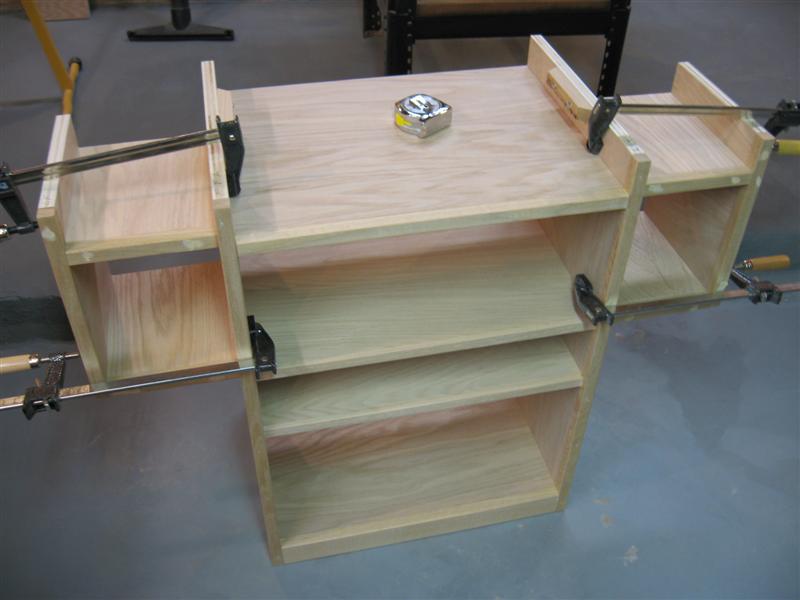
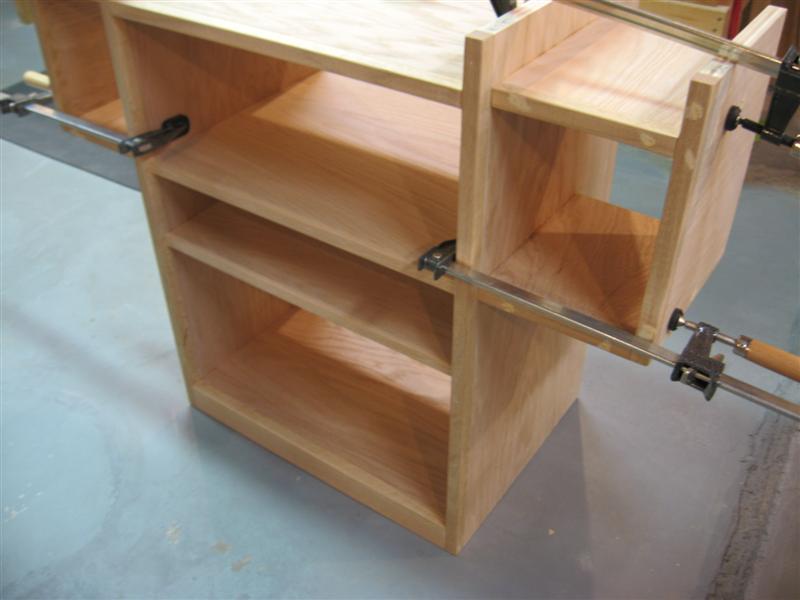
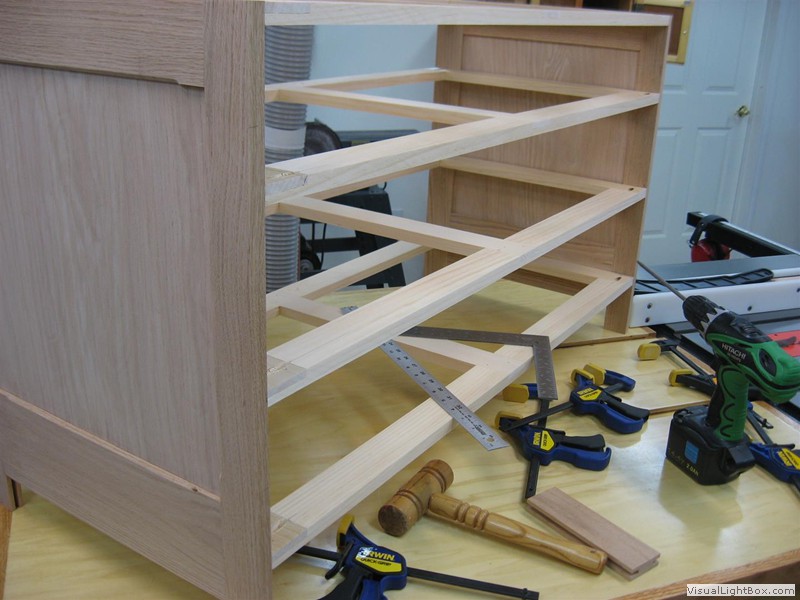
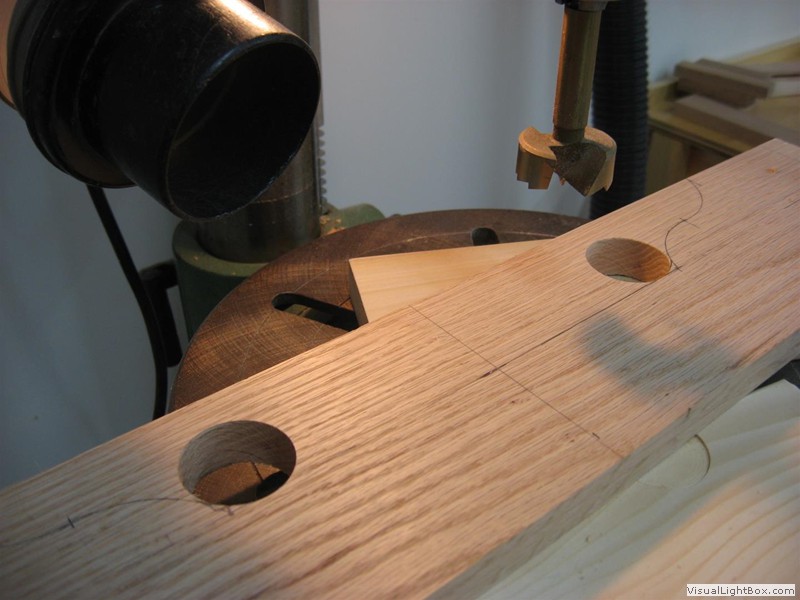
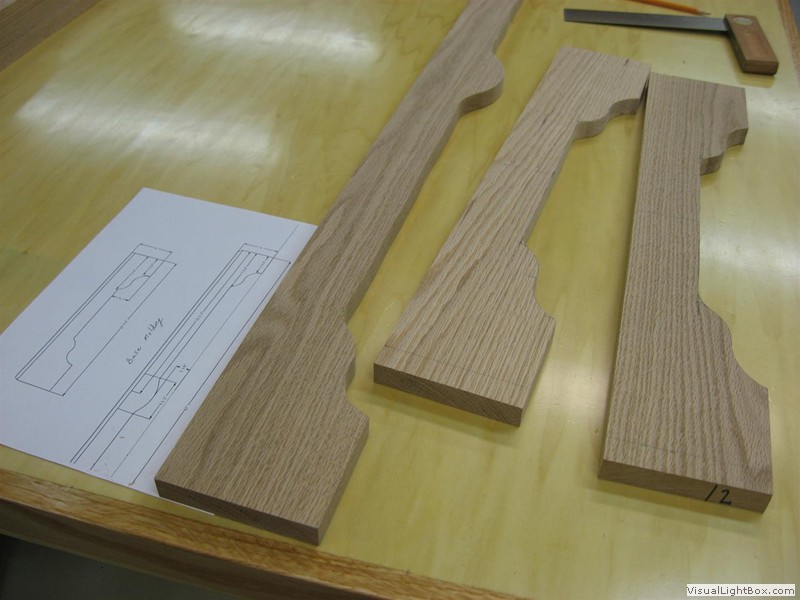
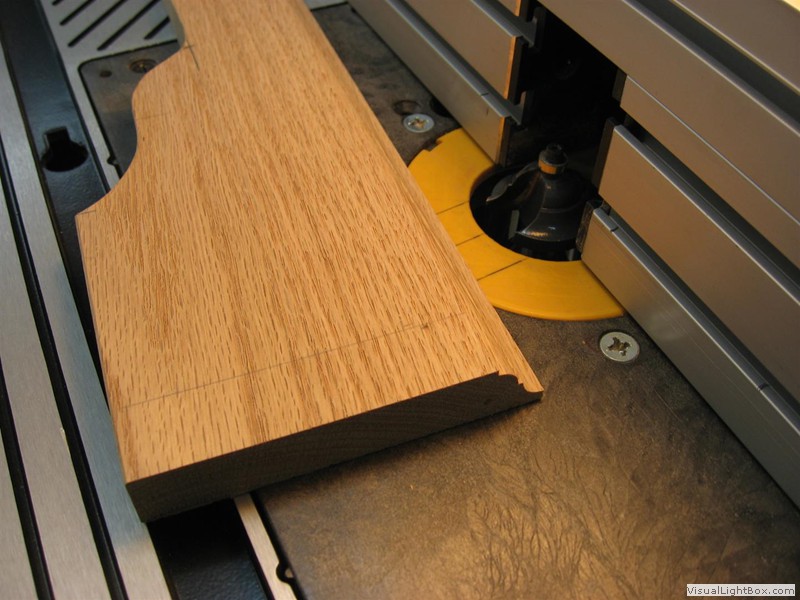
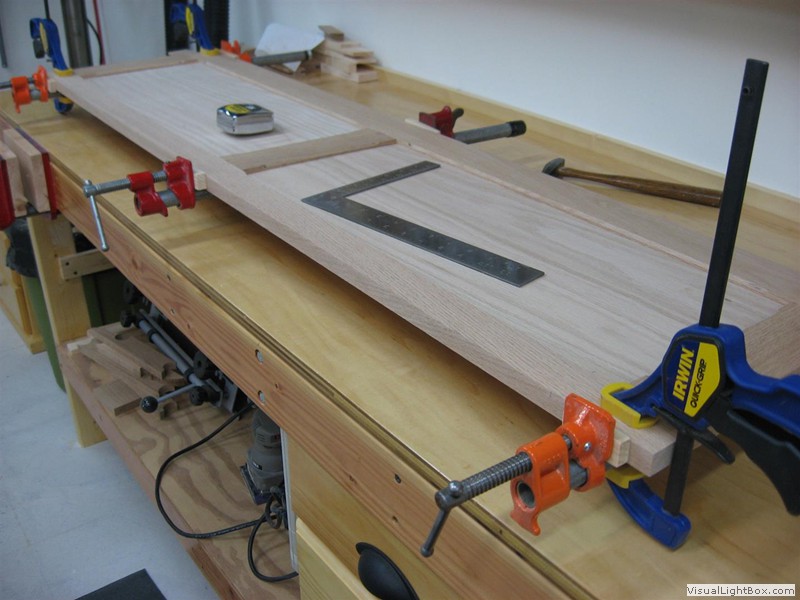
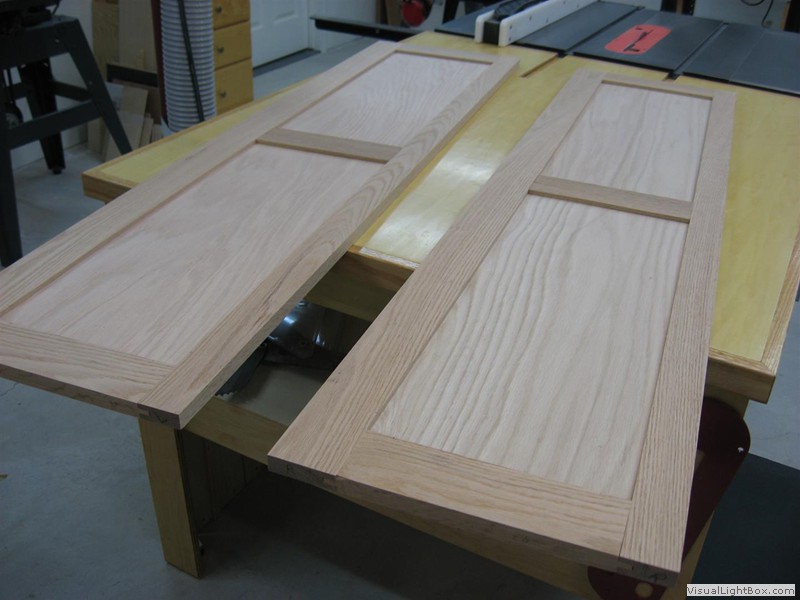
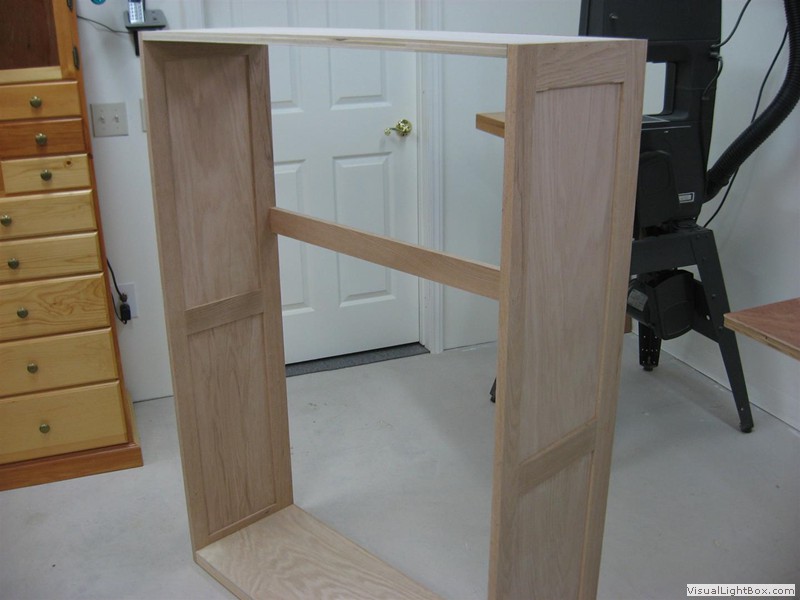
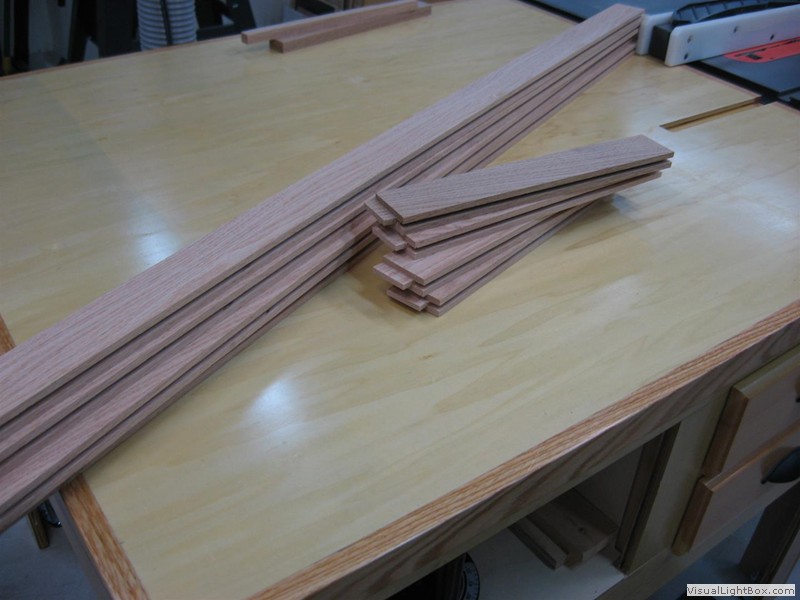
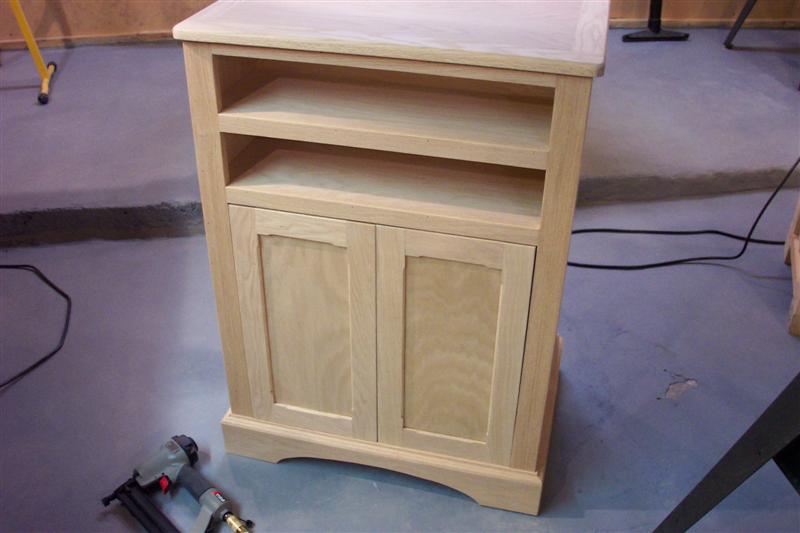
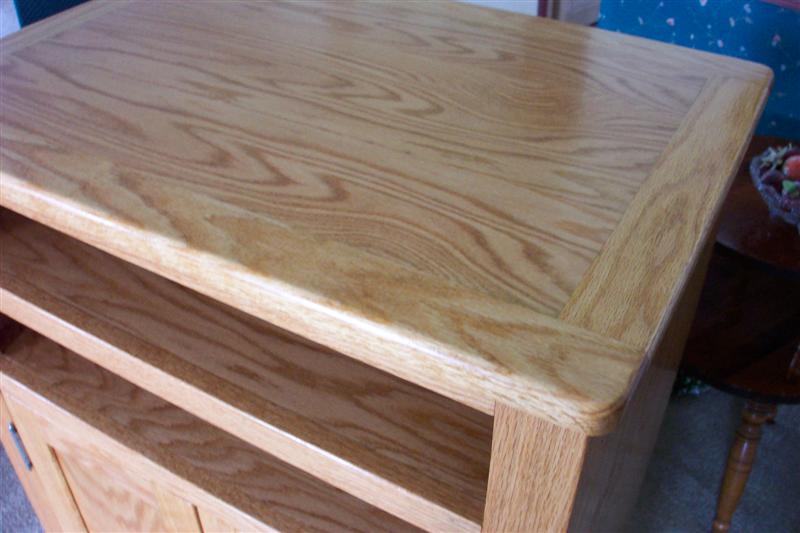
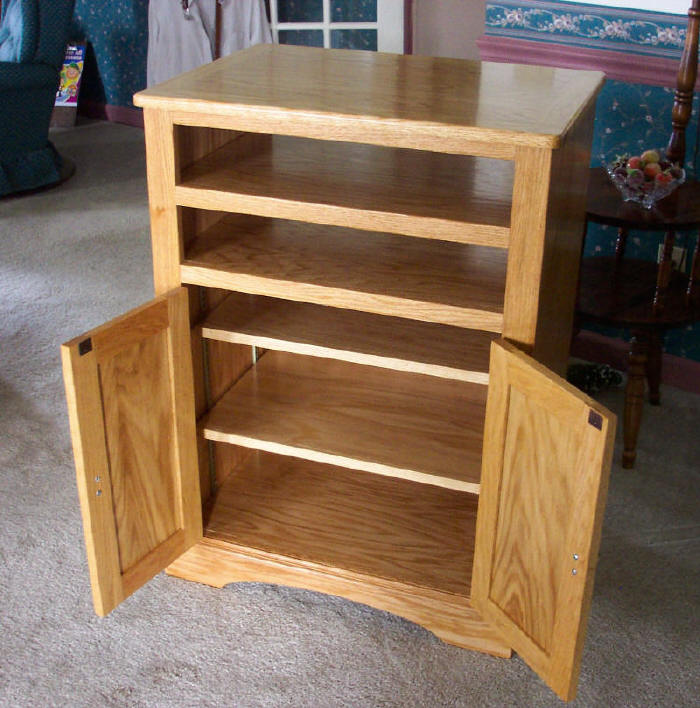
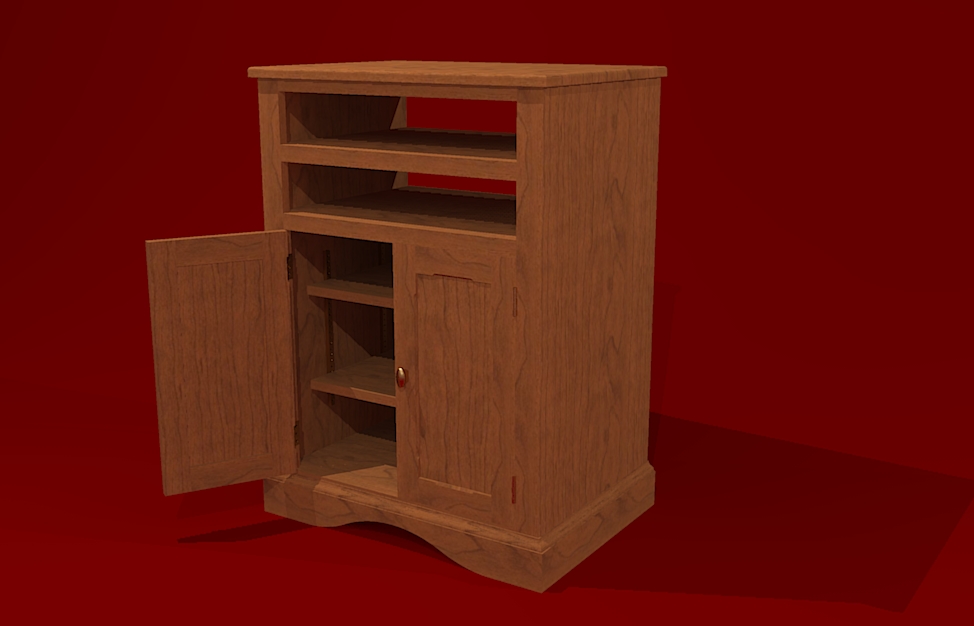
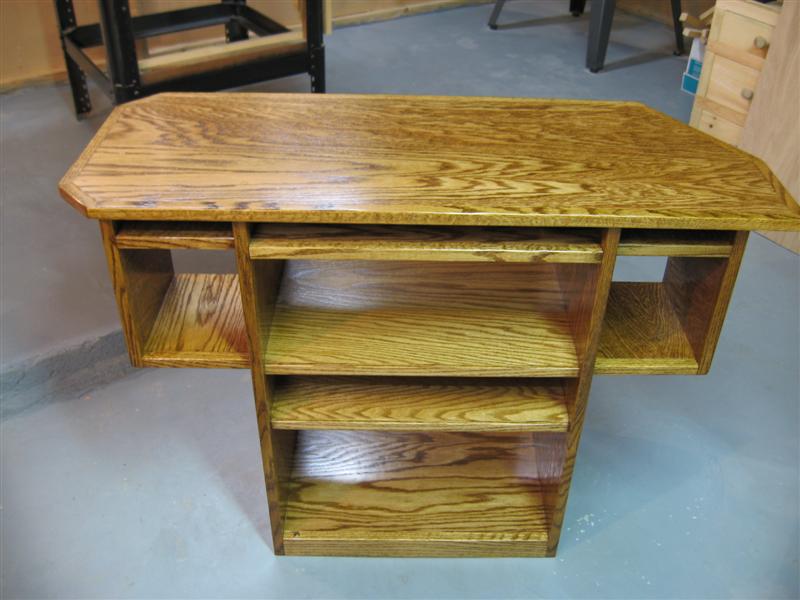
TV Stand This TV stand was build for my daughter and son-in-law as an addition to their bedroom. It's made out of solid Oak with the sides, shelves and part of the top constructed from 3/4" Oak plywood. The cabinet was designed and finished to match their existing bedroom furniture. The overall dimensions for the cabinet came from my son-in-law to fit within a specific space and hold the additional electronic equipment. There are two adjustable shelves inside the closed cabinet. Just after starting construction I discovered a design flaw with the top. I was concerned that there may not be enough support under the top to hold the weight of the TV so I added additional cross braces for the top to sit on. These can be seen in the first two pictures below. Below are some in process construction pictures and a copy of my plans are [HERE] The SketchUp drawing for this desk is in my DRAWINGS page.
 |
 |
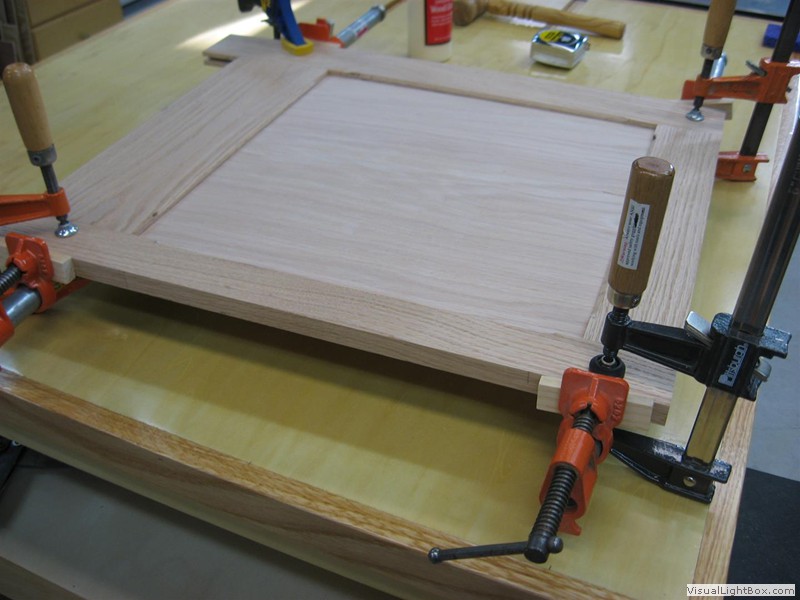
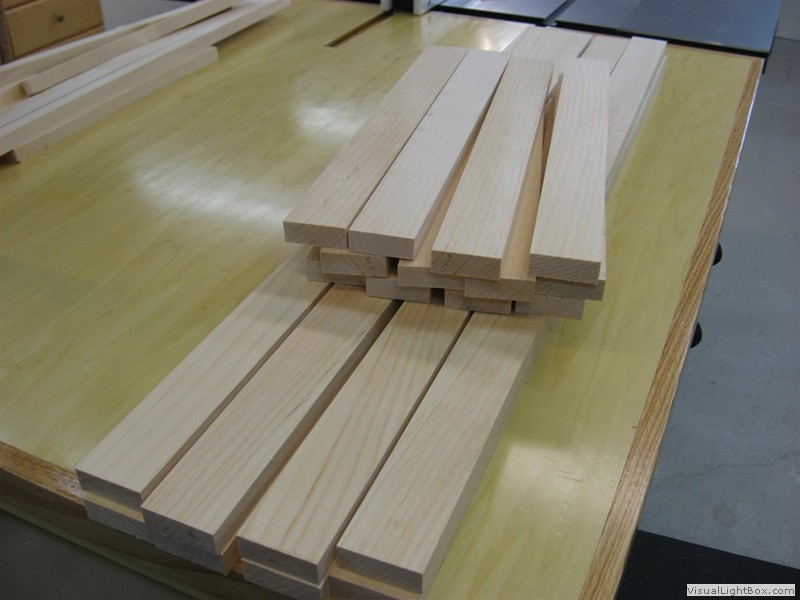
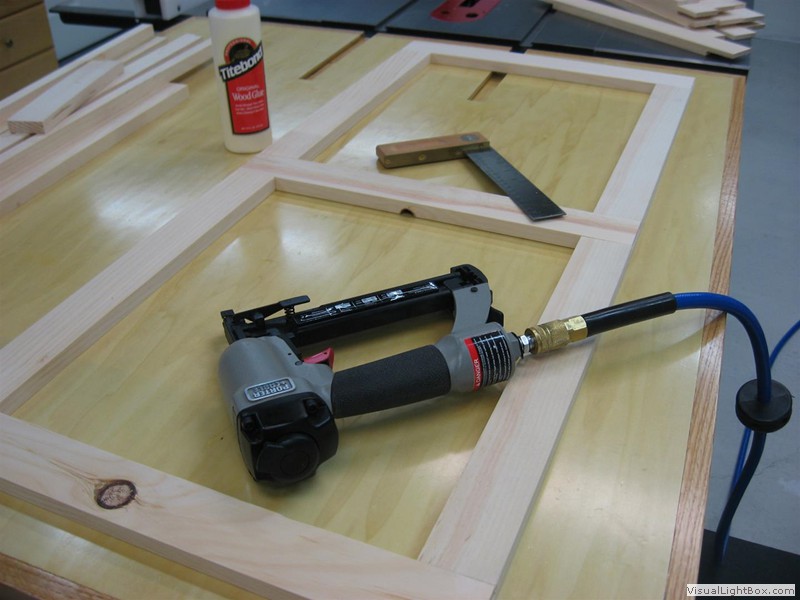
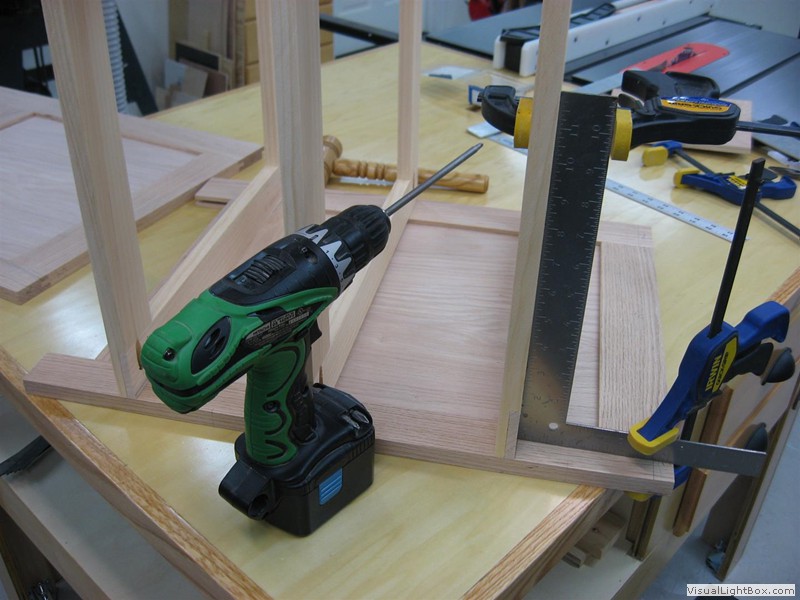
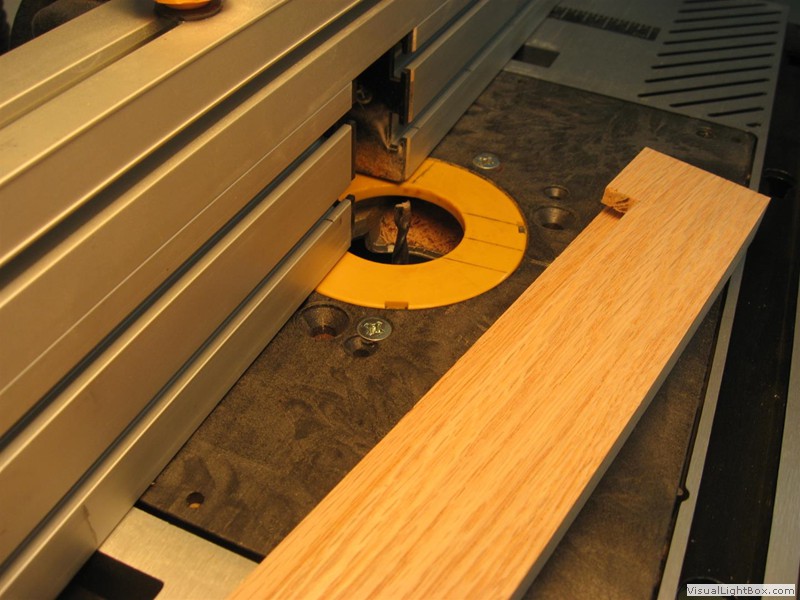
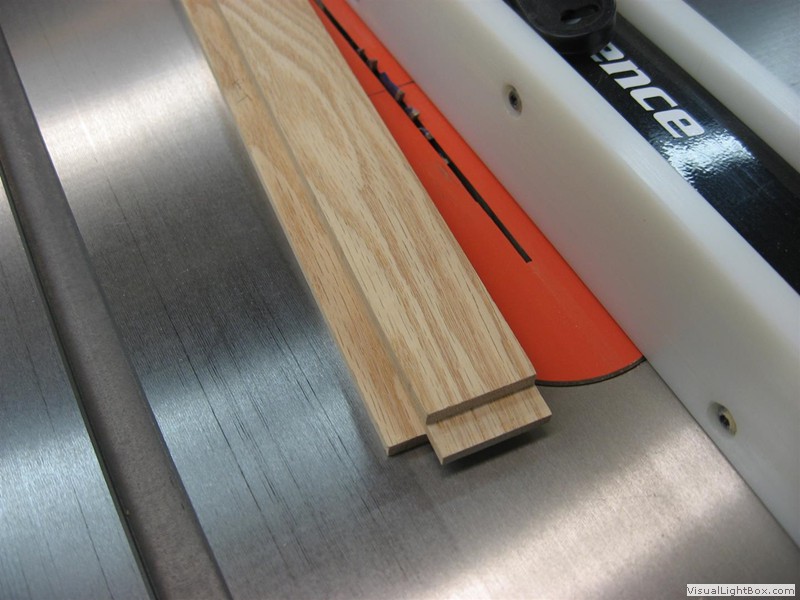
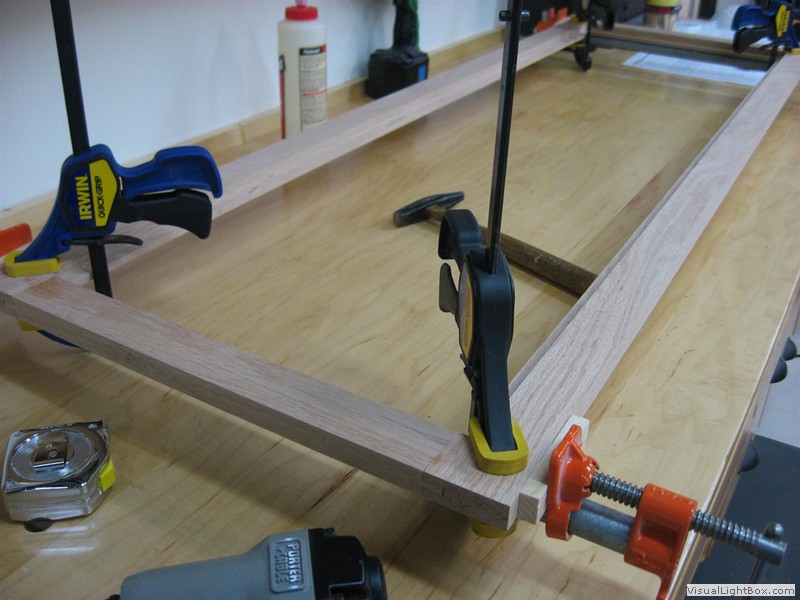
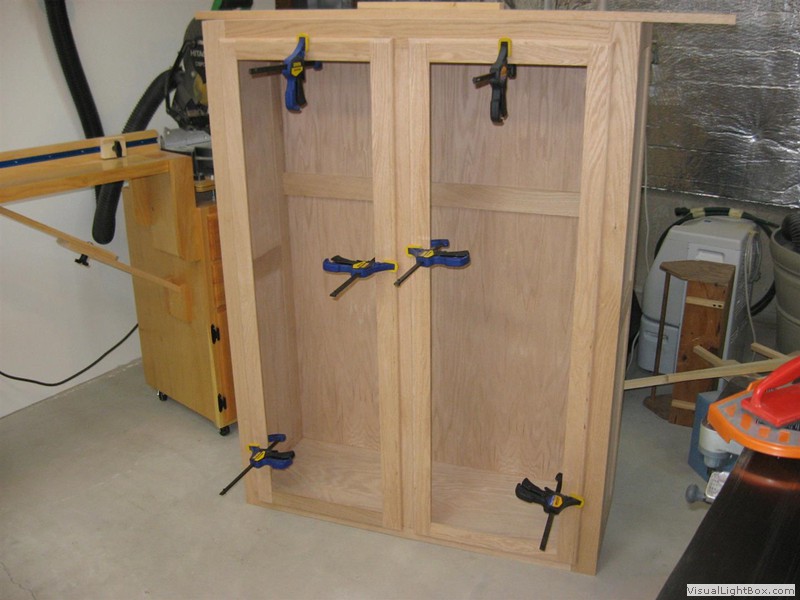
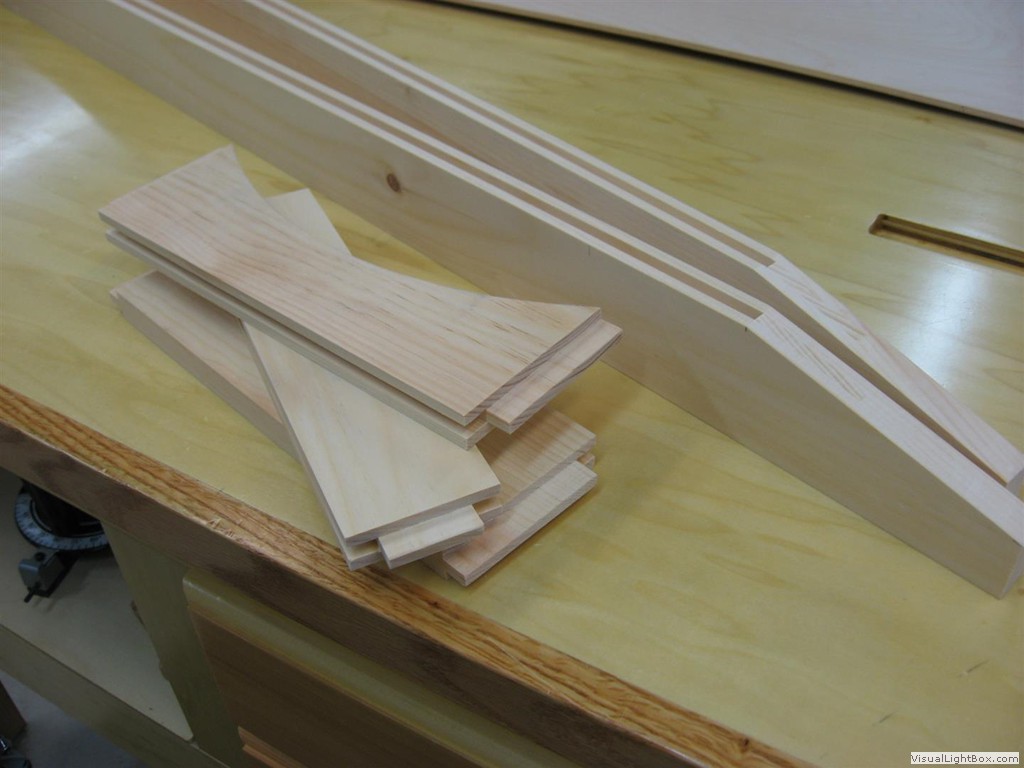
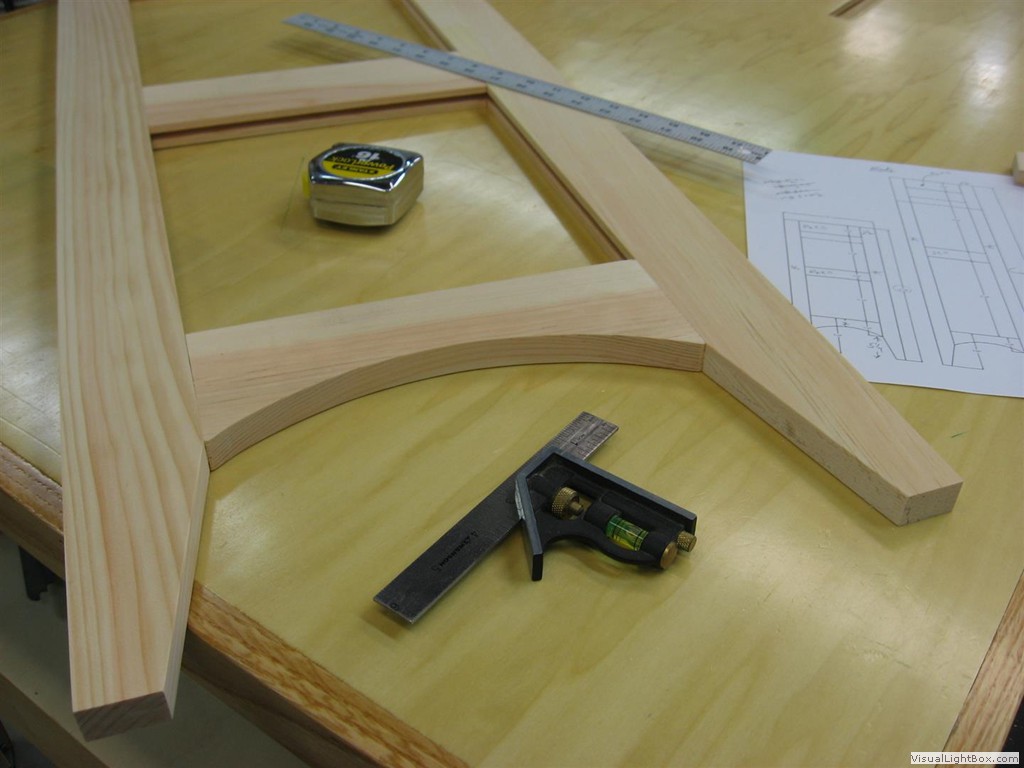
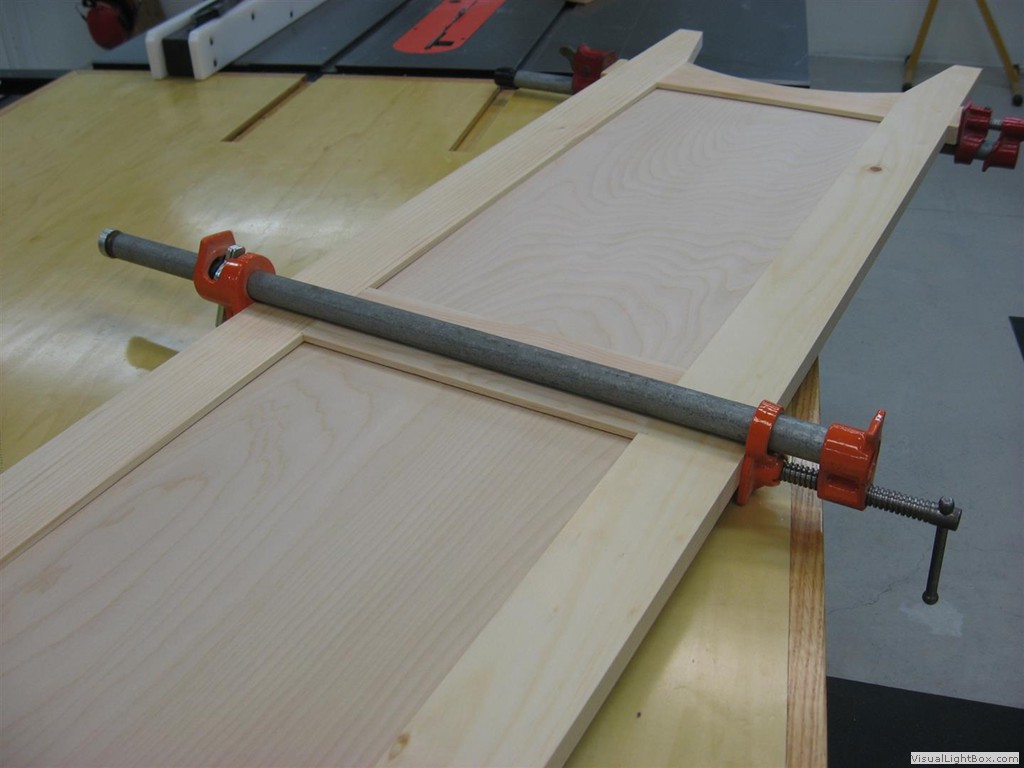
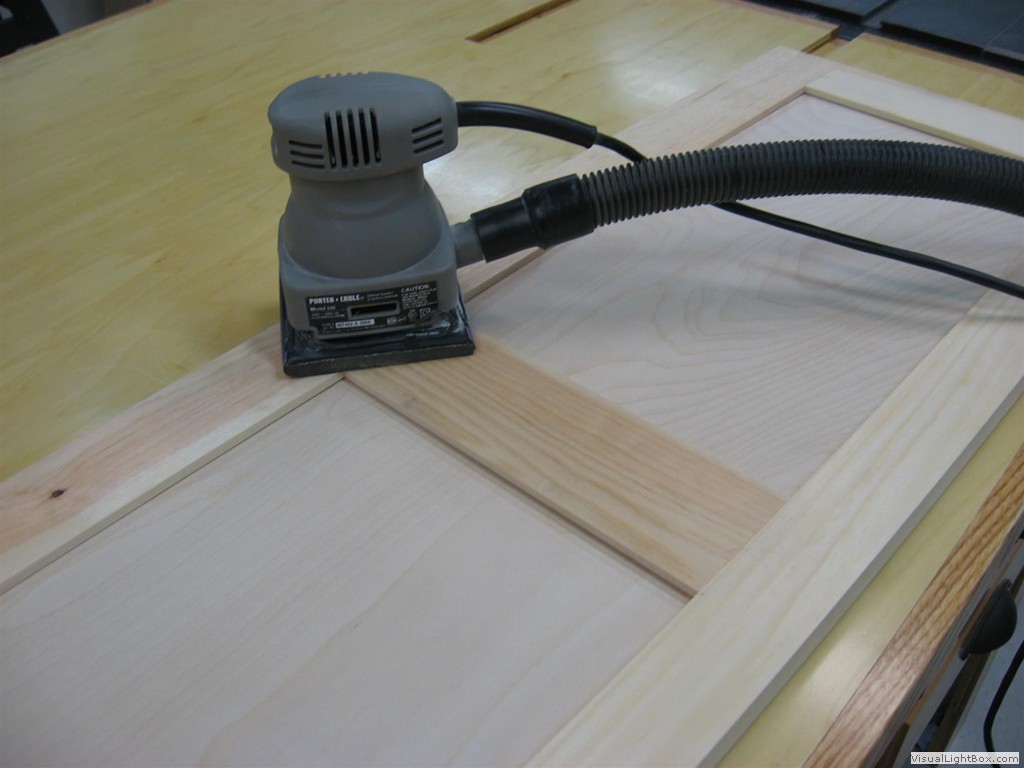
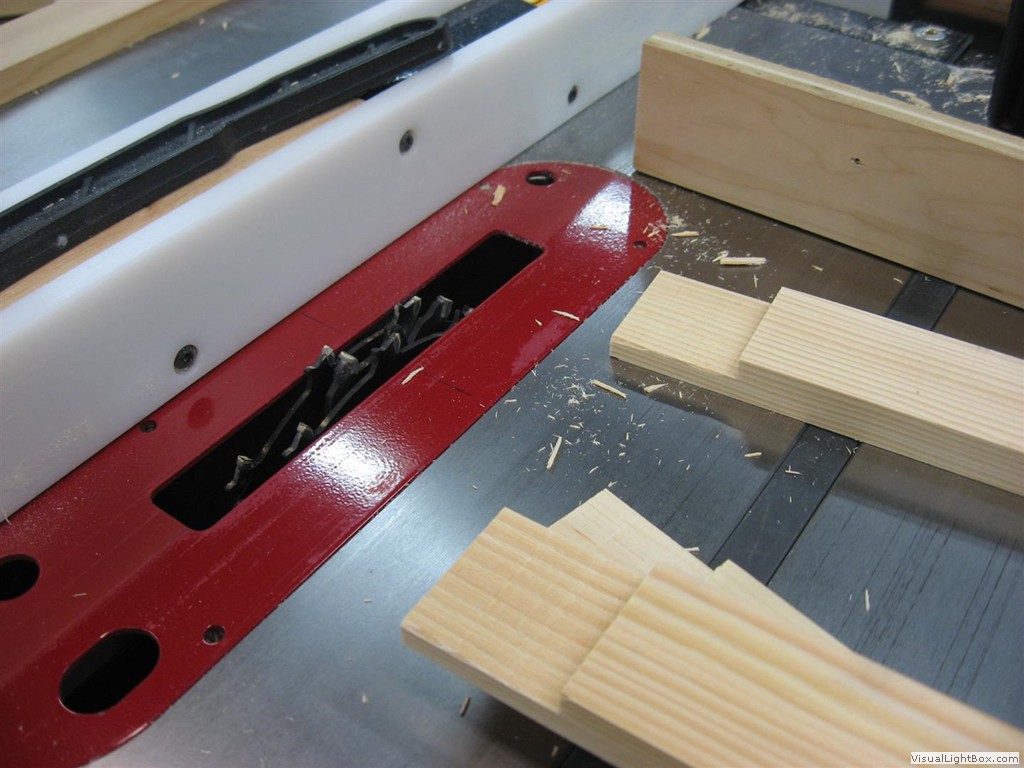
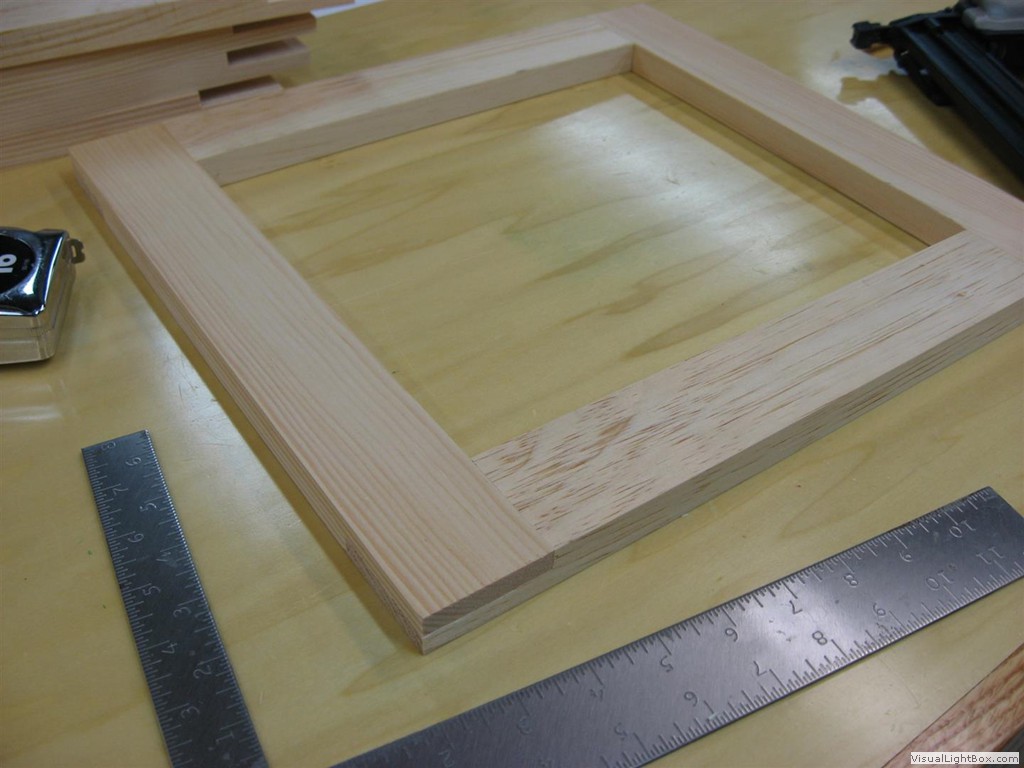
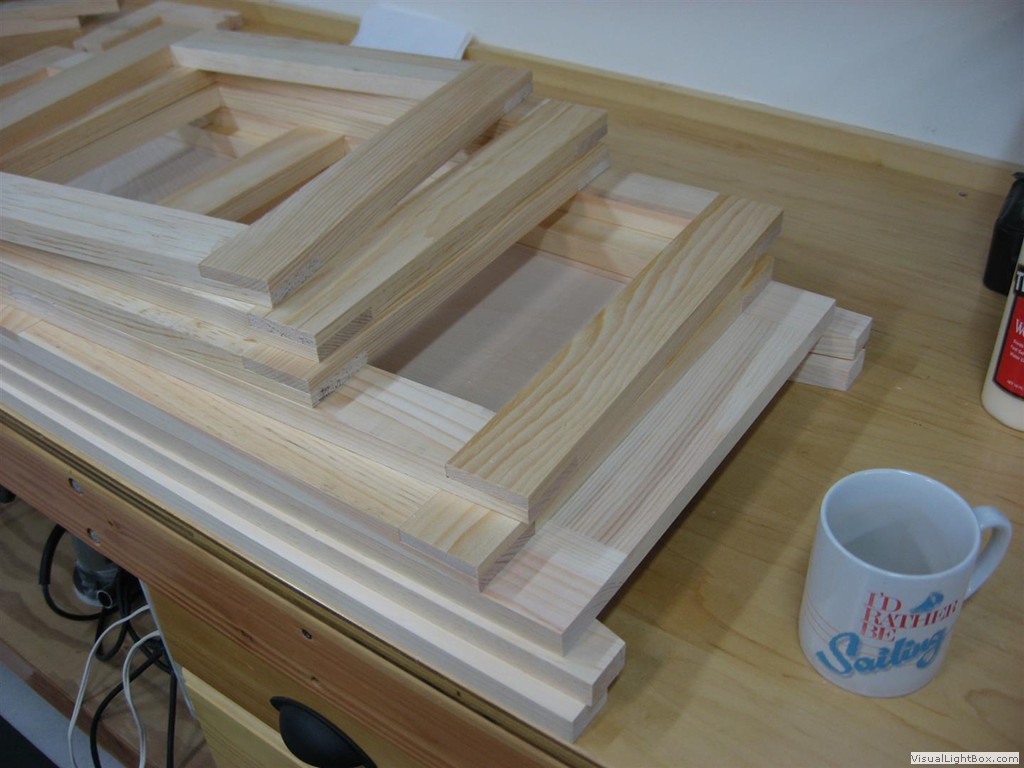
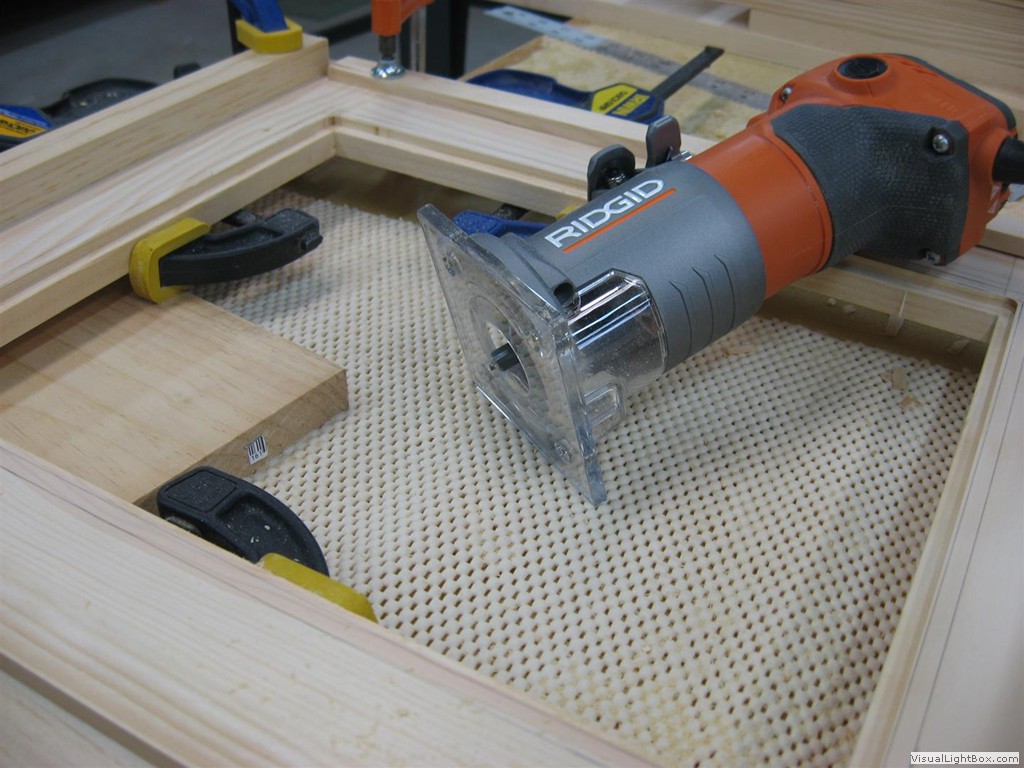
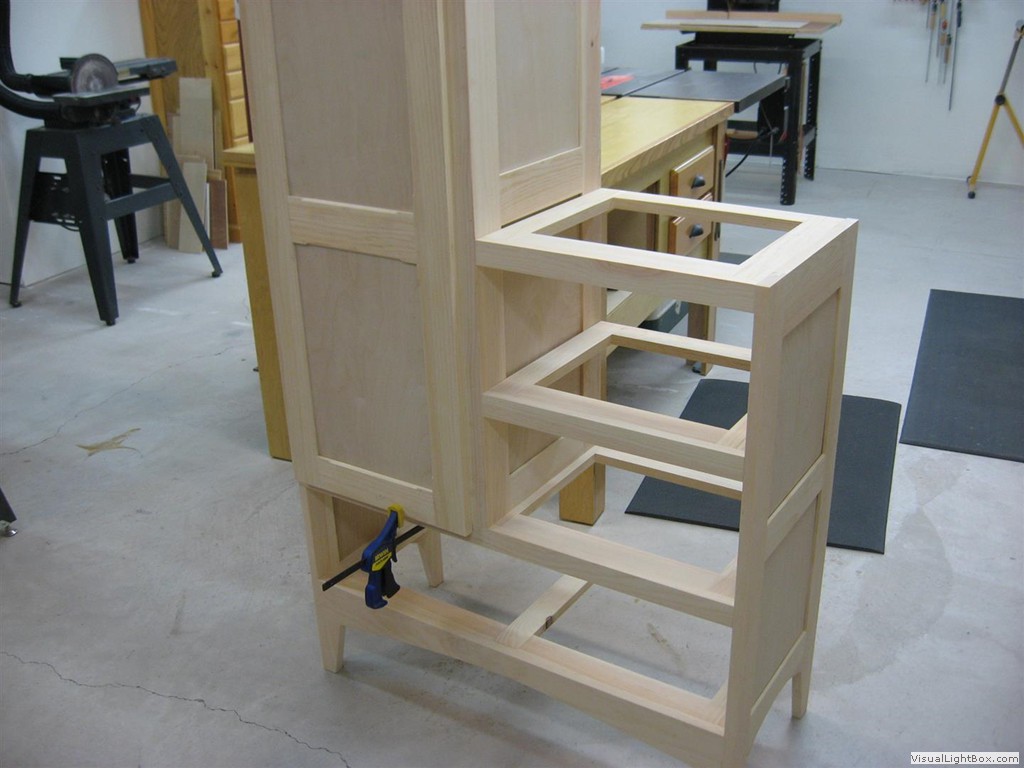
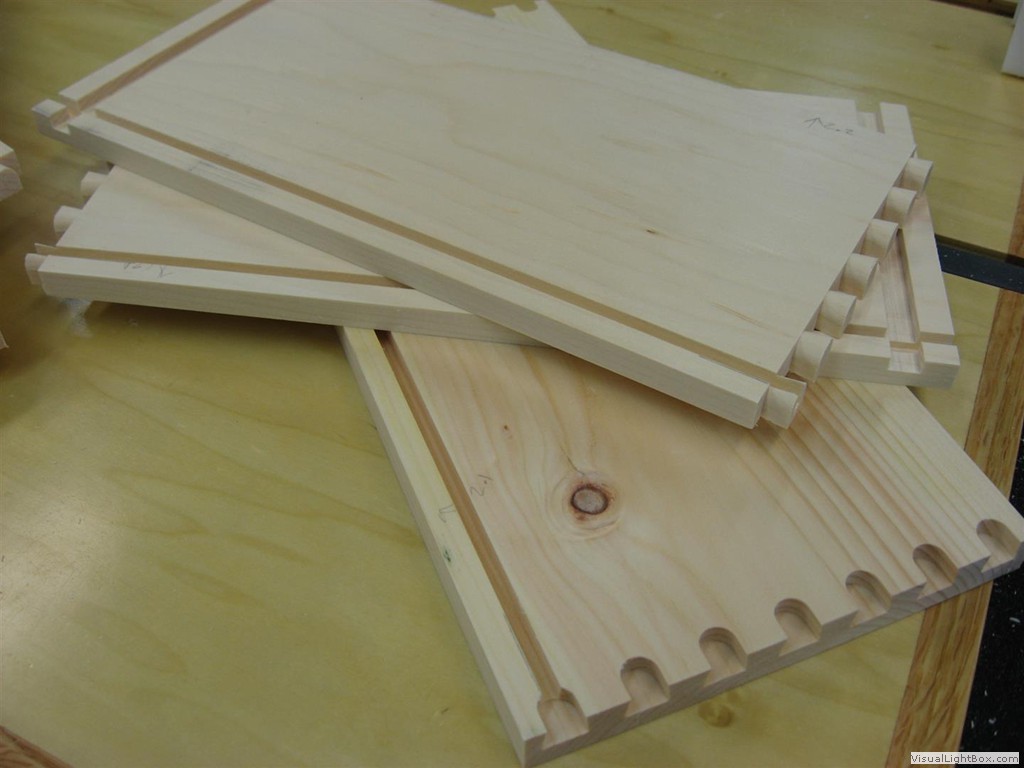
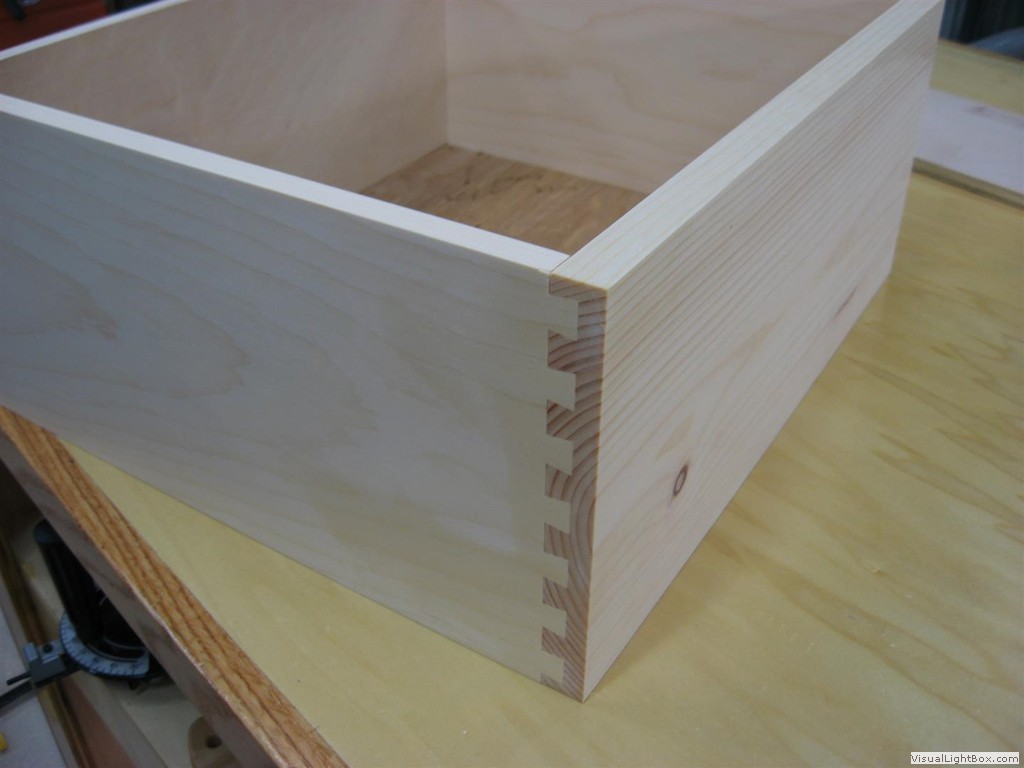
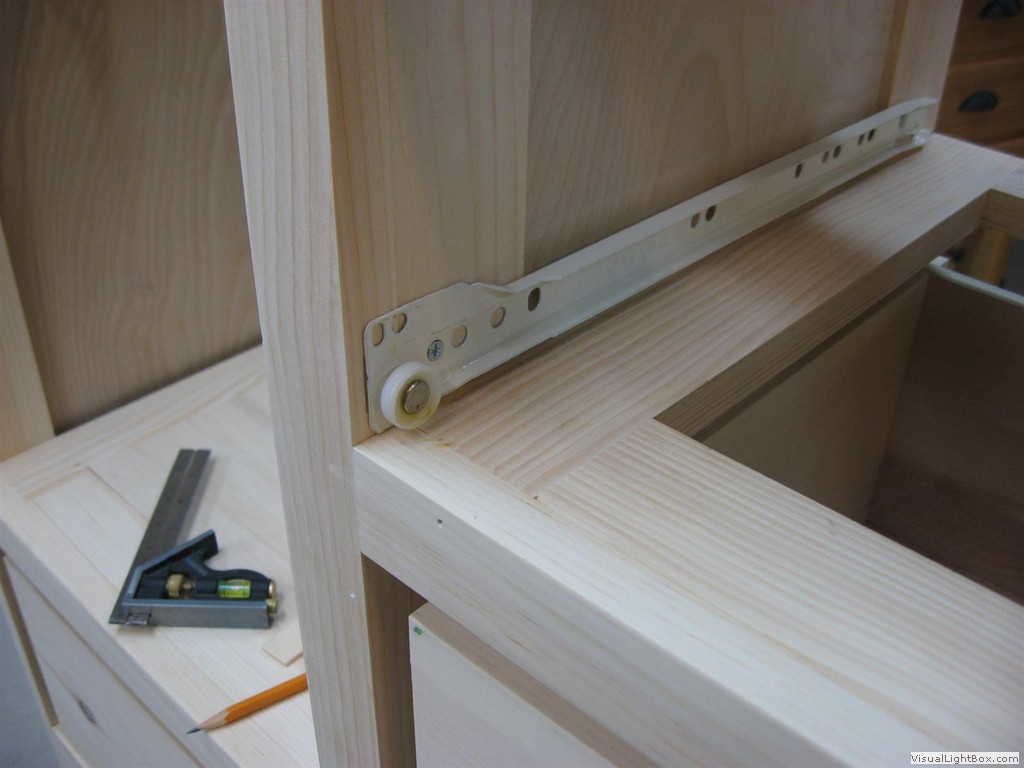
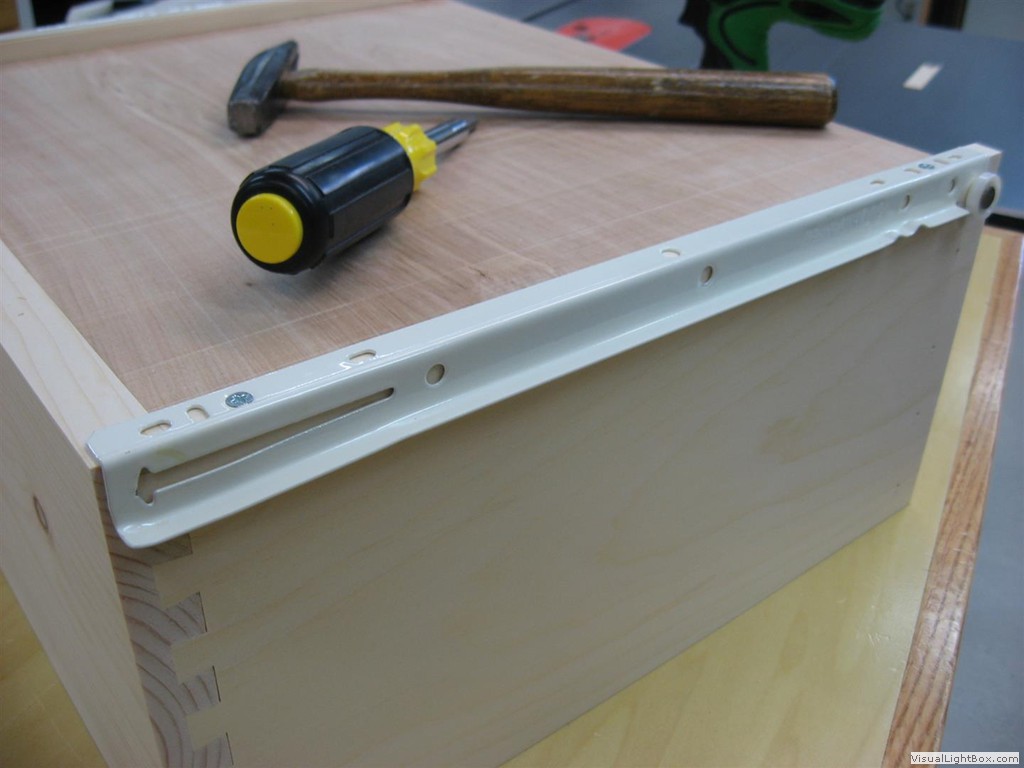
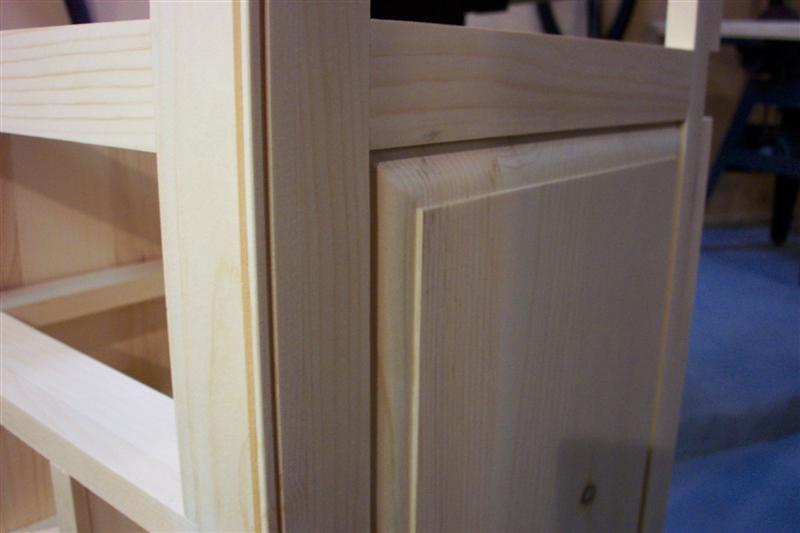
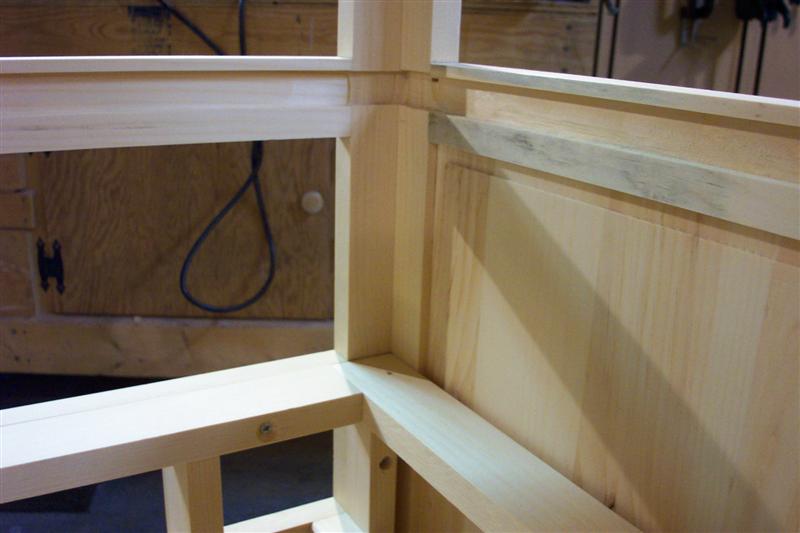
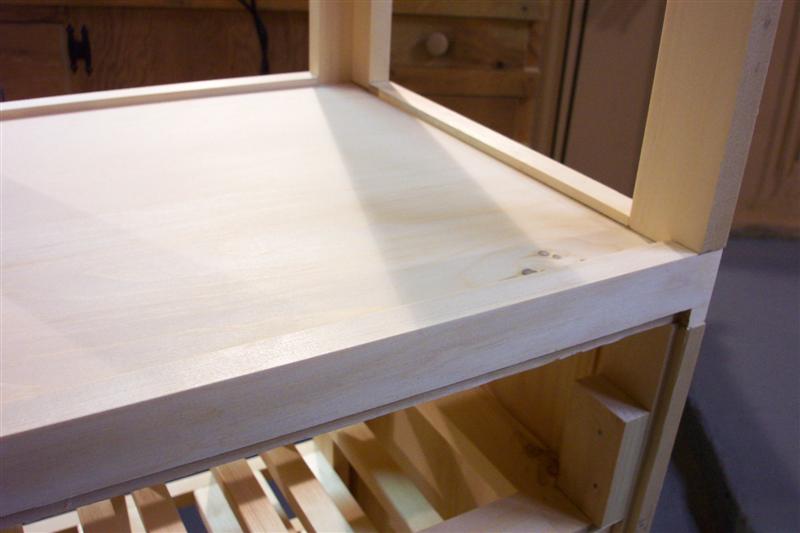
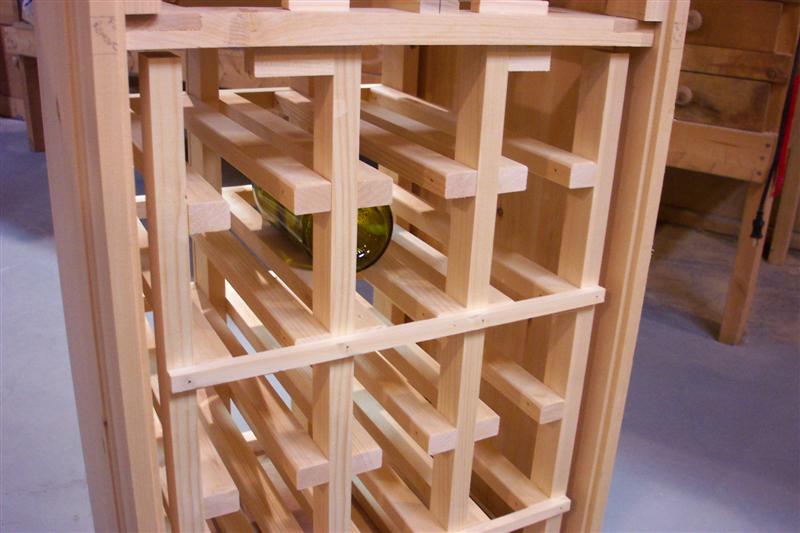
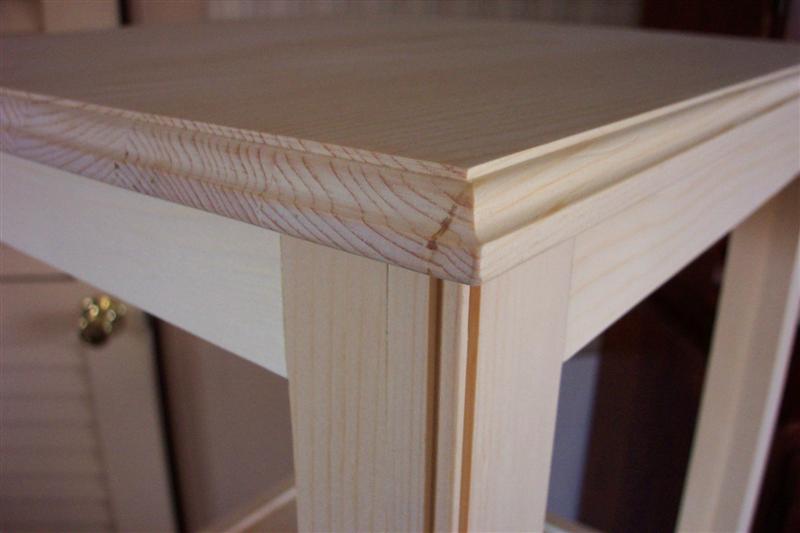
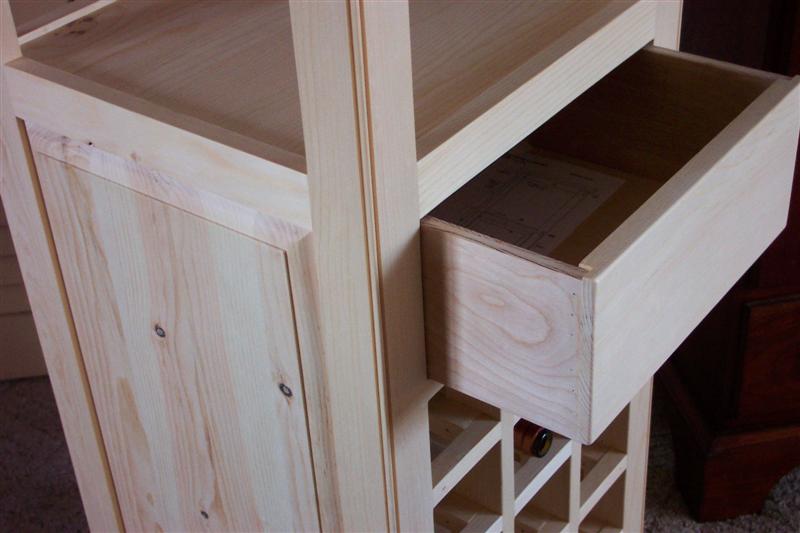
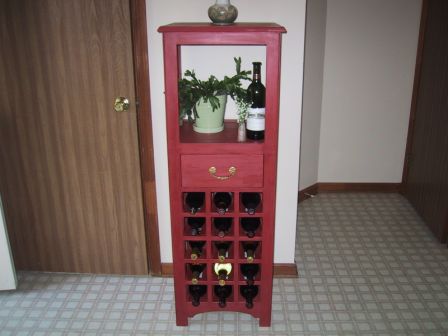
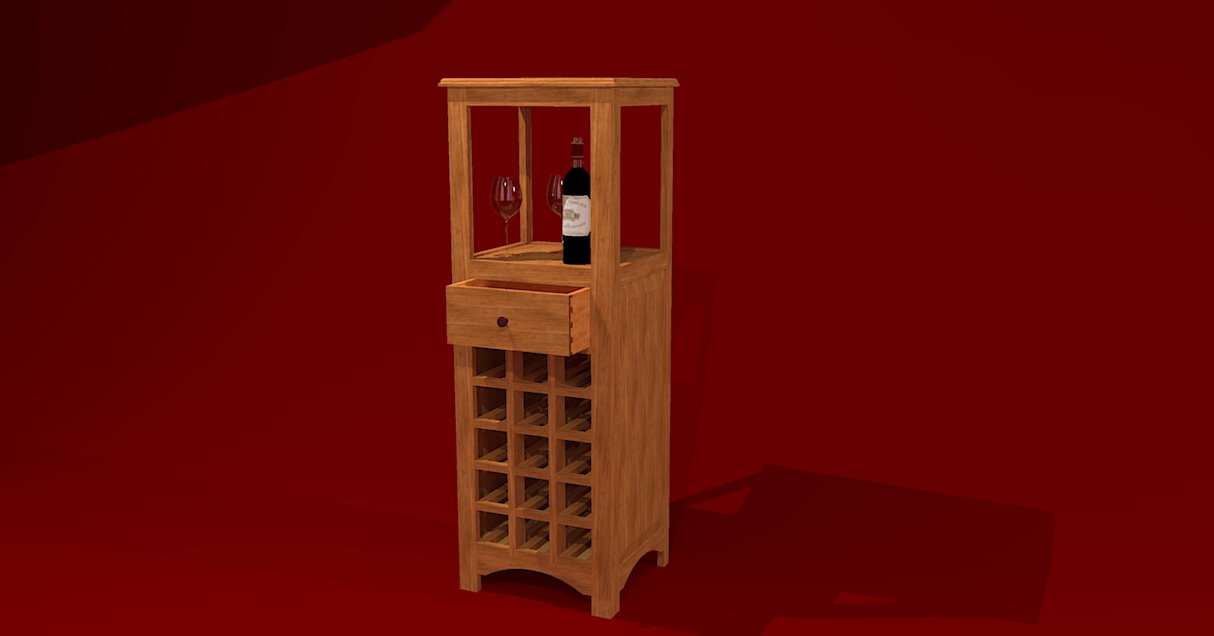
Wine Cabinet I built this from a picture I saw on the internet while searching for some different wine racks. I liked the look of this wine rack so much that I had to see if I could draw up a workable design. After several days of drawing and redrawing I got the plans where I thought they were good enough to begin construction. The original had a flat panel side, but I wanted to make mine a little different so I made the sides with a raised panel. The cabinet is made completely with mortis and tenon joinery. The internal rack to hold the wine bottles was a little challenging. My original intention was to construct the entire rack as a separate unit so that it could be finished "outside" of the cabinet and installed through the back when ready. But, getting it to fit perfectly turned out to be a problem so it was built it place. The cabinet was finished in red milk paint. The overall dimensions are 18"W x 17"D x 51"H. Here are a few pictures showing the various stages of construction. 
 |
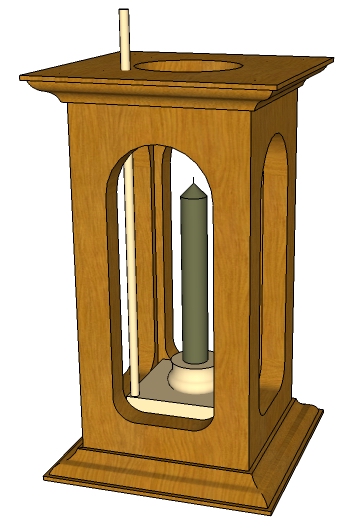 |
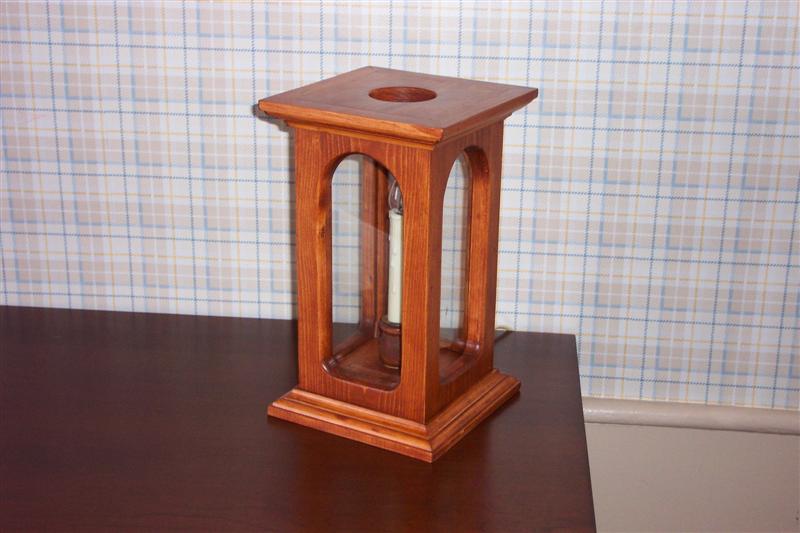
Candle Lantern I first designed and build this lantern in 1980 and recently decided to rebuild it to use an electric candle instead of a wax candle. The original design allowed you to raise and lower the candle through a smoke hole in the top via a dowel which extended through the top and was attached to a slide base that the candle was fixed to. The sides are glassed in and the top is removable to allow access to the candle and removal and cleaning of the glass. The overall dimensions are 6" x 6" x 11"H. 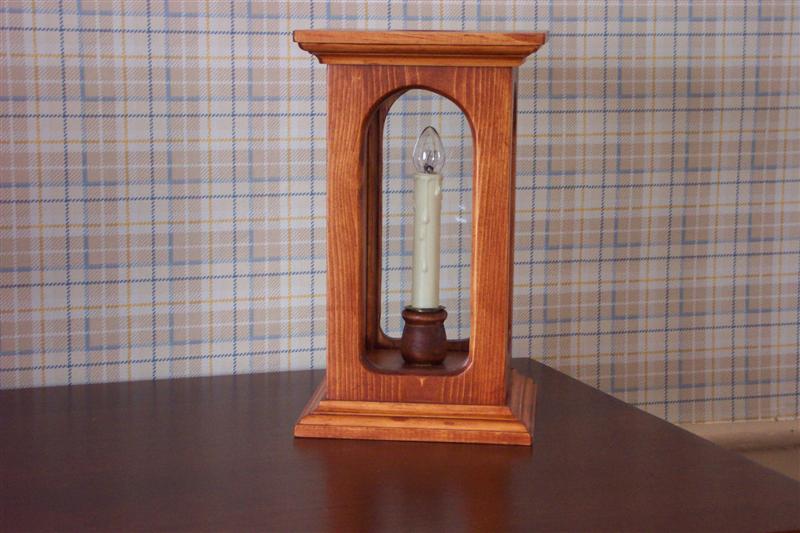
 |
 |
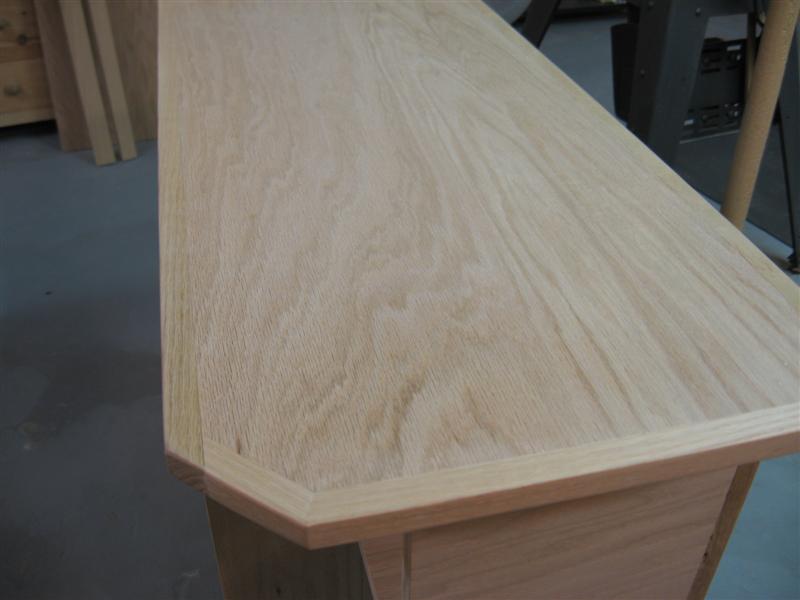
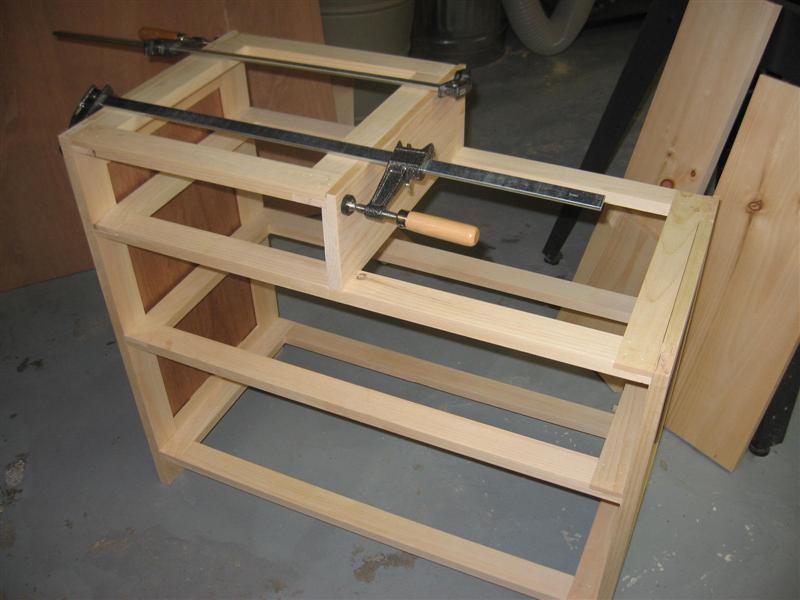
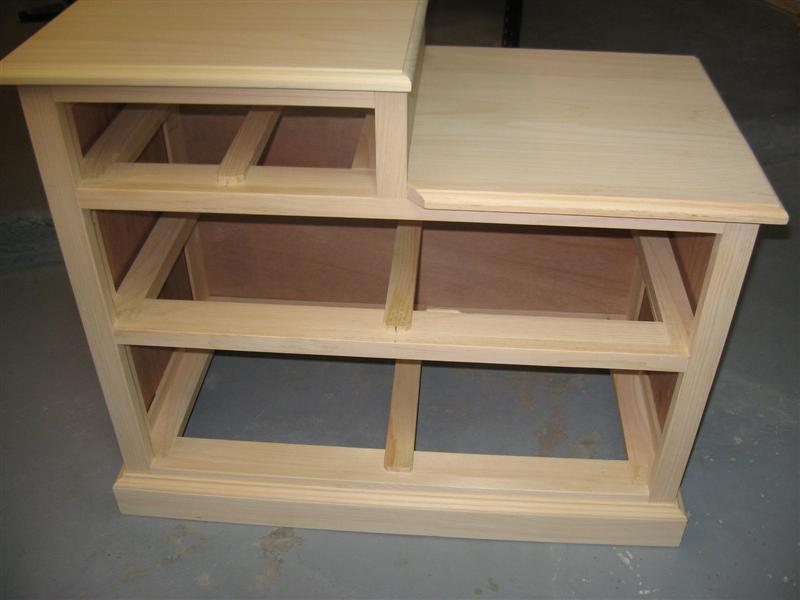
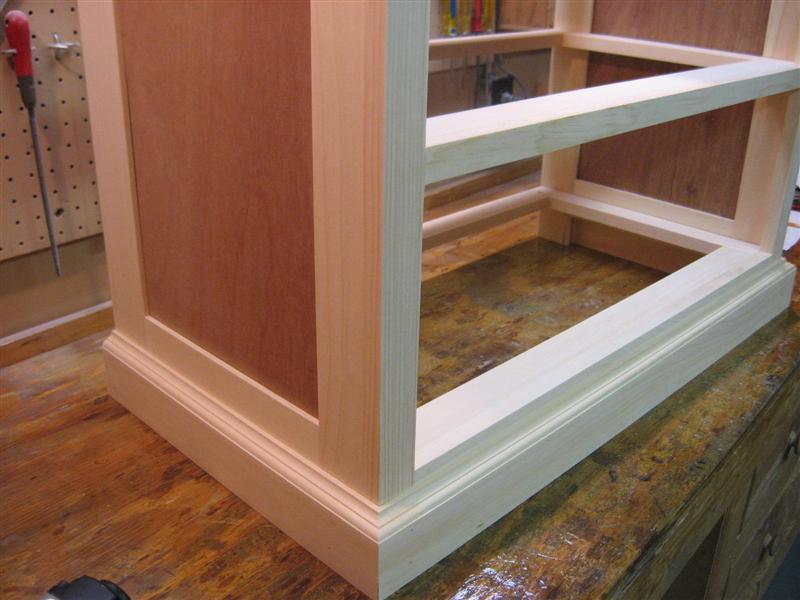
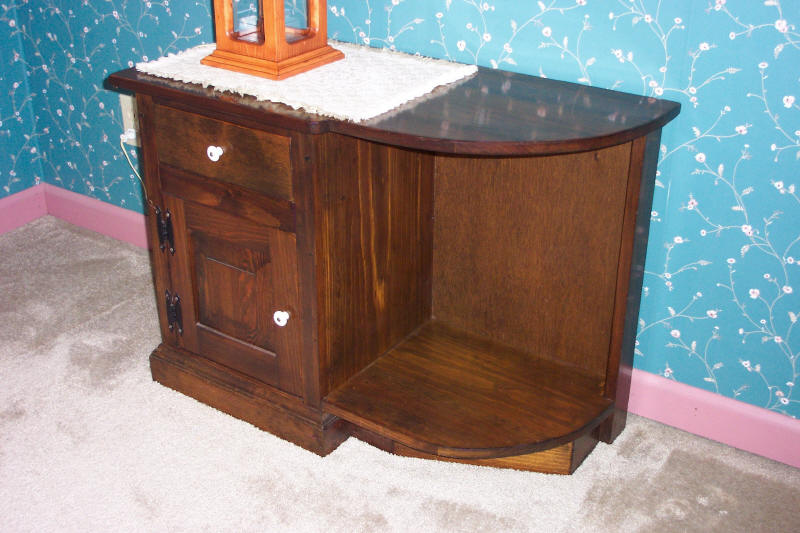
TV and Stereo Cabinet This combination TV and Stereo cabinet was build in April 2007 for my daughter and son-in-law to replace their existing TV stand in their Family Room. This is a one of a kind cabinet and made to fit their TV, stereo and PC requirements. The majority of the construction took 4-5 hours on a Saturday. The side compartments were attached a day or two later. Total construction time was about 6 hours. Materials included one 3/4" x 4' x 8' sheet Oak plywood and one 3/4" x 8" x 6' Oak. The measured drawing is HERE. |
|
|
|
|
|
|
|
|
|
|
|
|
|
|
|
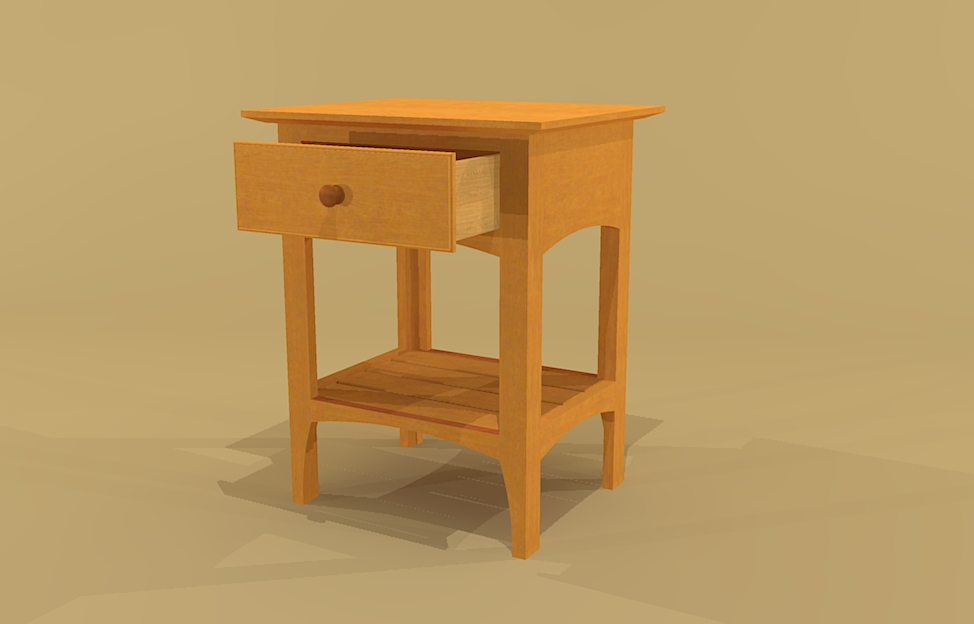 |
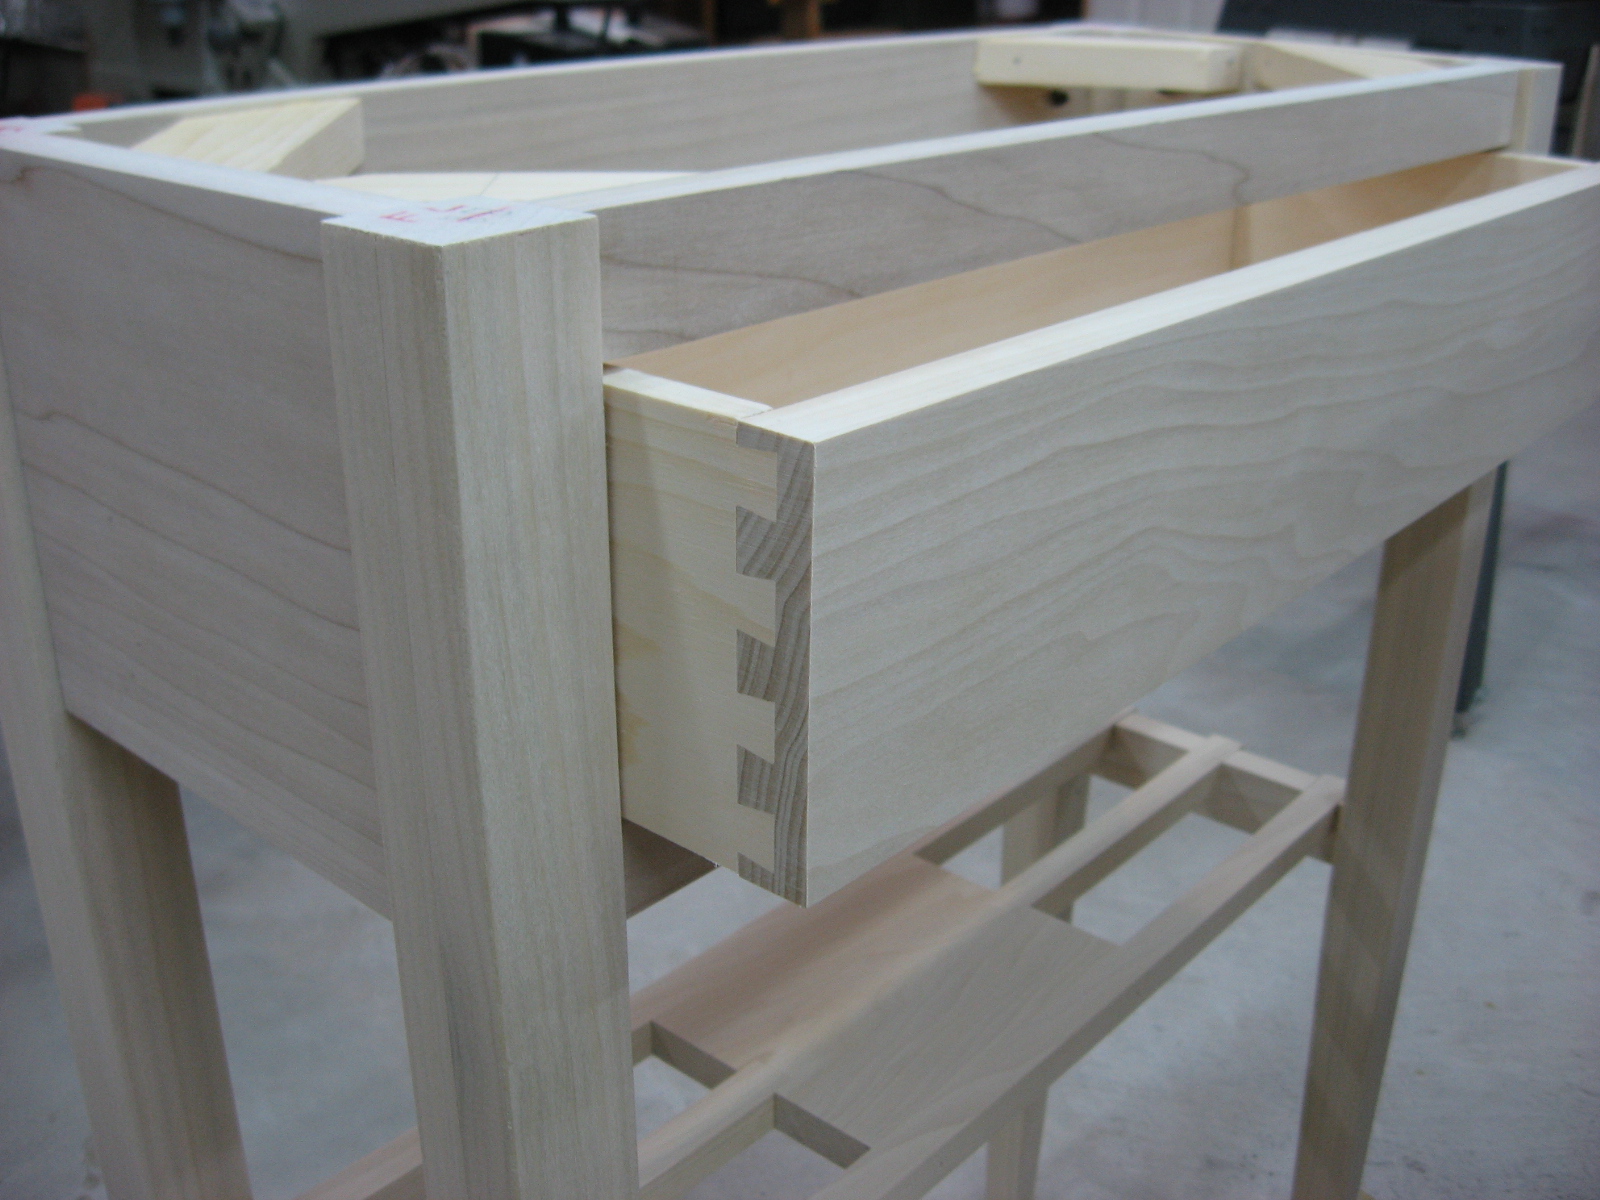
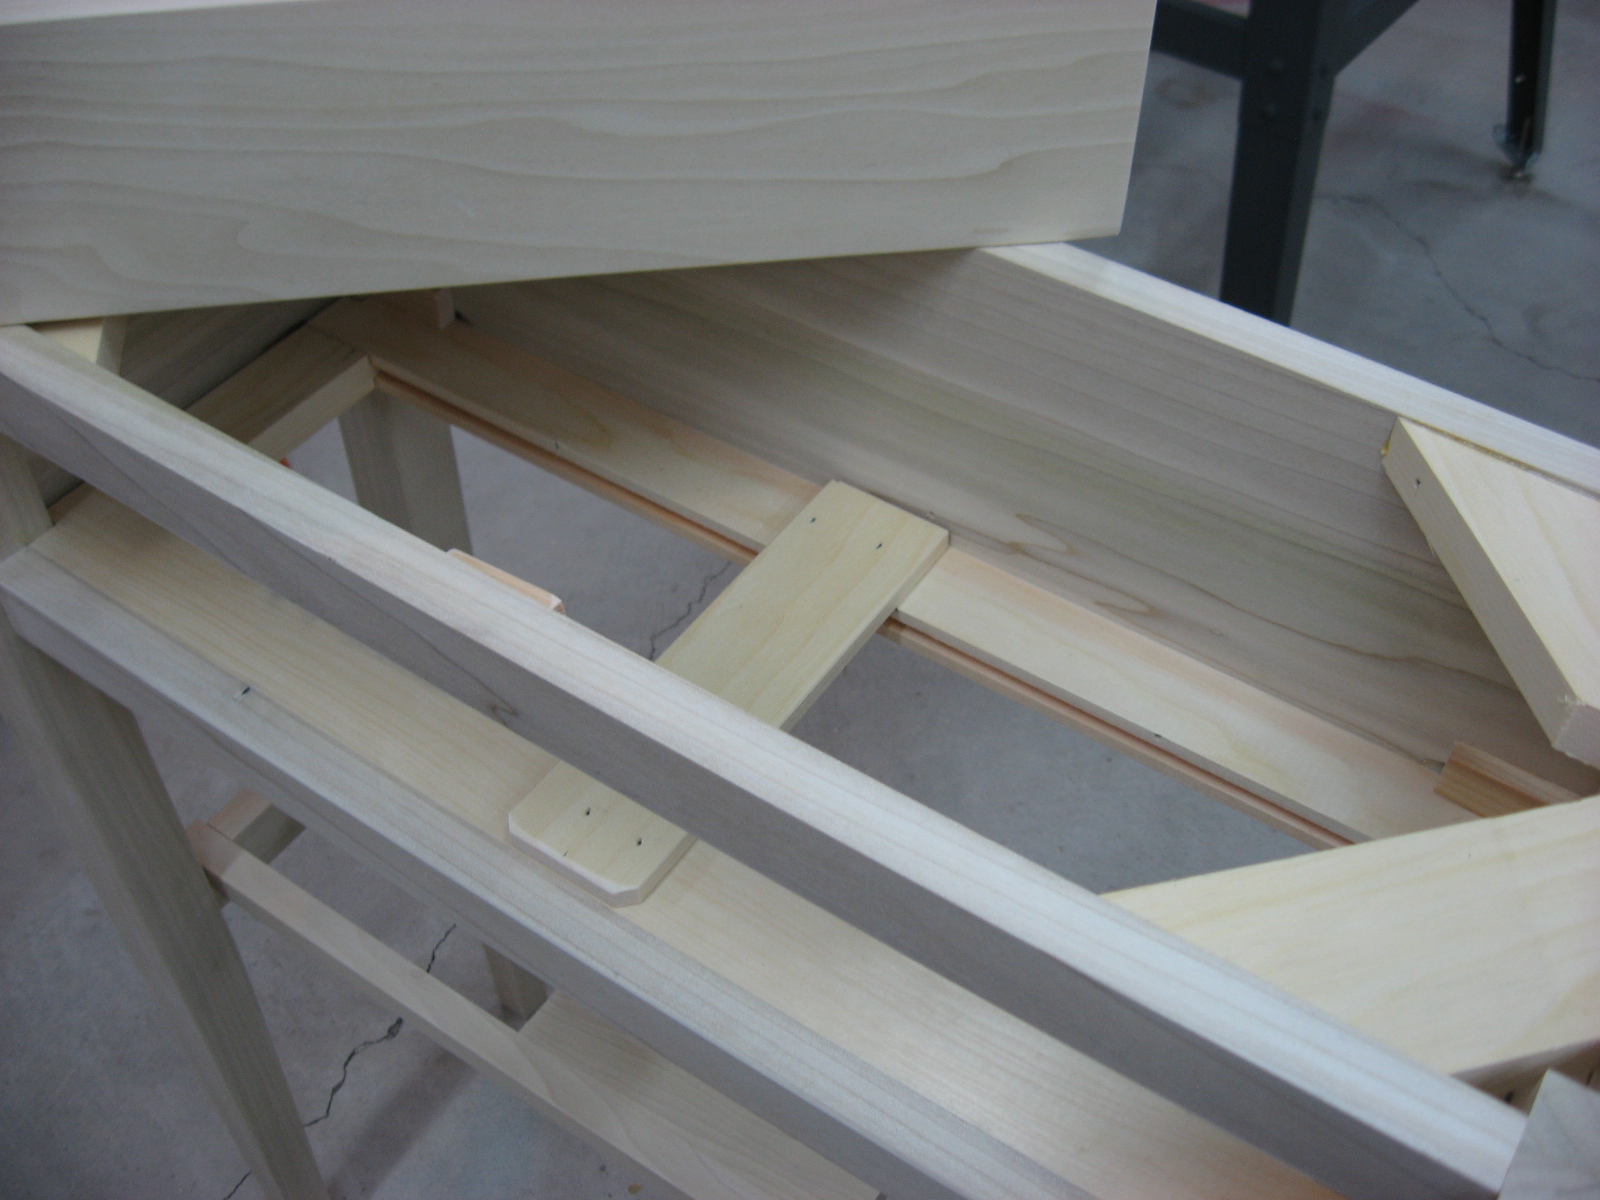
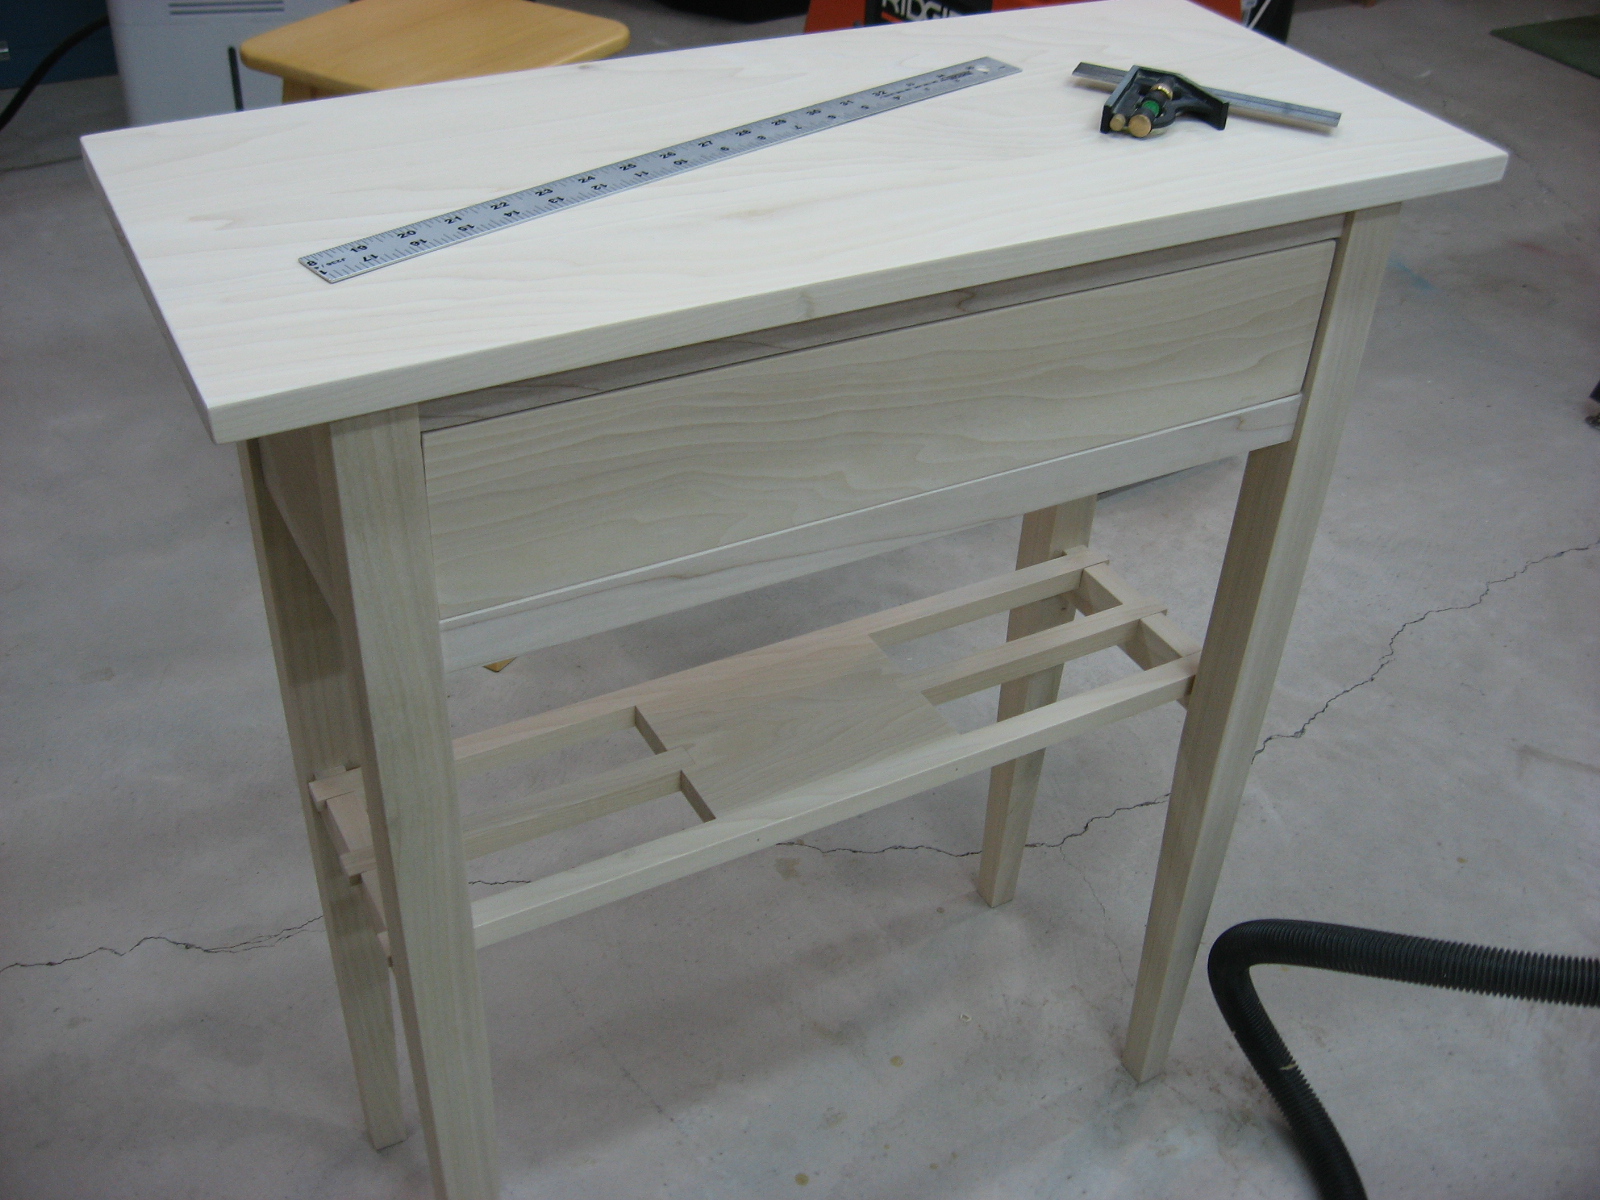
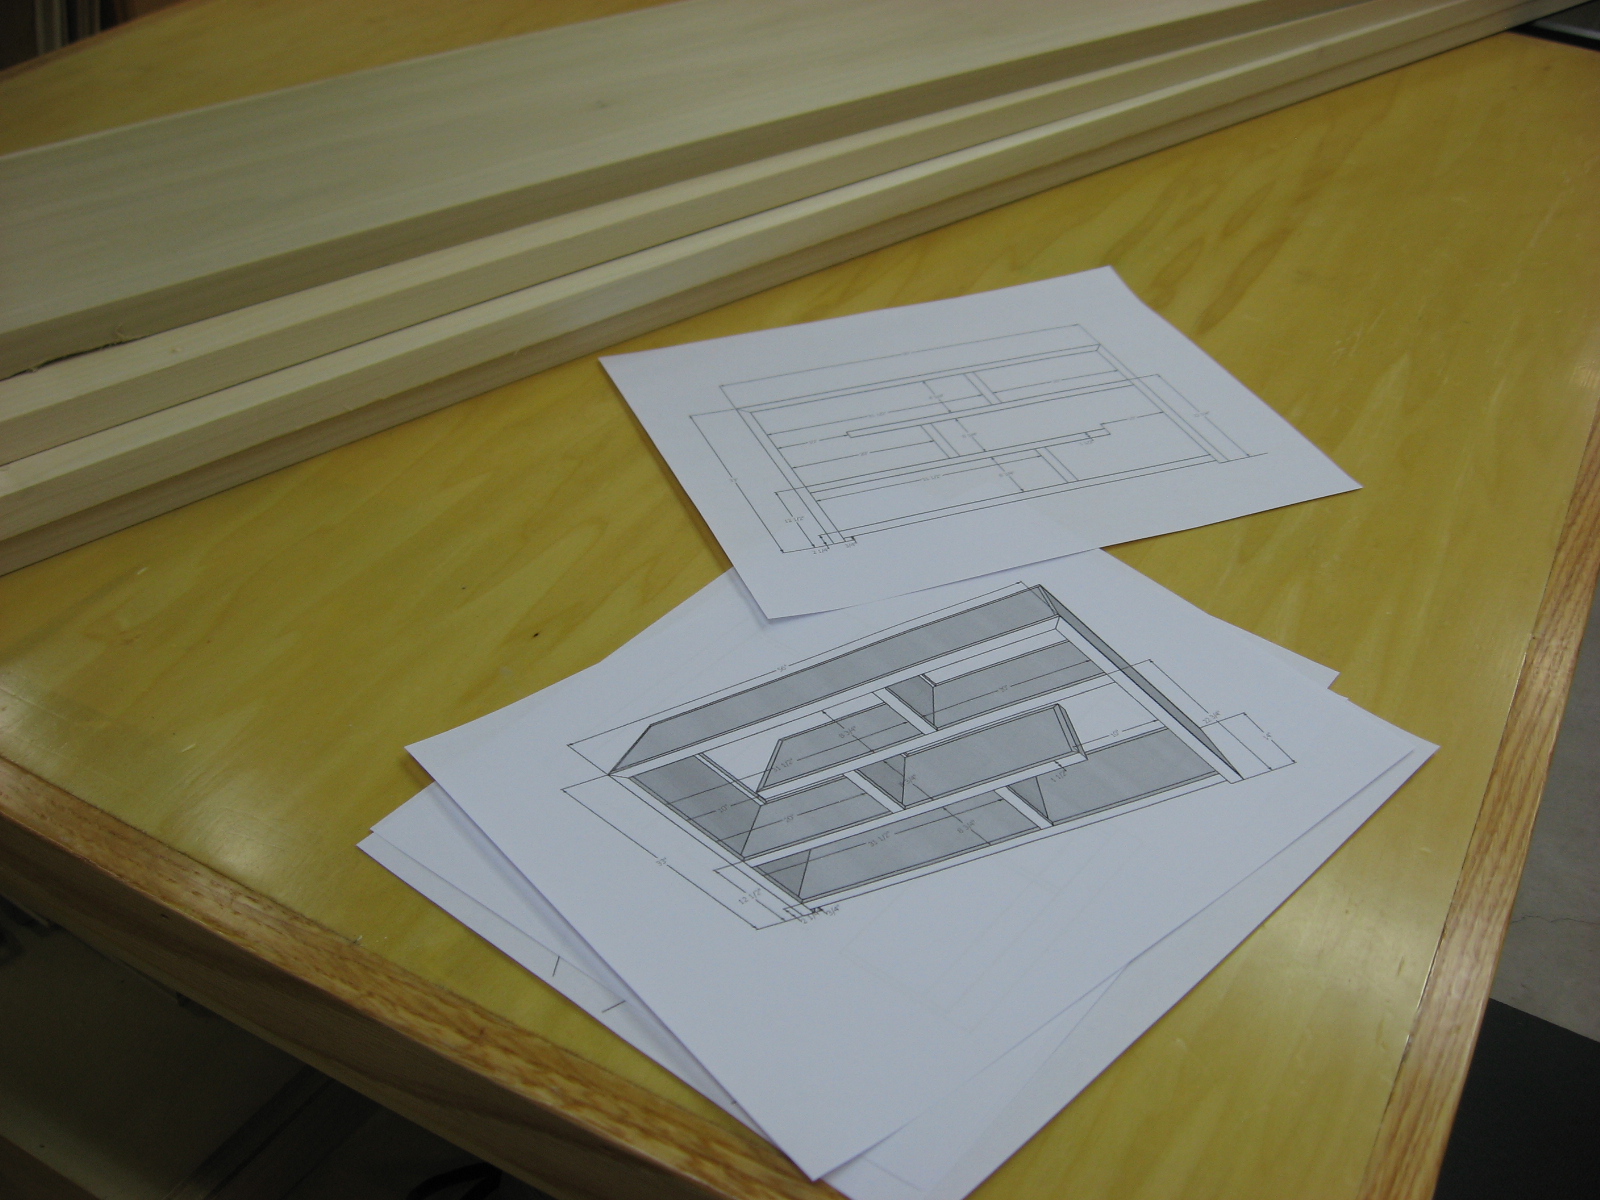
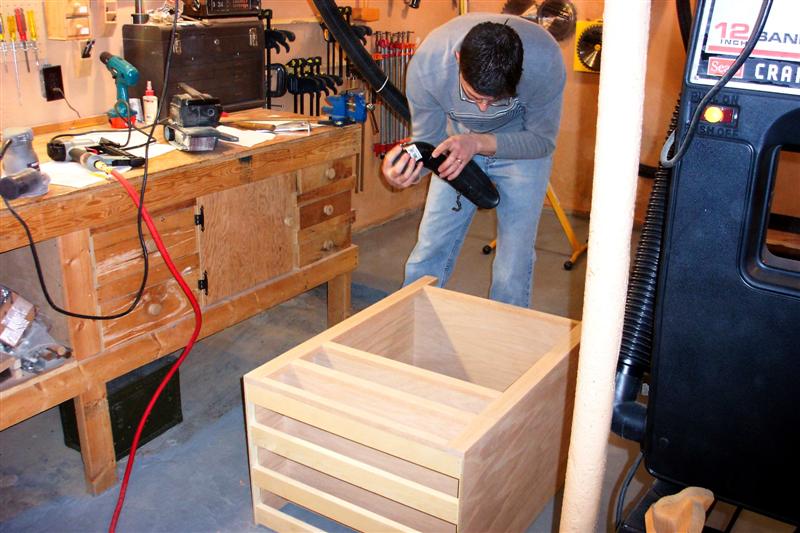
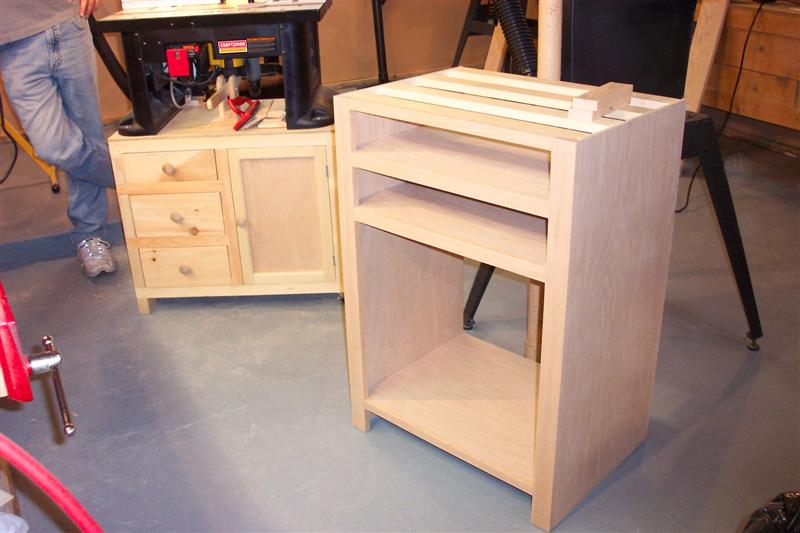
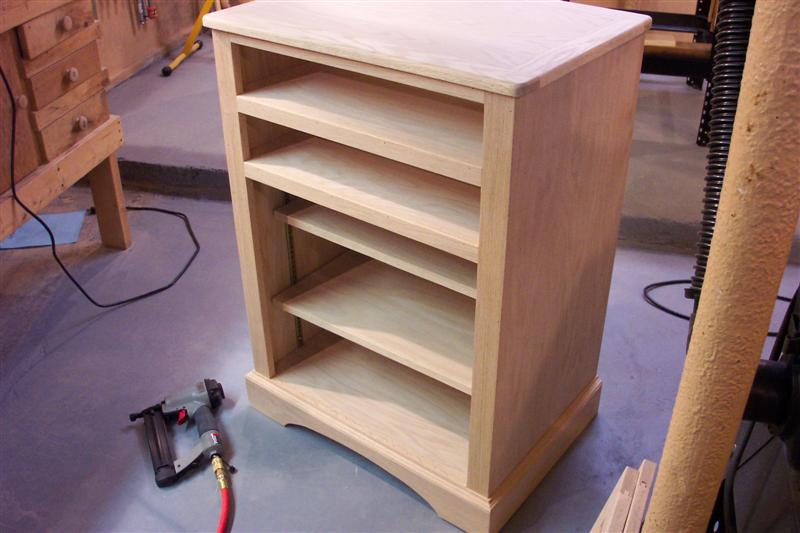
Cottage Night Table This Night Stand was made in April of 2010 for our lake house. The front rails, side aprons and lower legs are arched. The lower shelf is made up of individual boards. The SketchUp Model is available for download HERE |
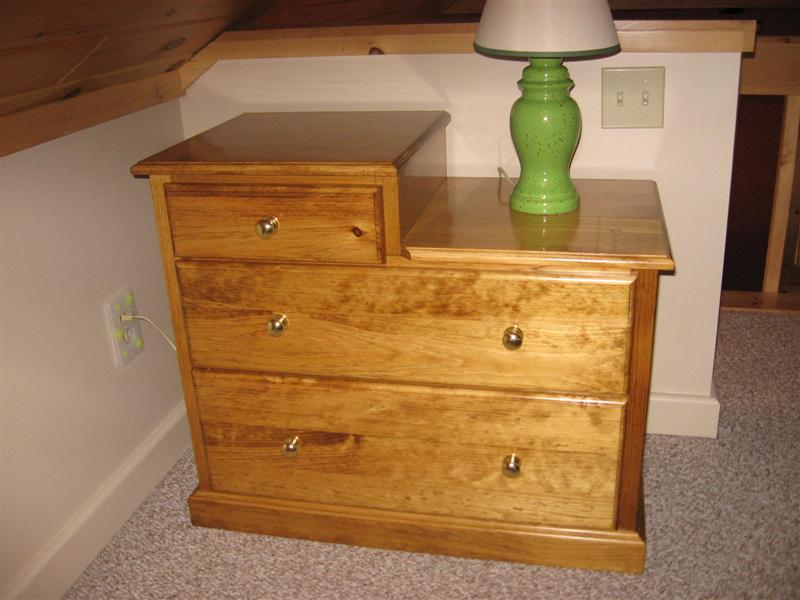  |
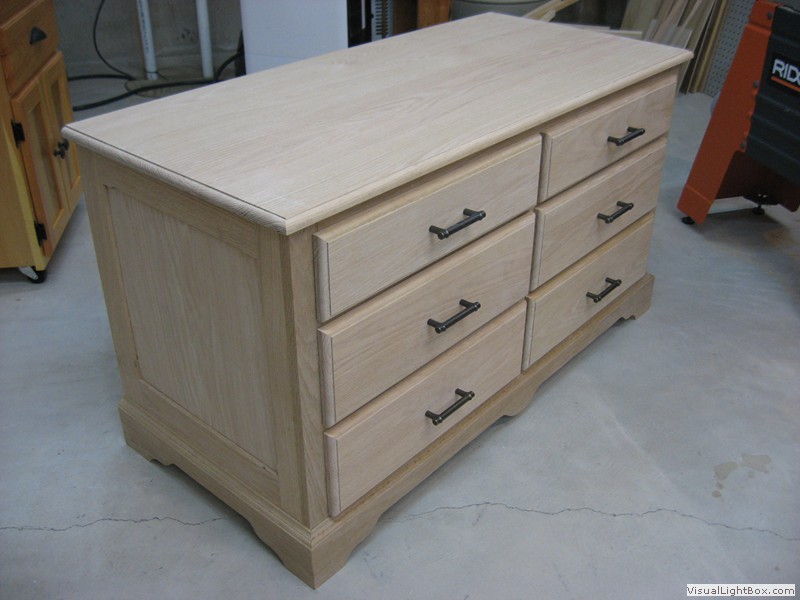
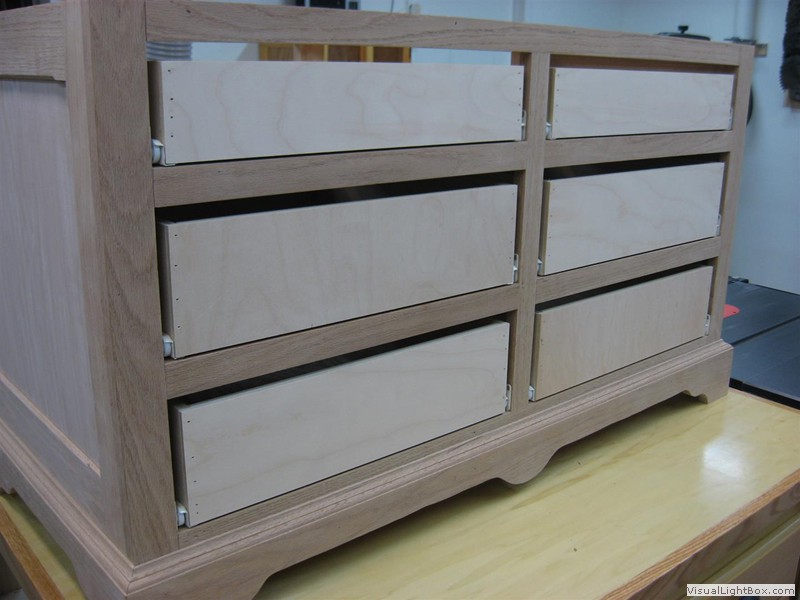
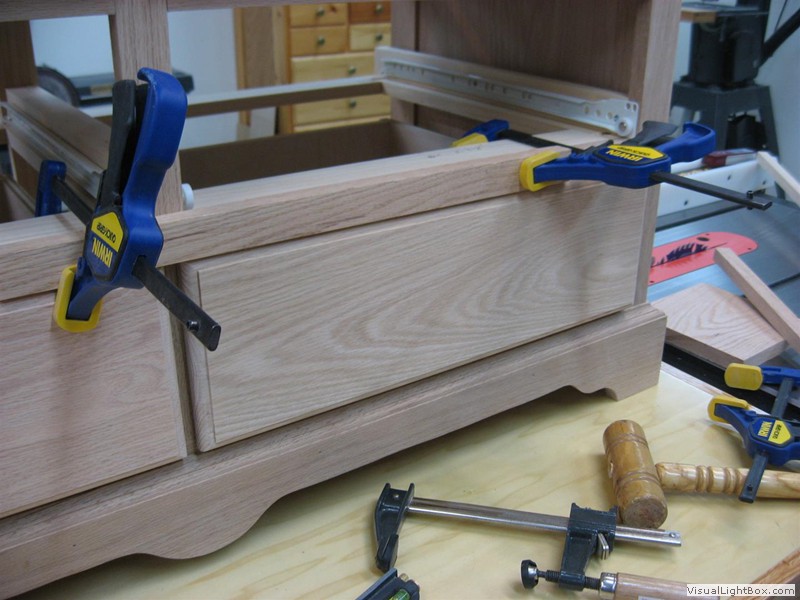
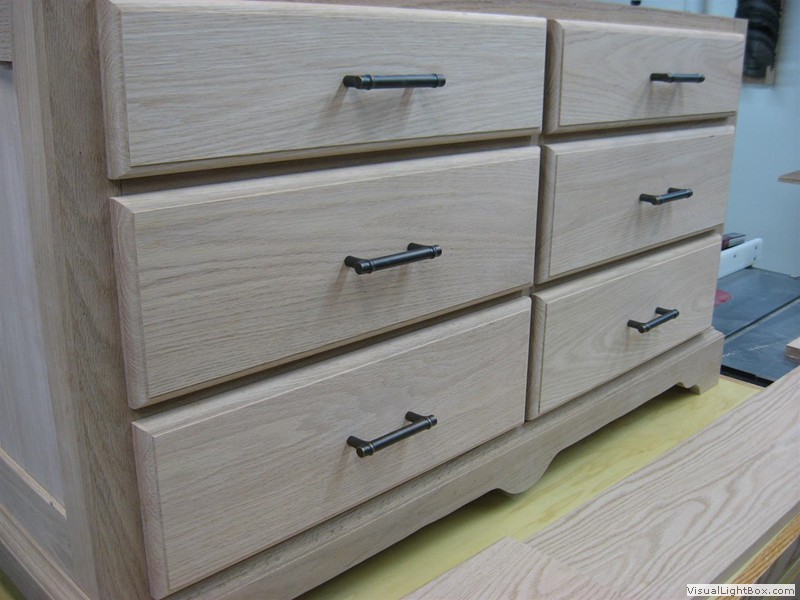
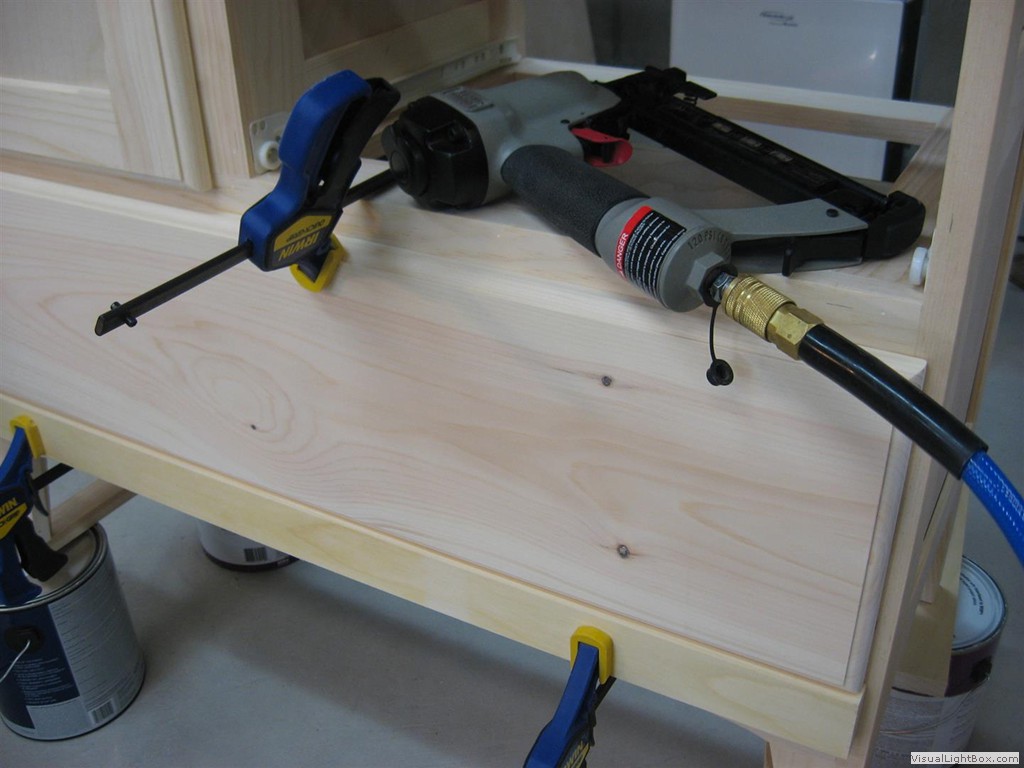
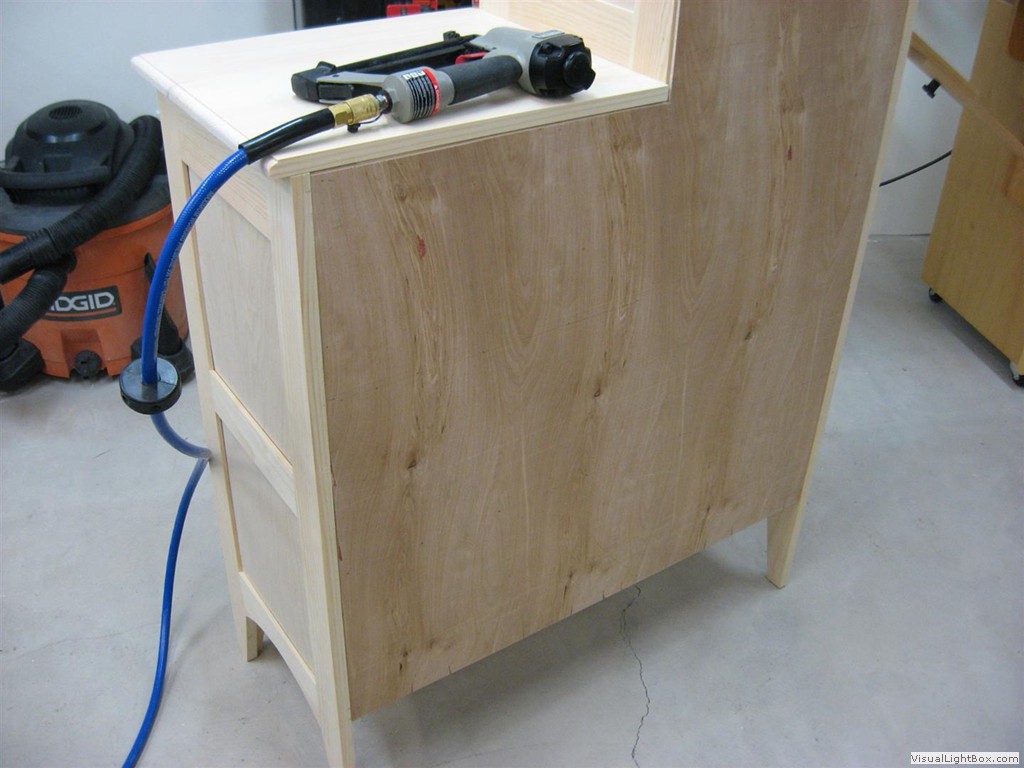
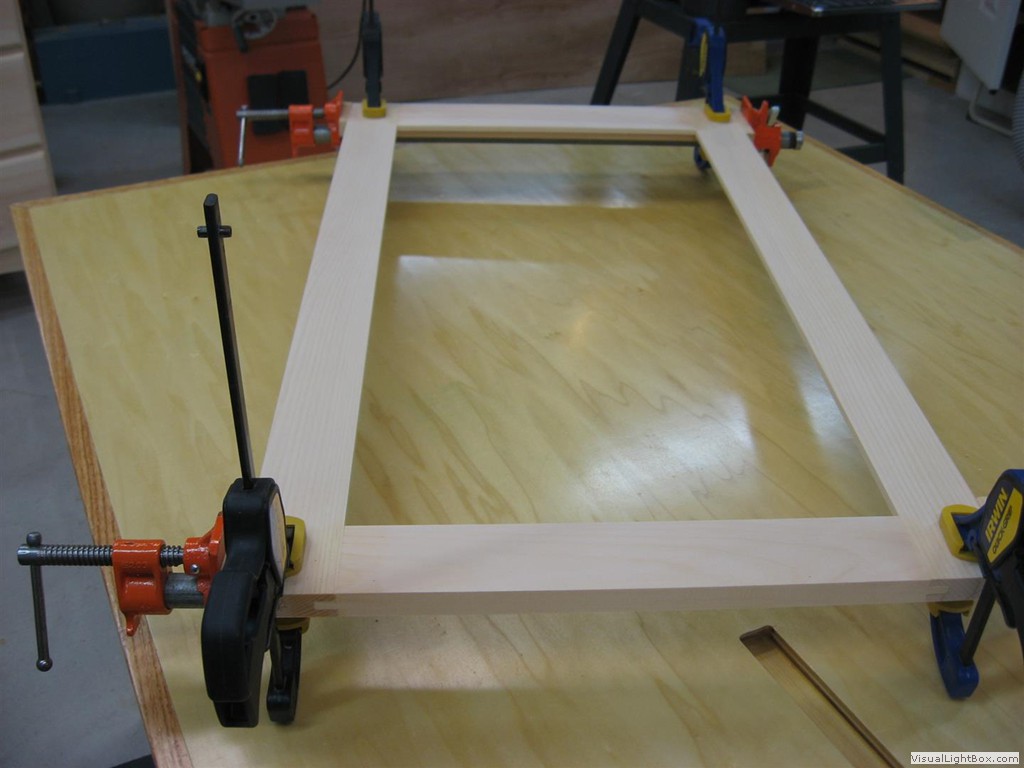
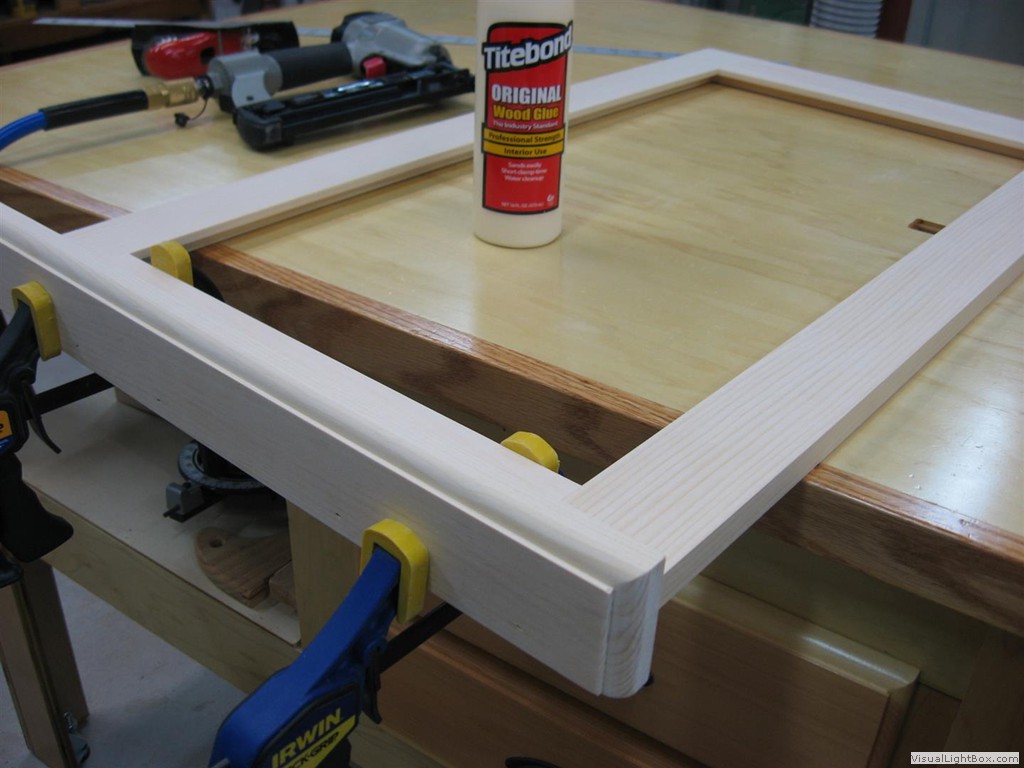
Loft Dresser This small chest of drawers was made to fit into a small area in the loft of our lake house. Built in May of 2010. The SketchUp Model is available for download HERE.
|
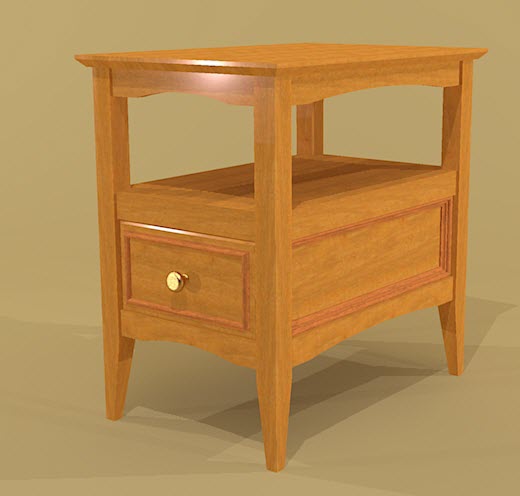 |
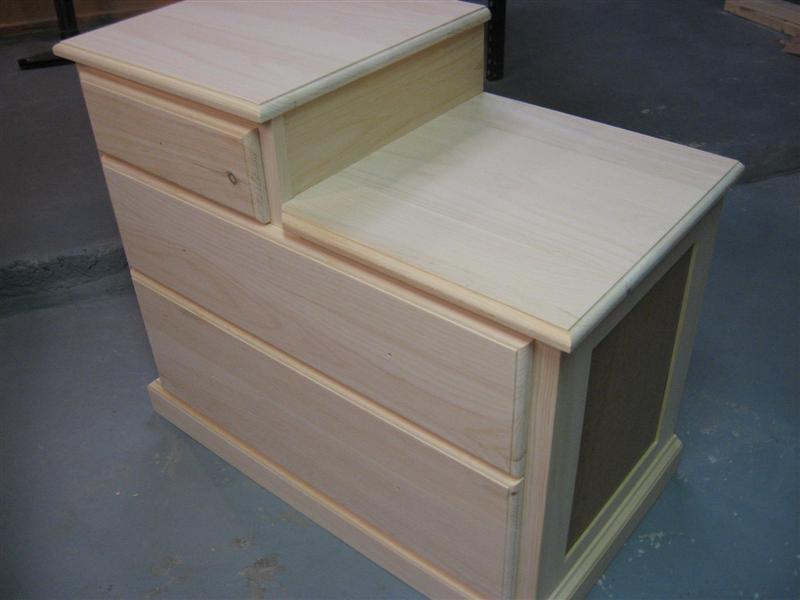
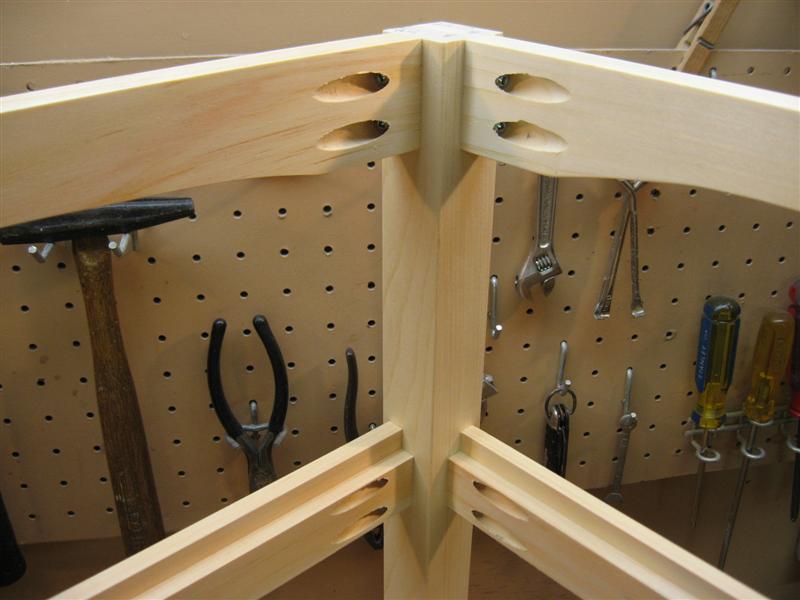
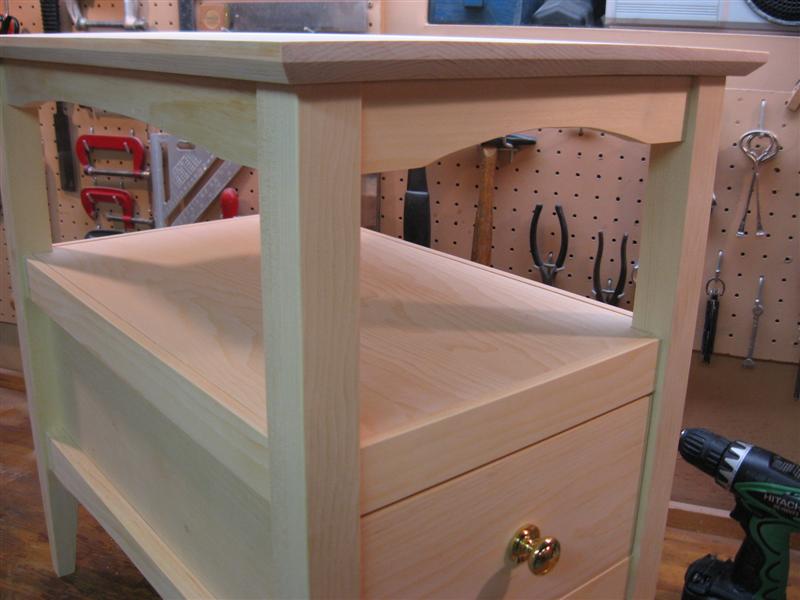
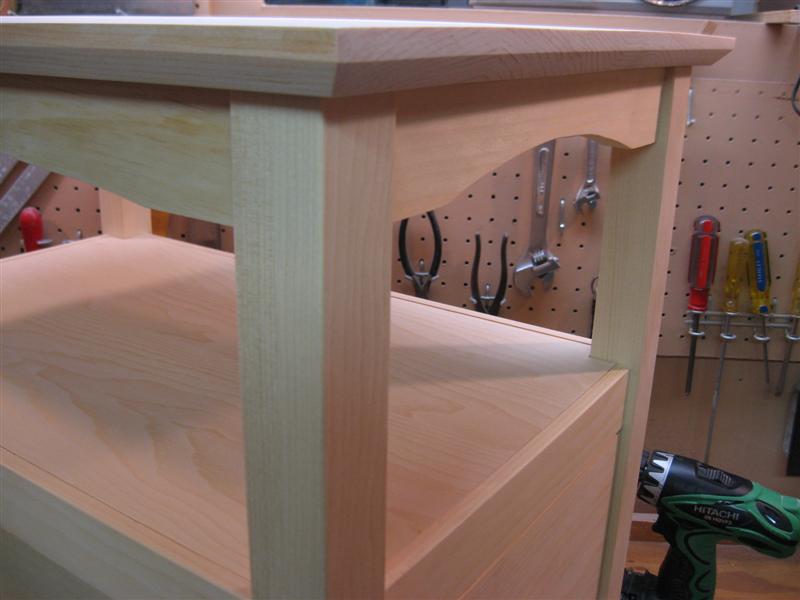
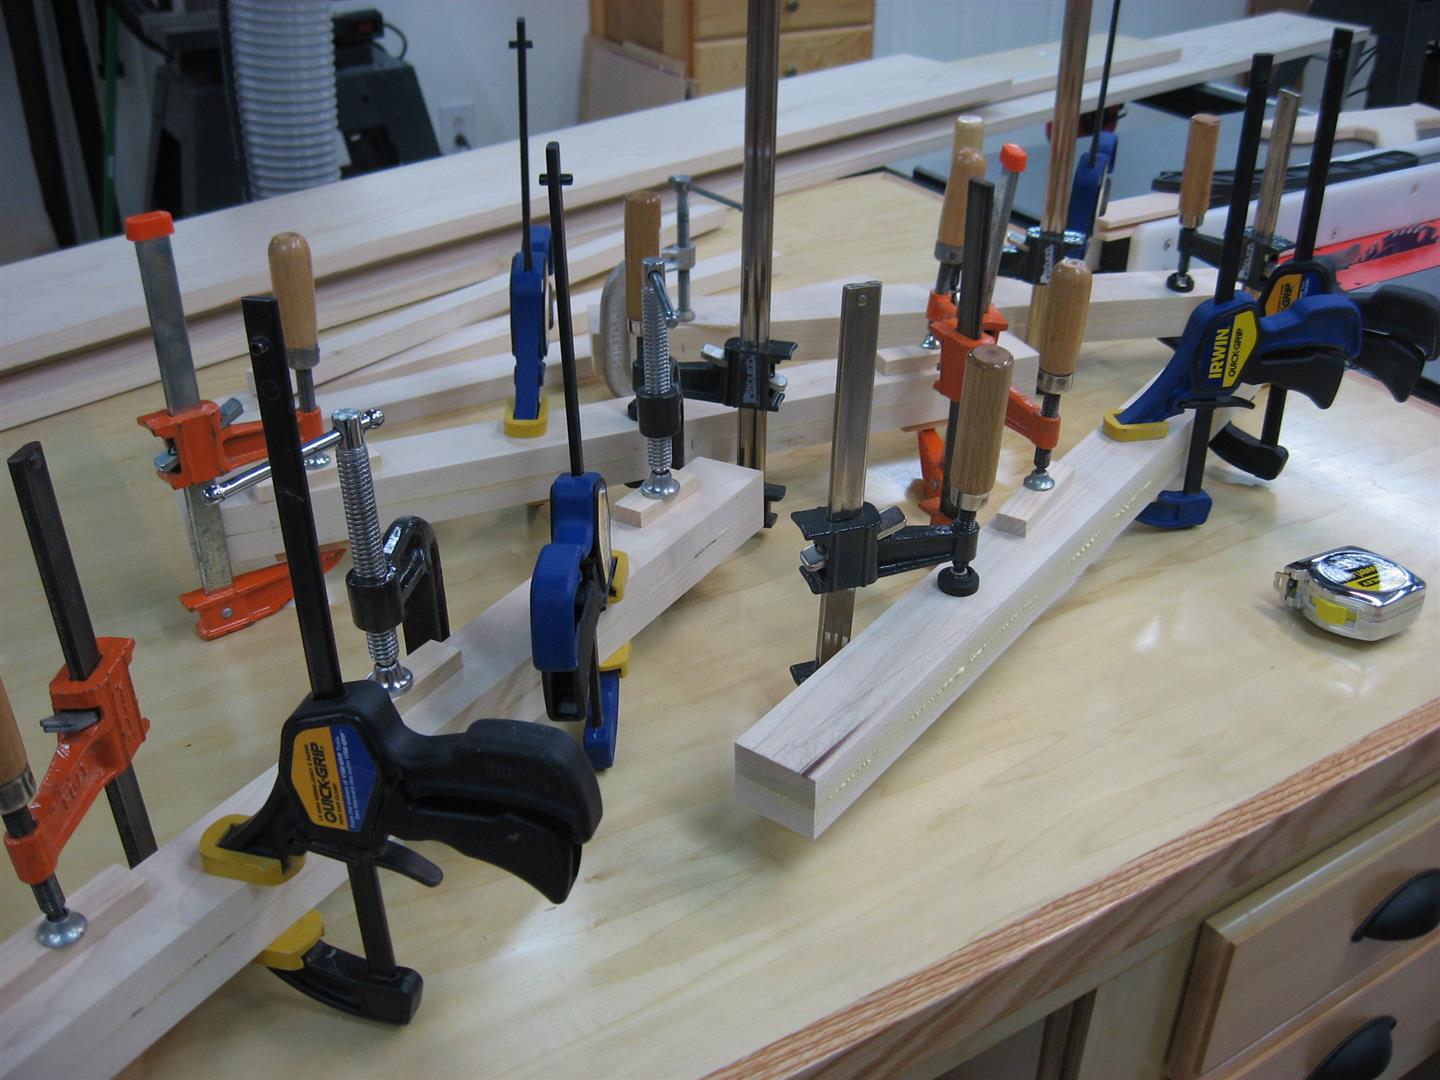
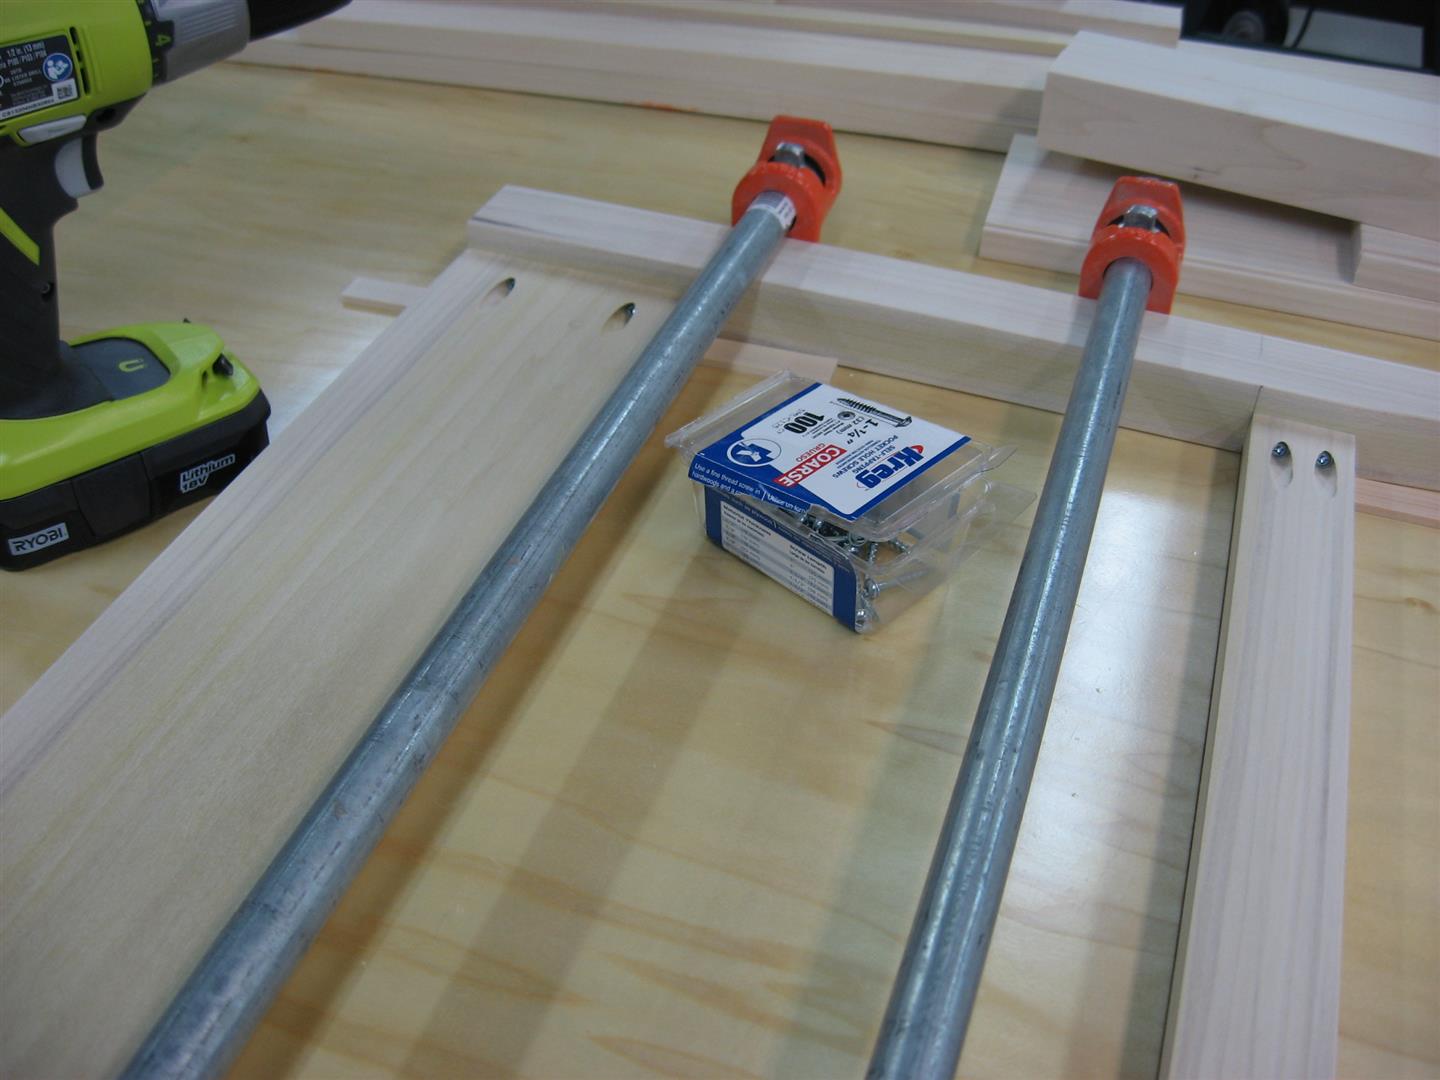
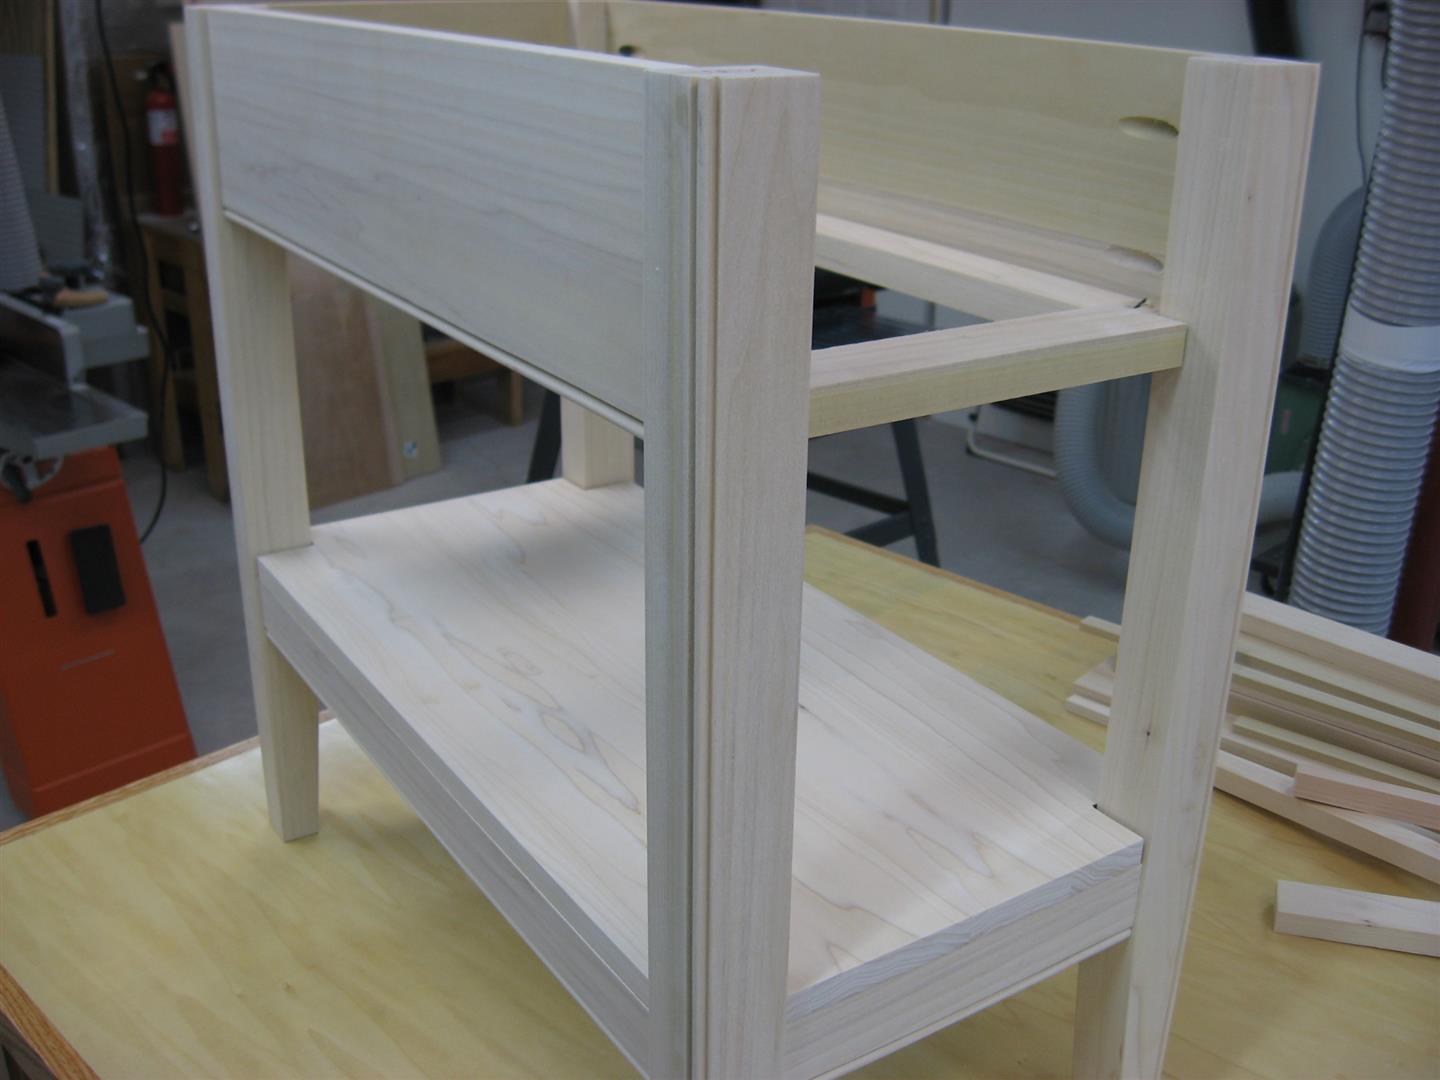
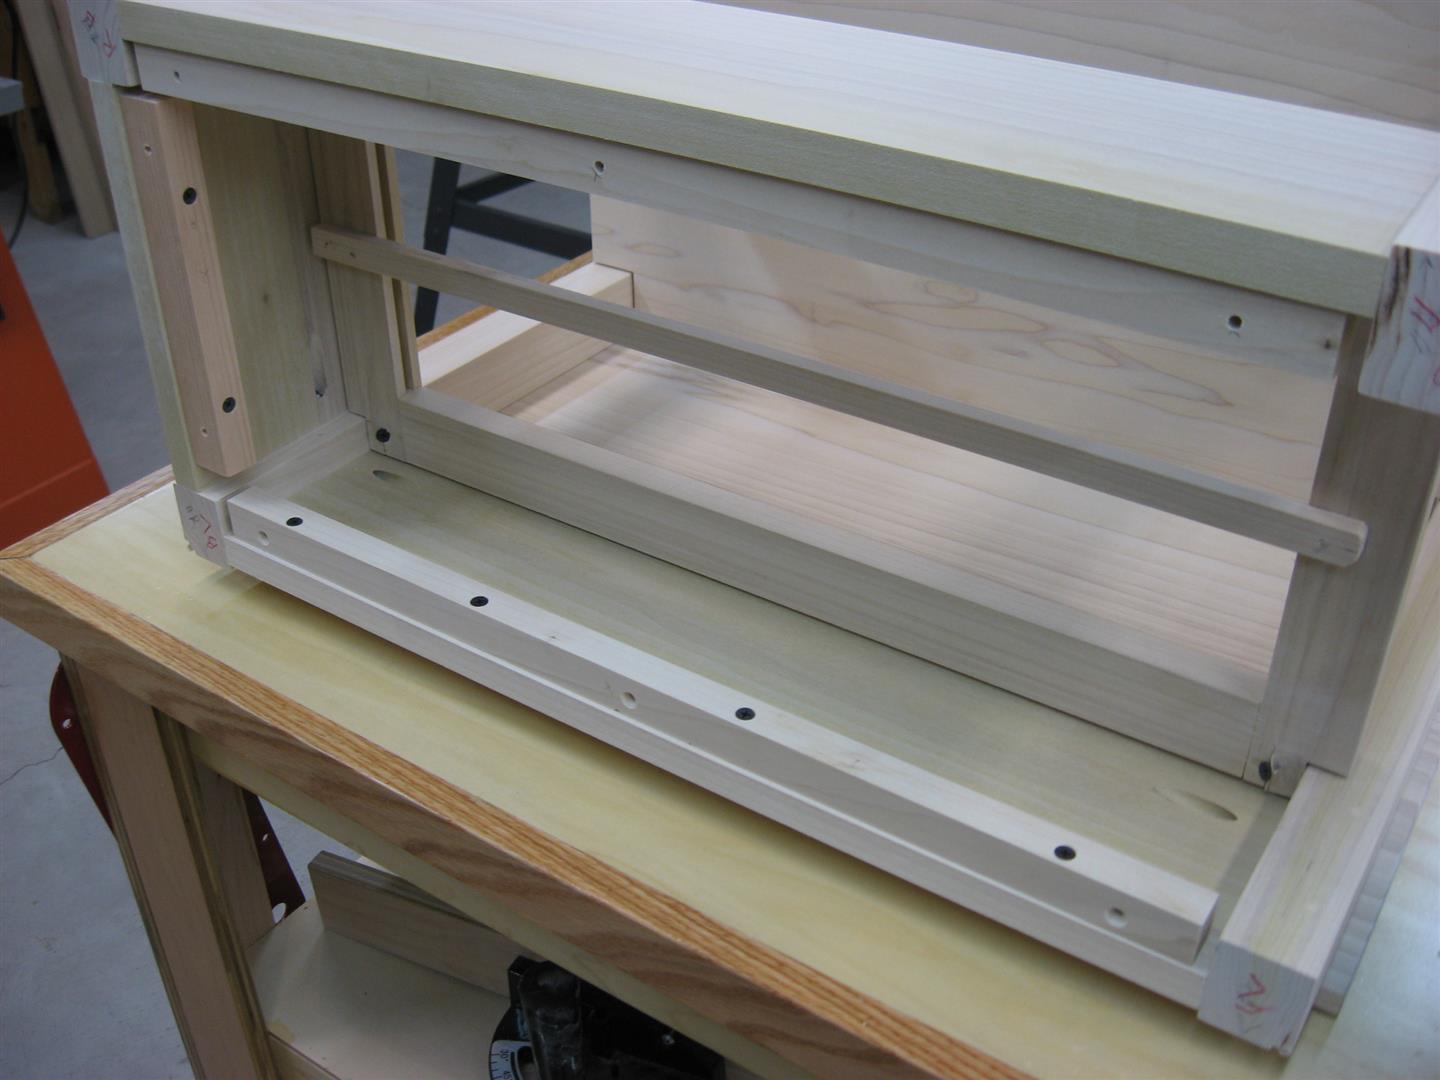
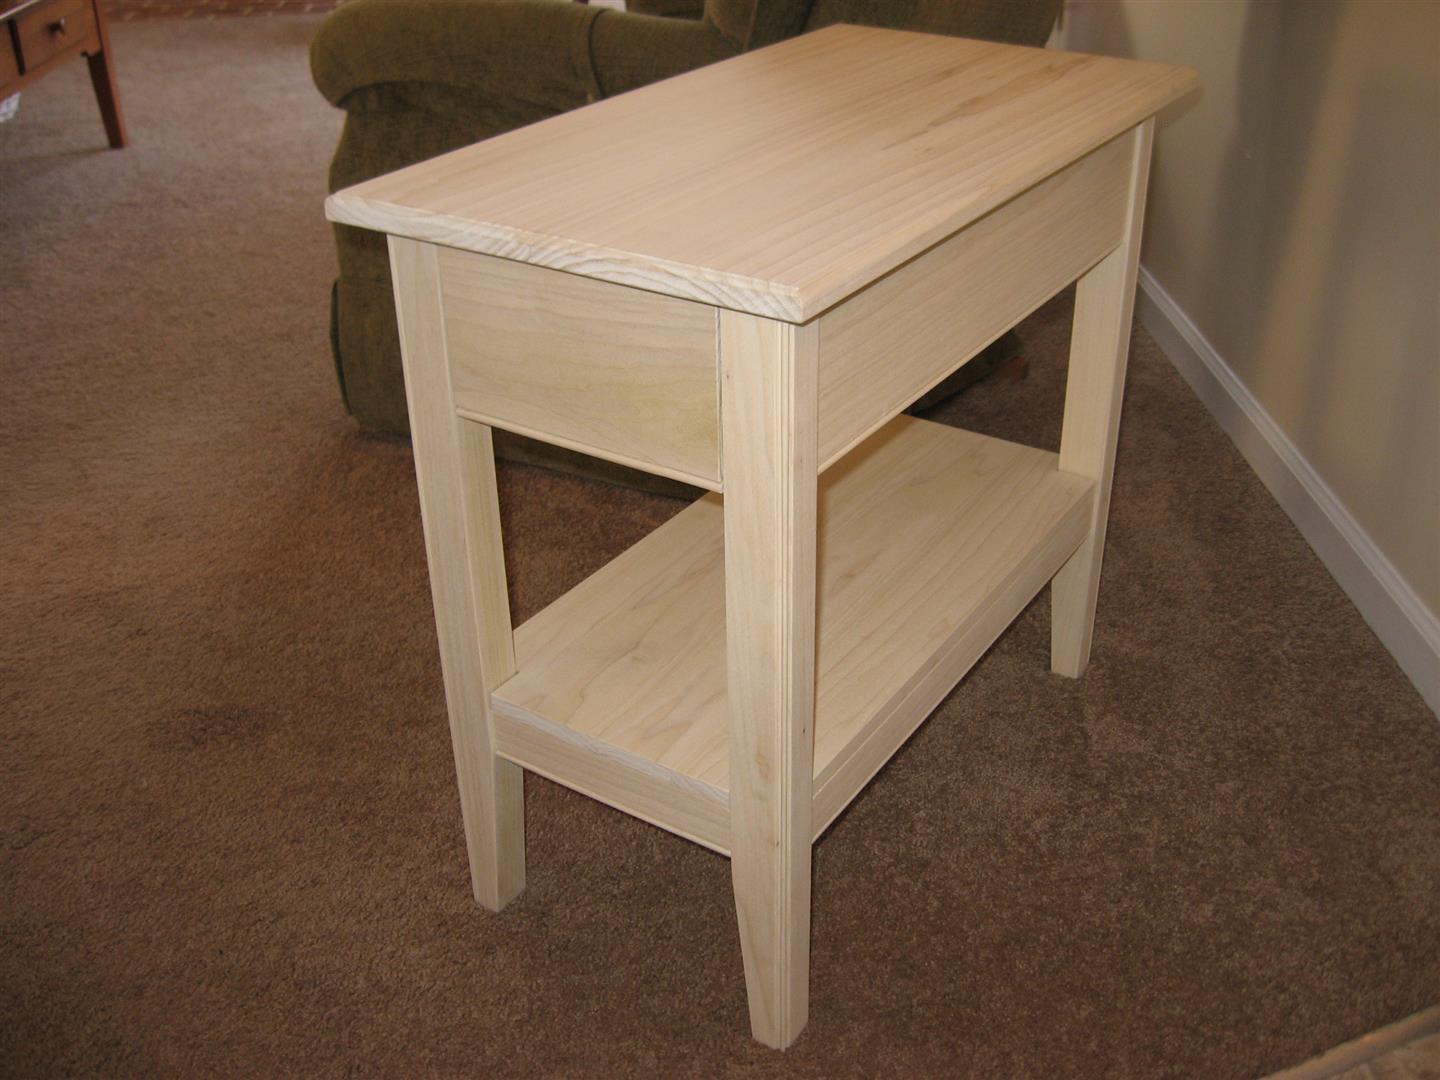
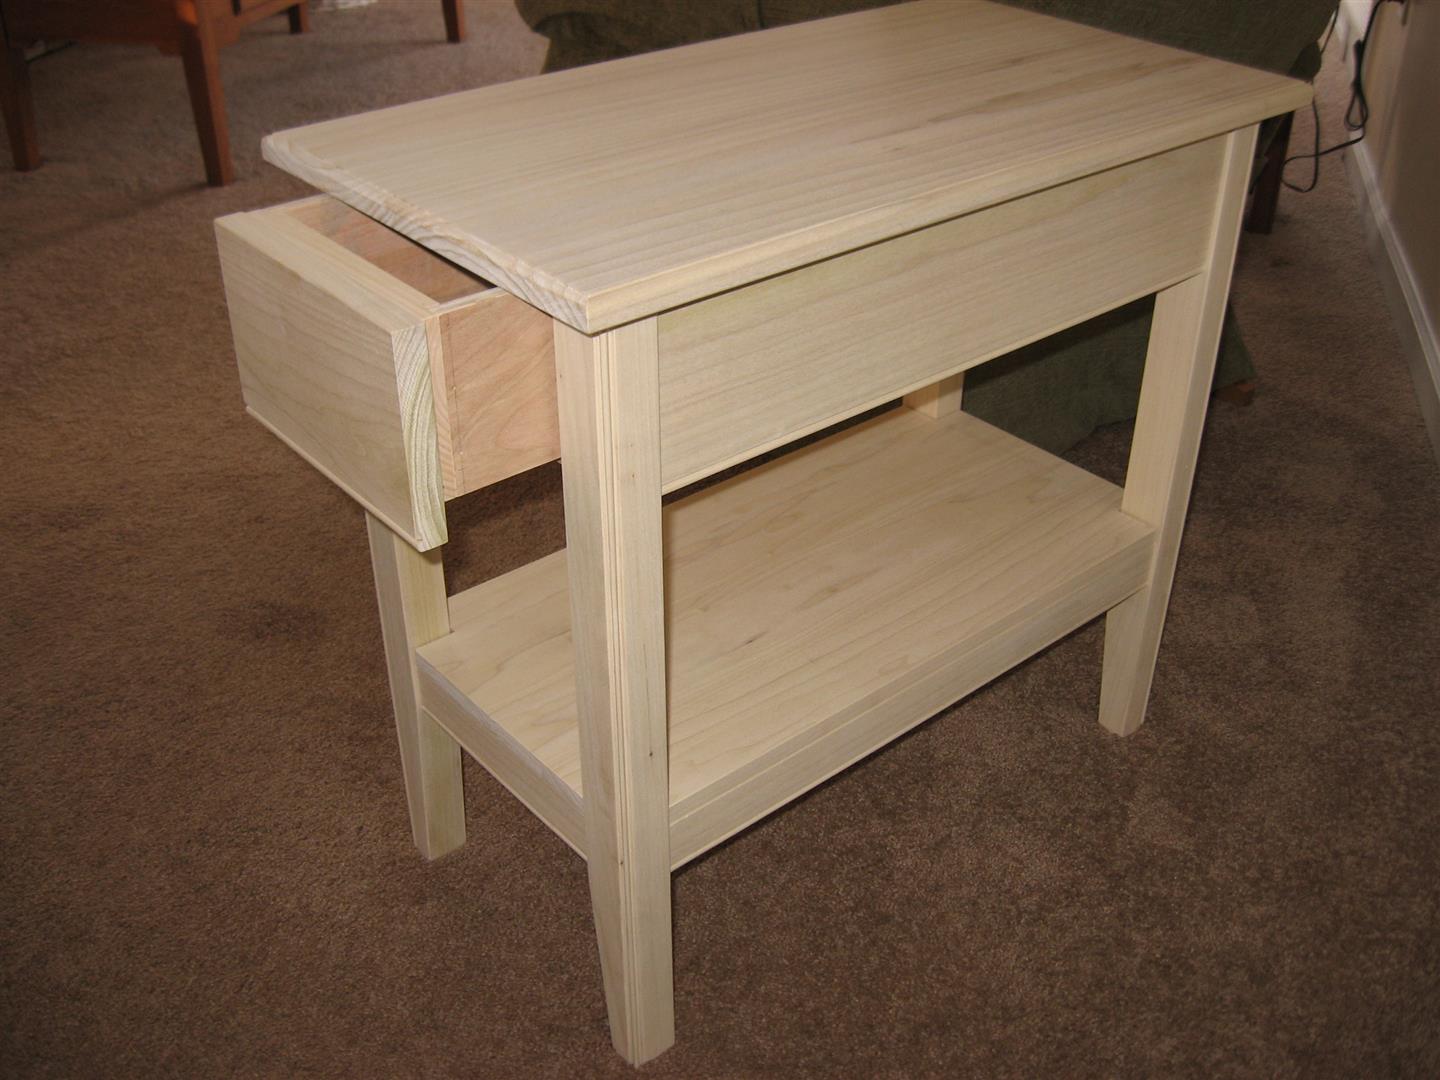
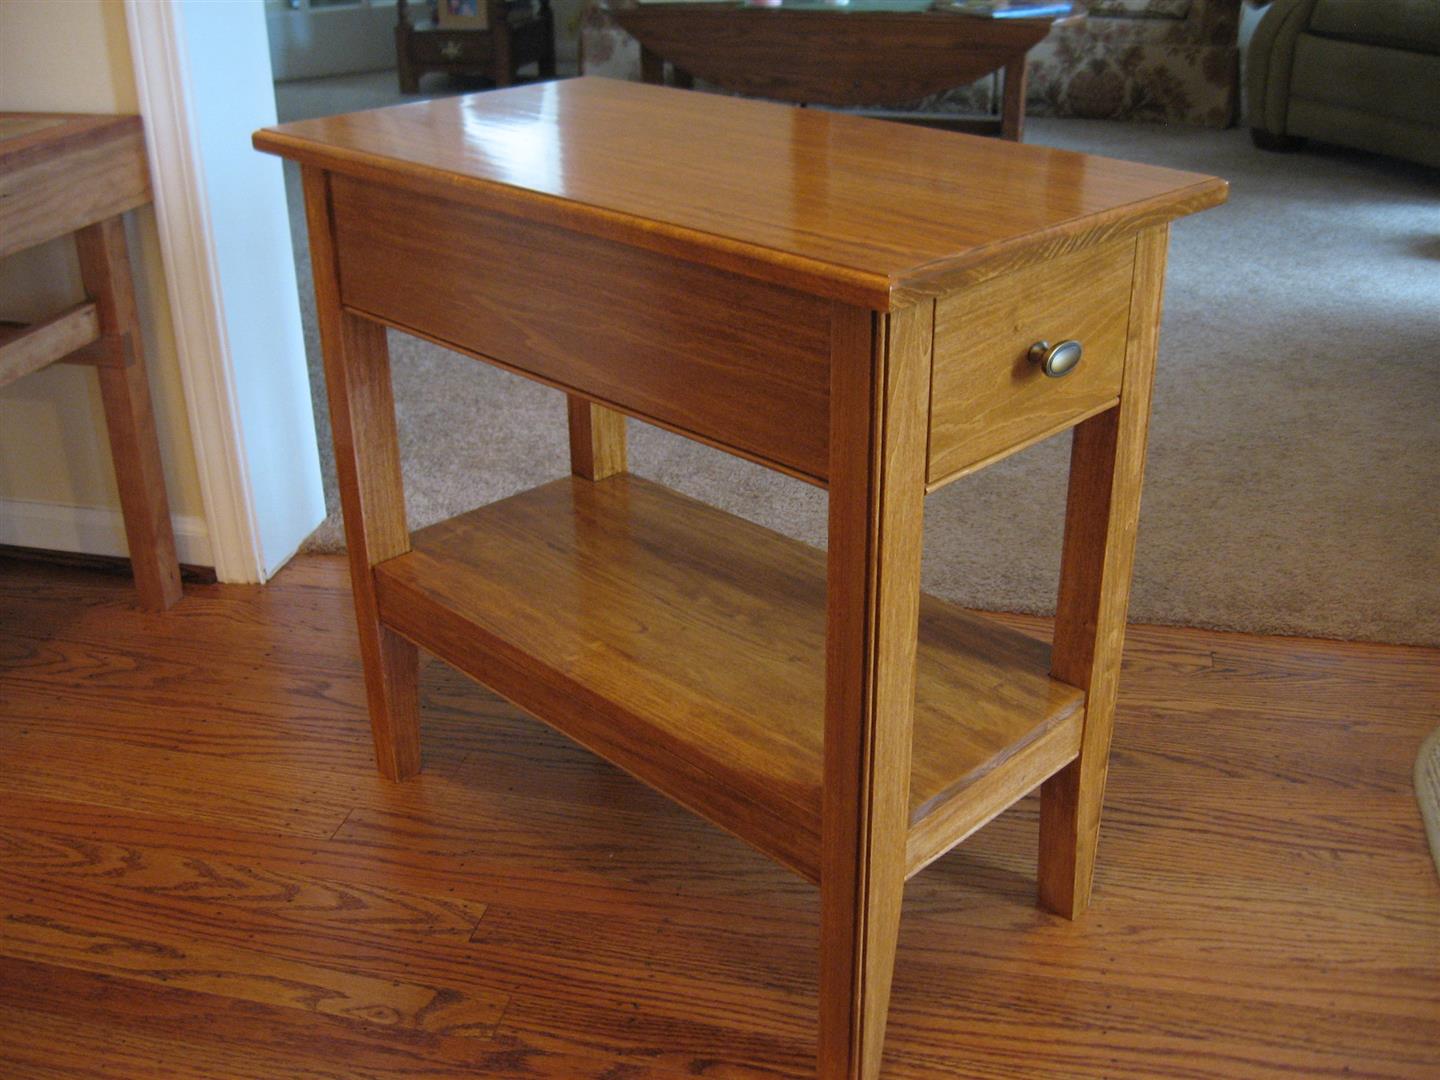
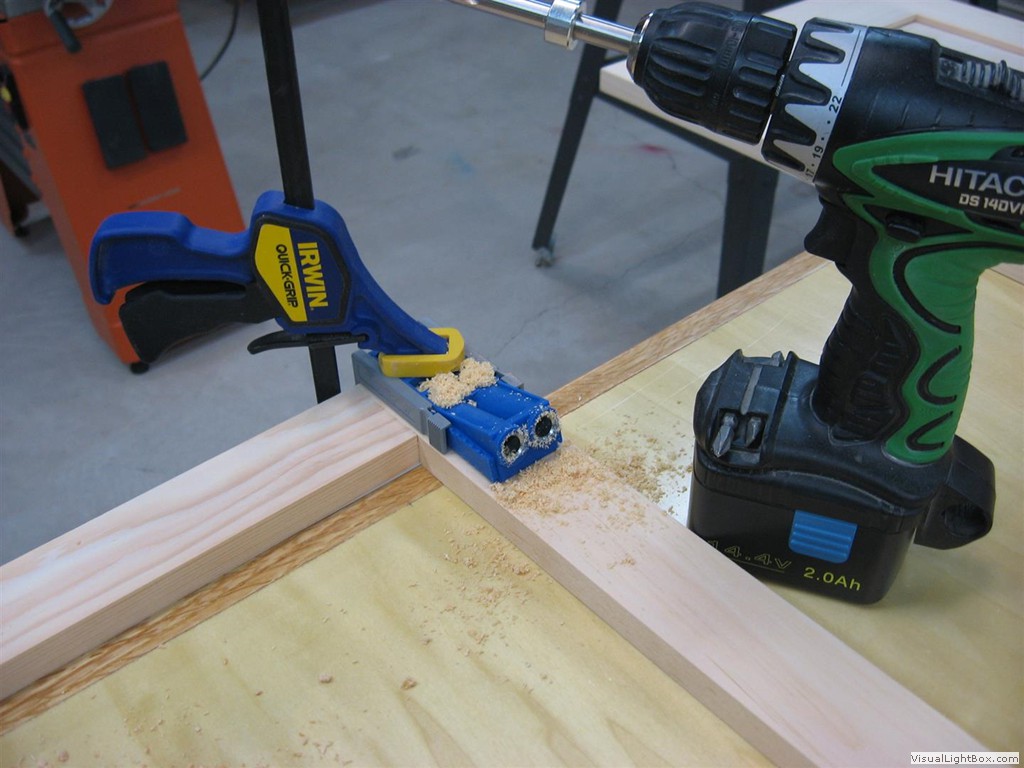
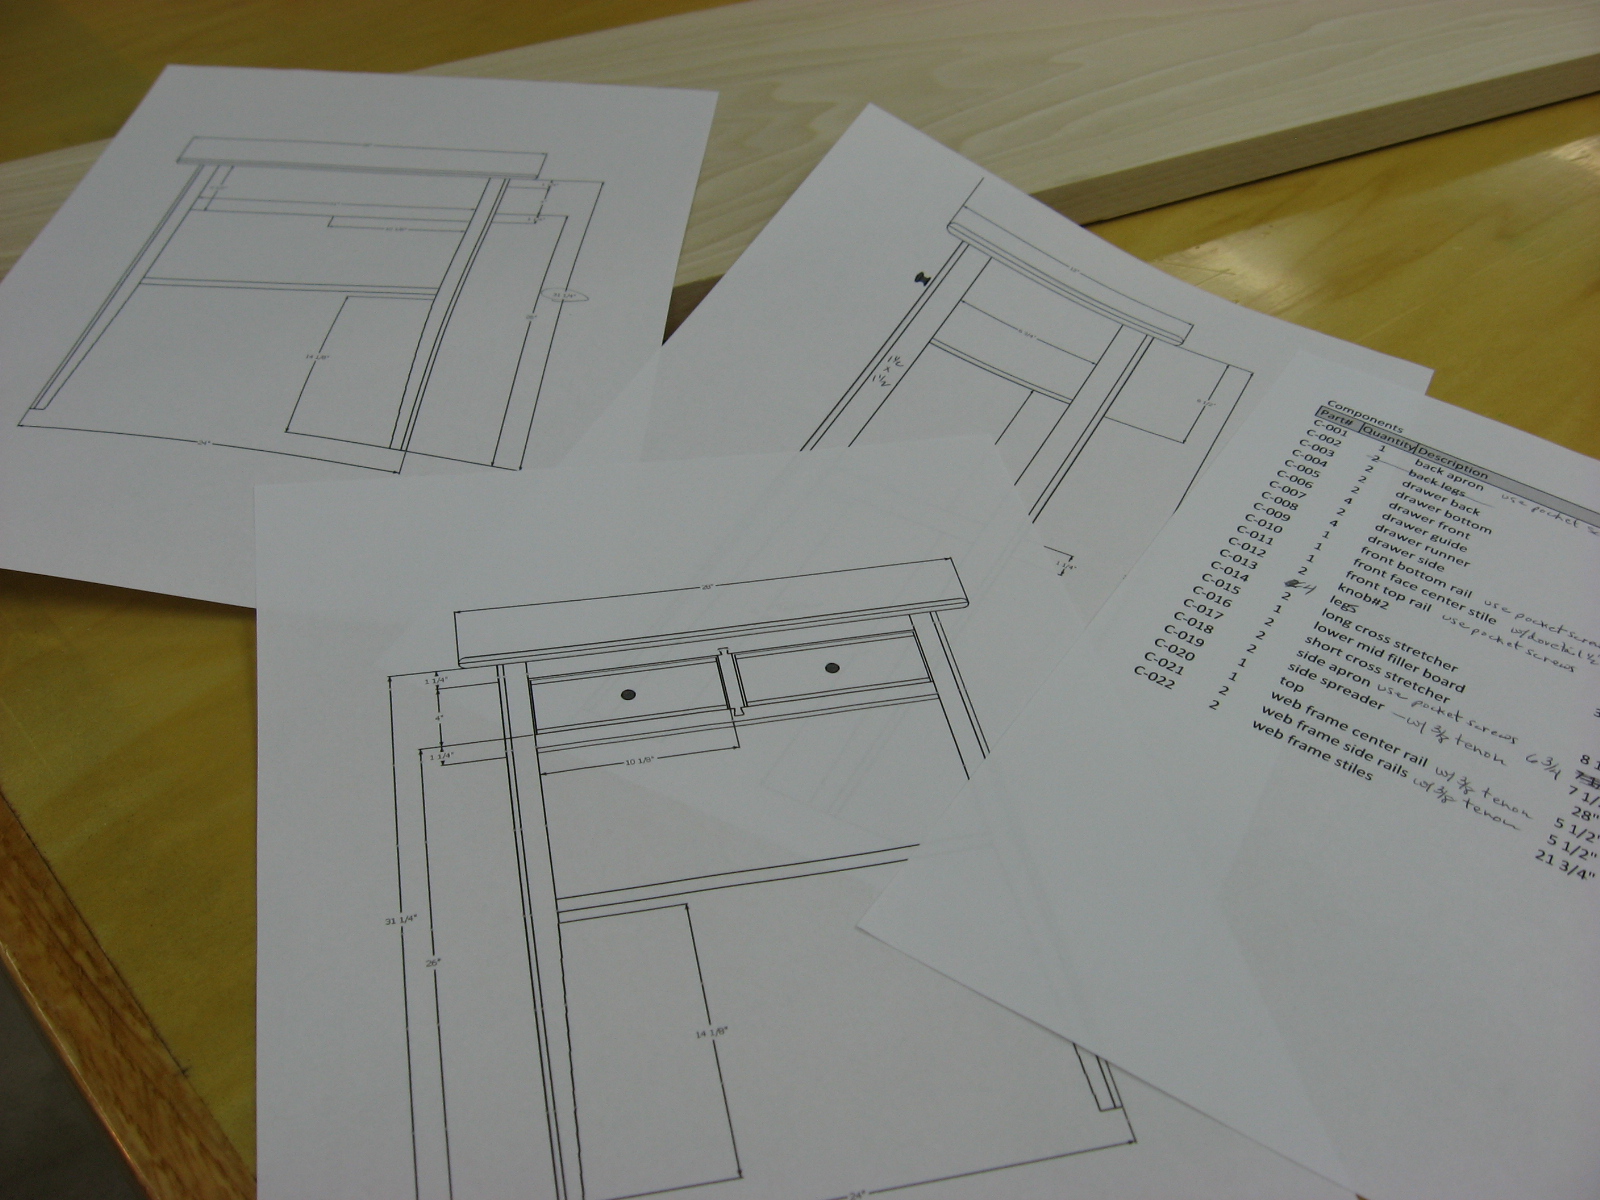
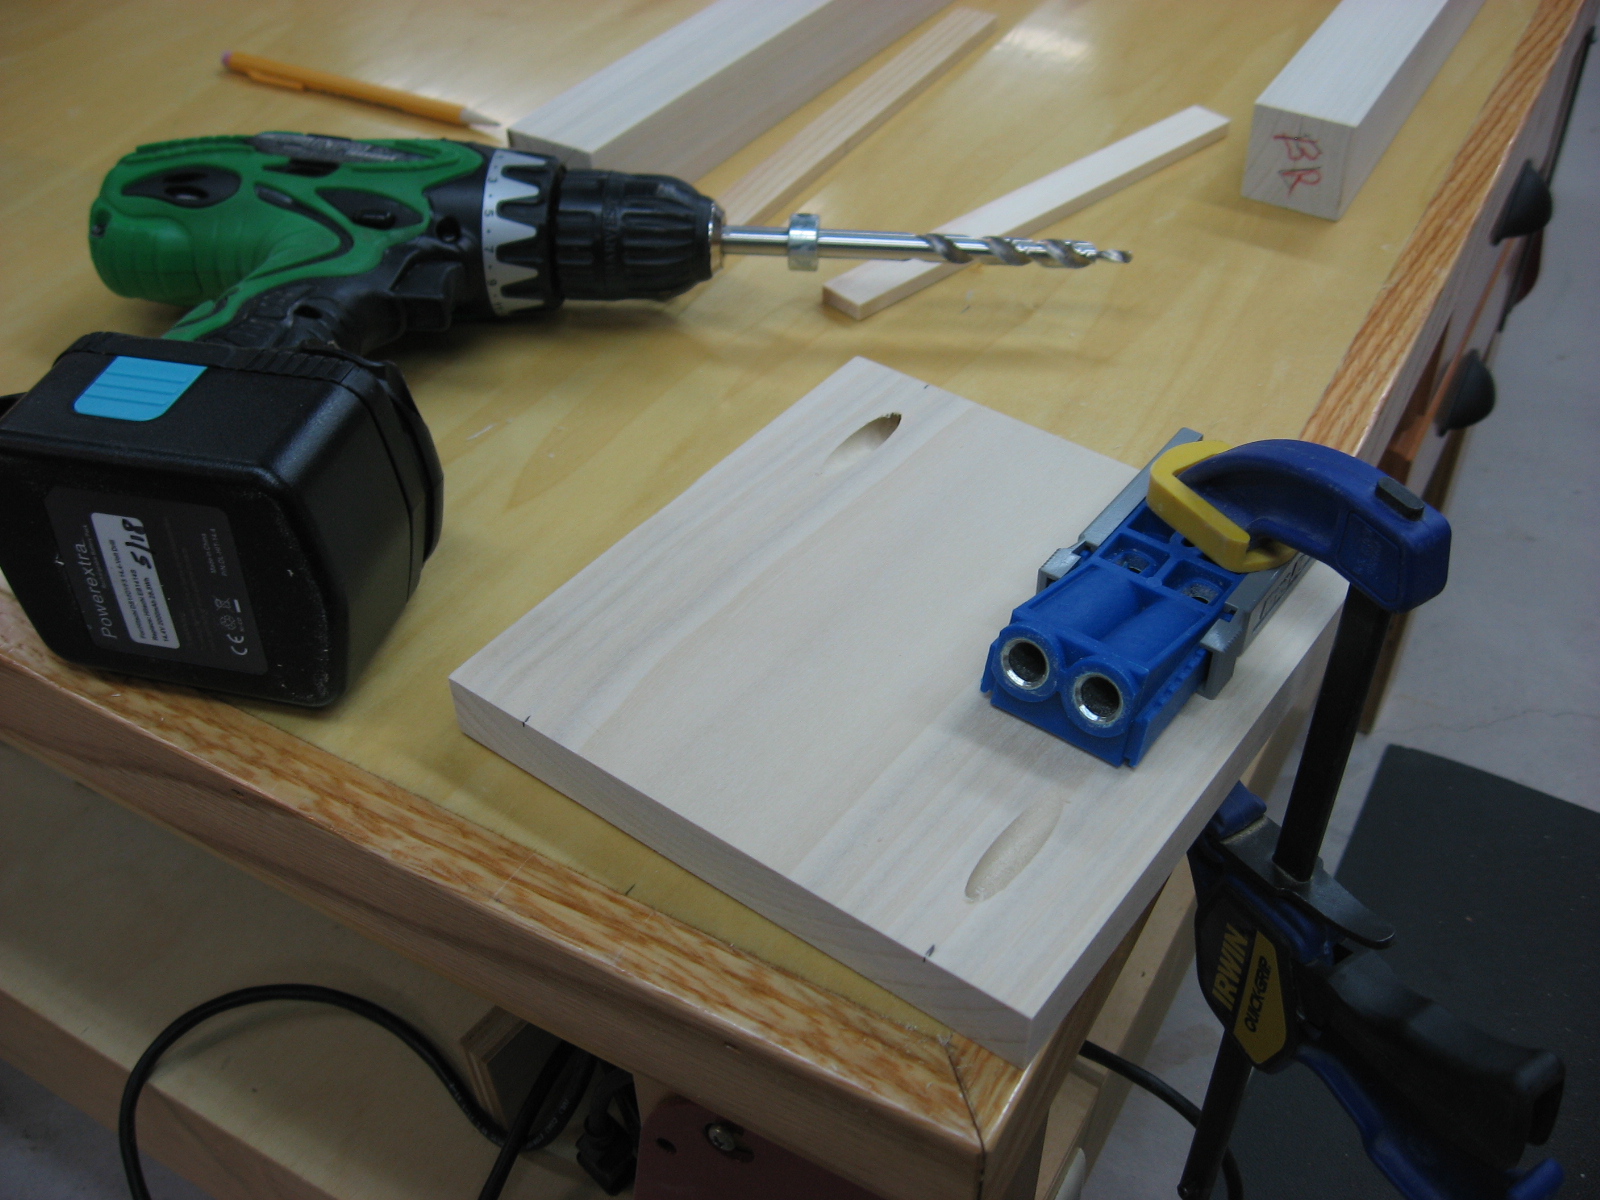
Key West End Table This end table was made in March of 2011 for our lake house. The end table has a mid-shelf with a lower drawer. The front and side rails are arched and the lower legs are tapered. The rails were attached using pocket-hole screws rather than mortise and tenon joinery. Total construction time was roughly 19 hours. The SketchUp Model is available for download HERE.
|
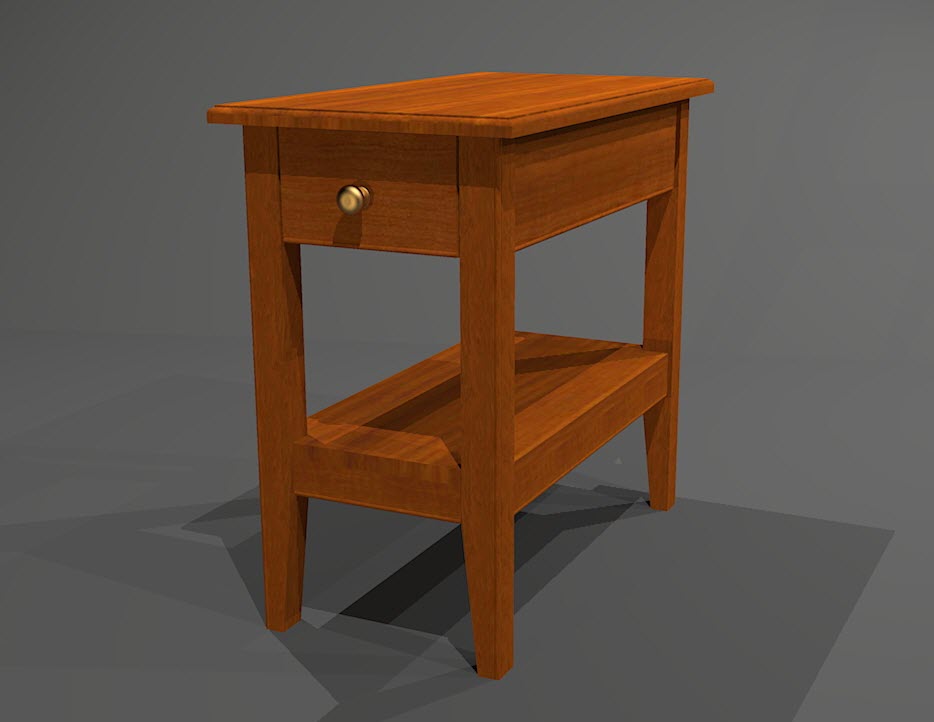 |
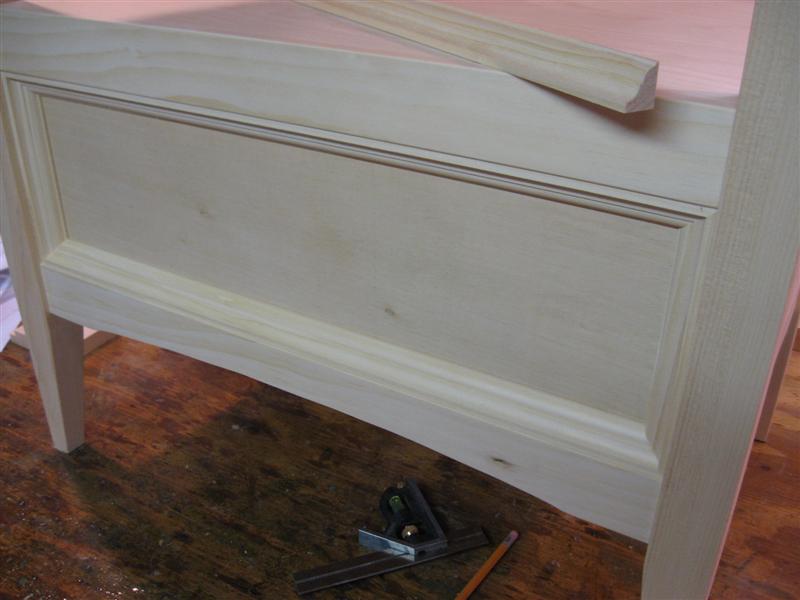
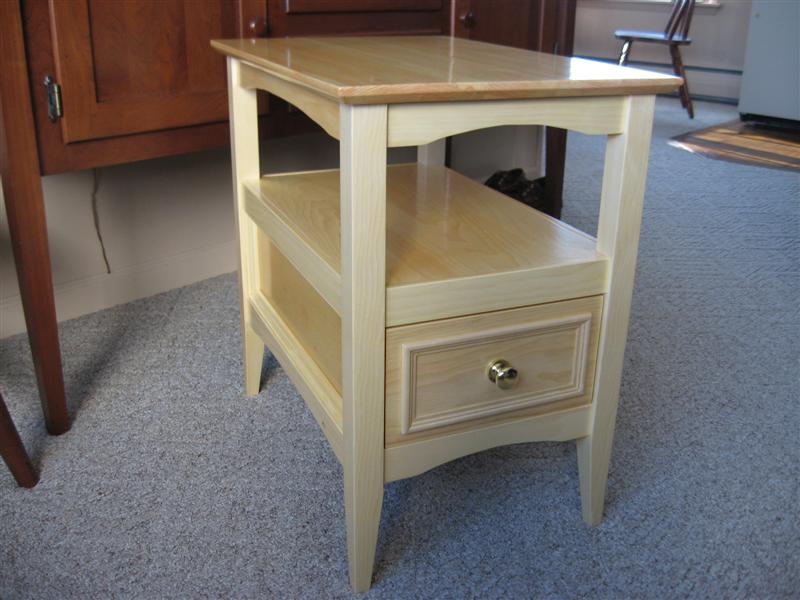
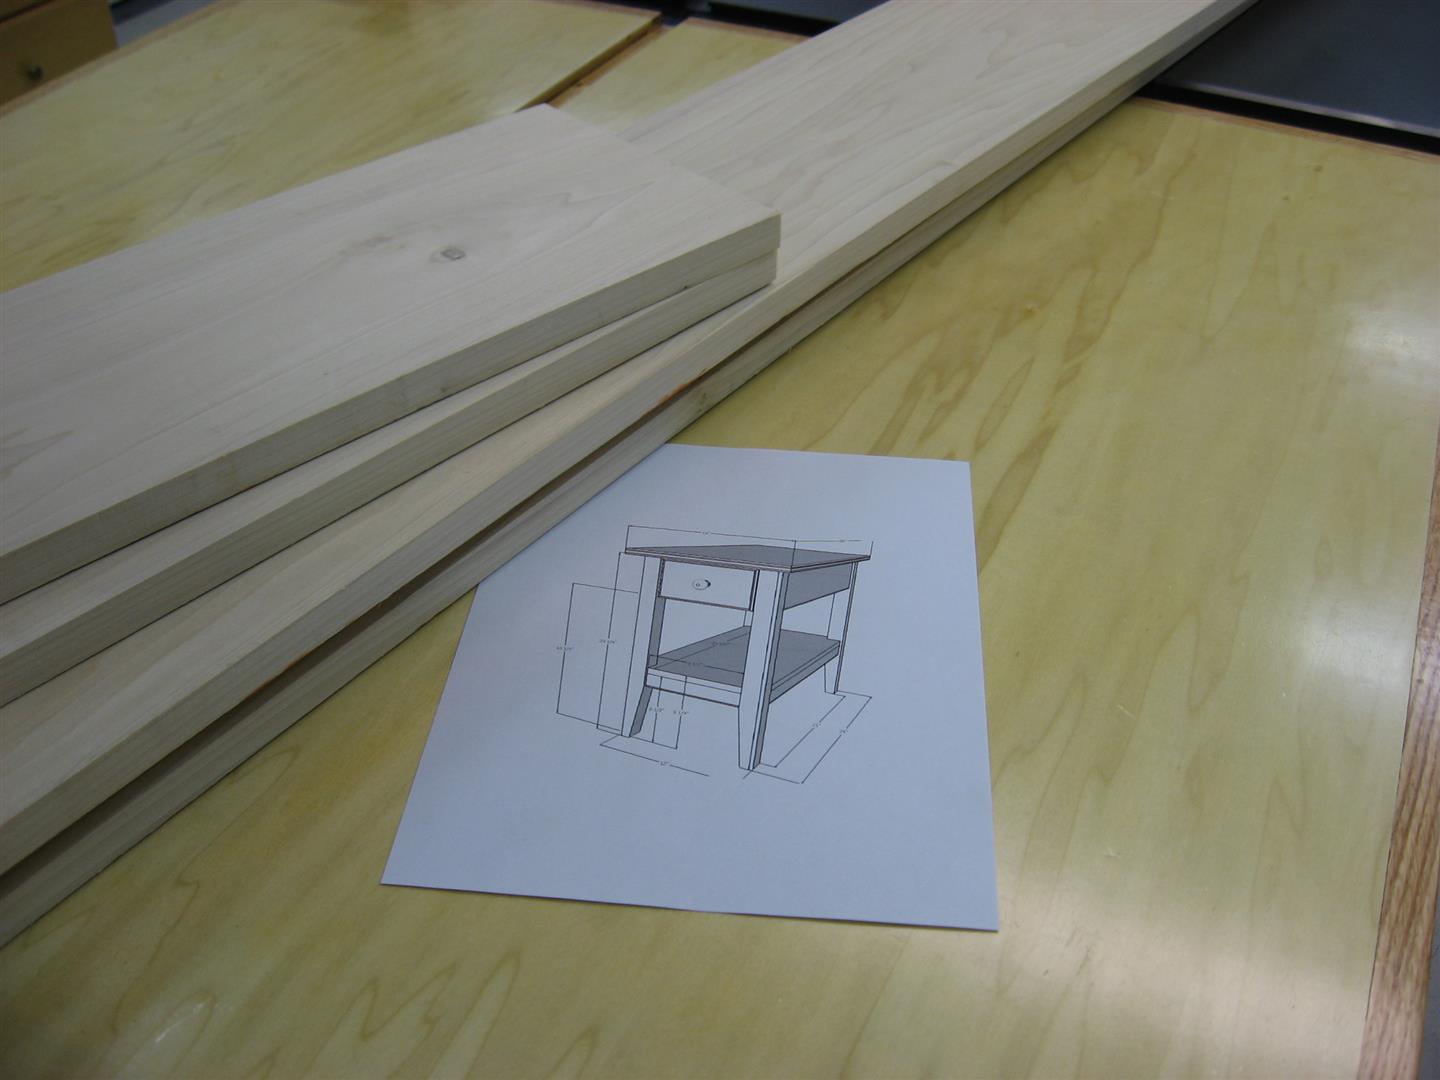
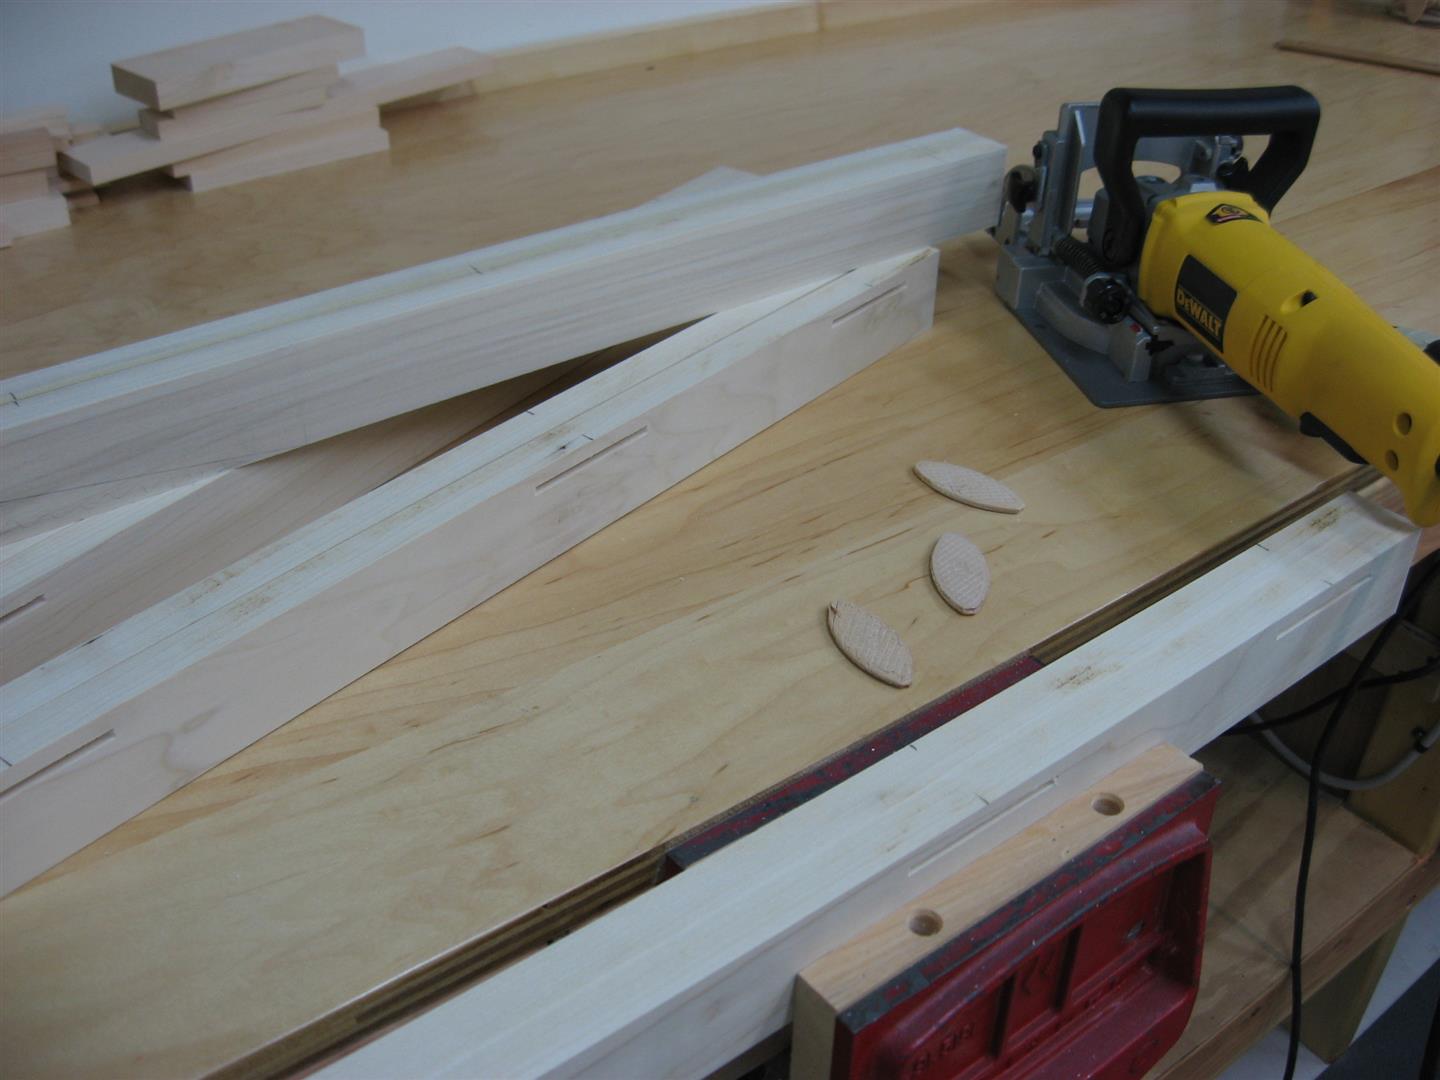
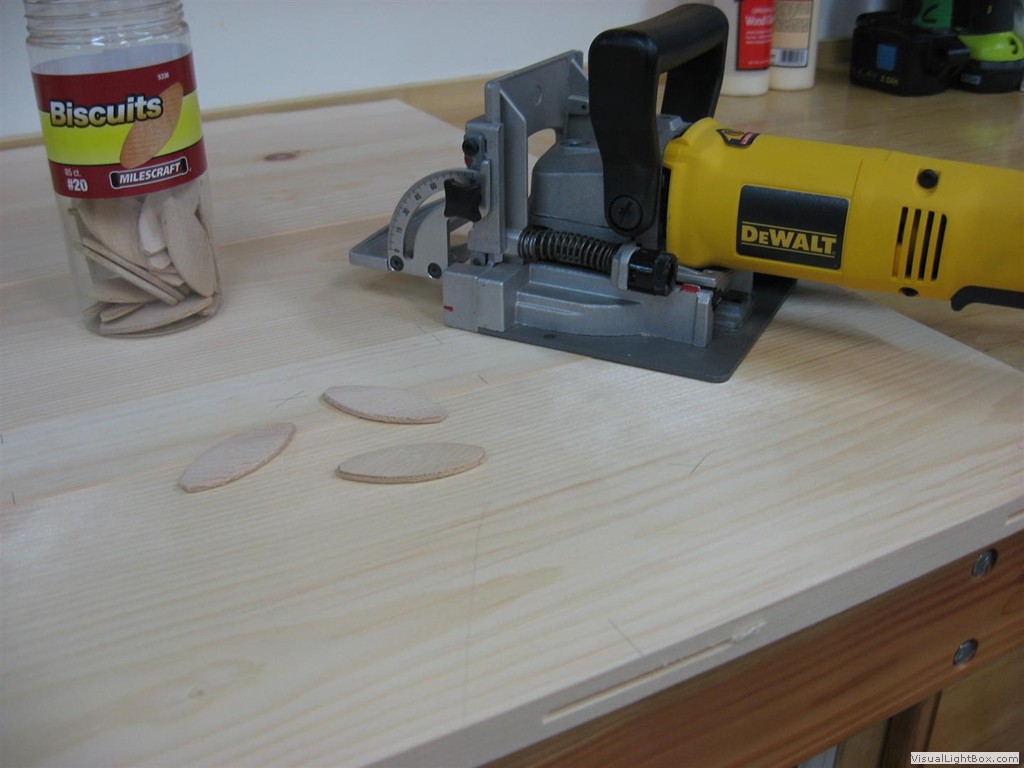
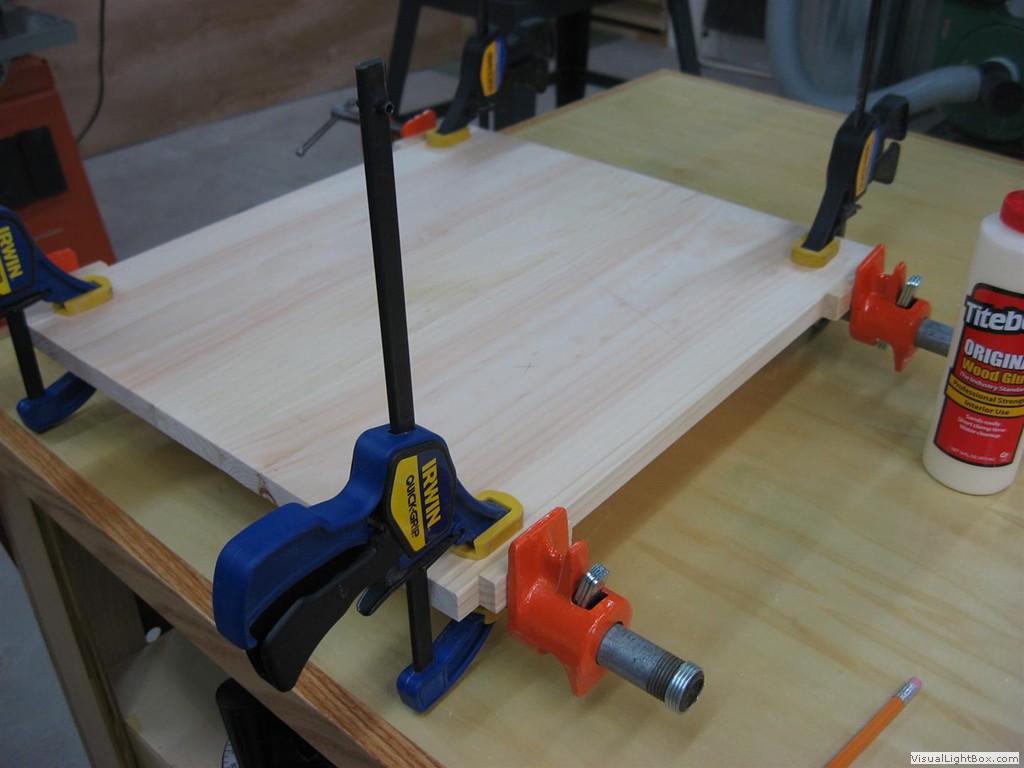
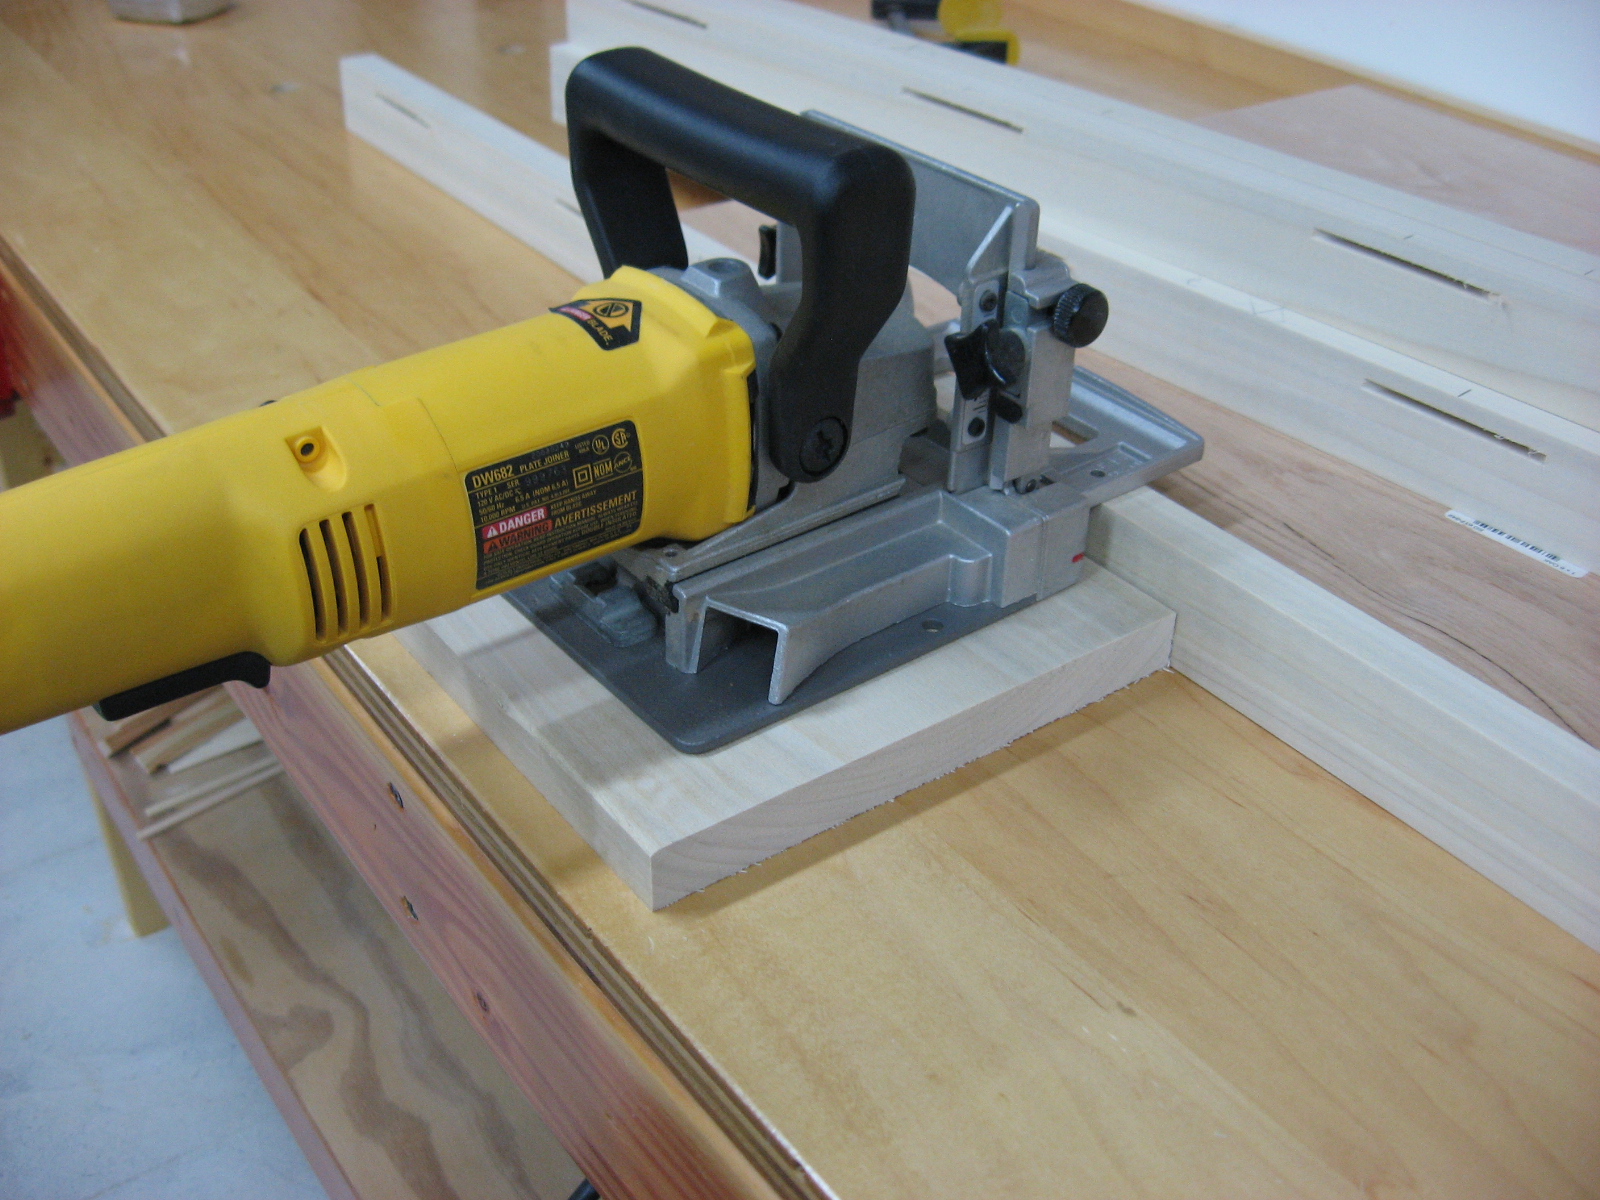
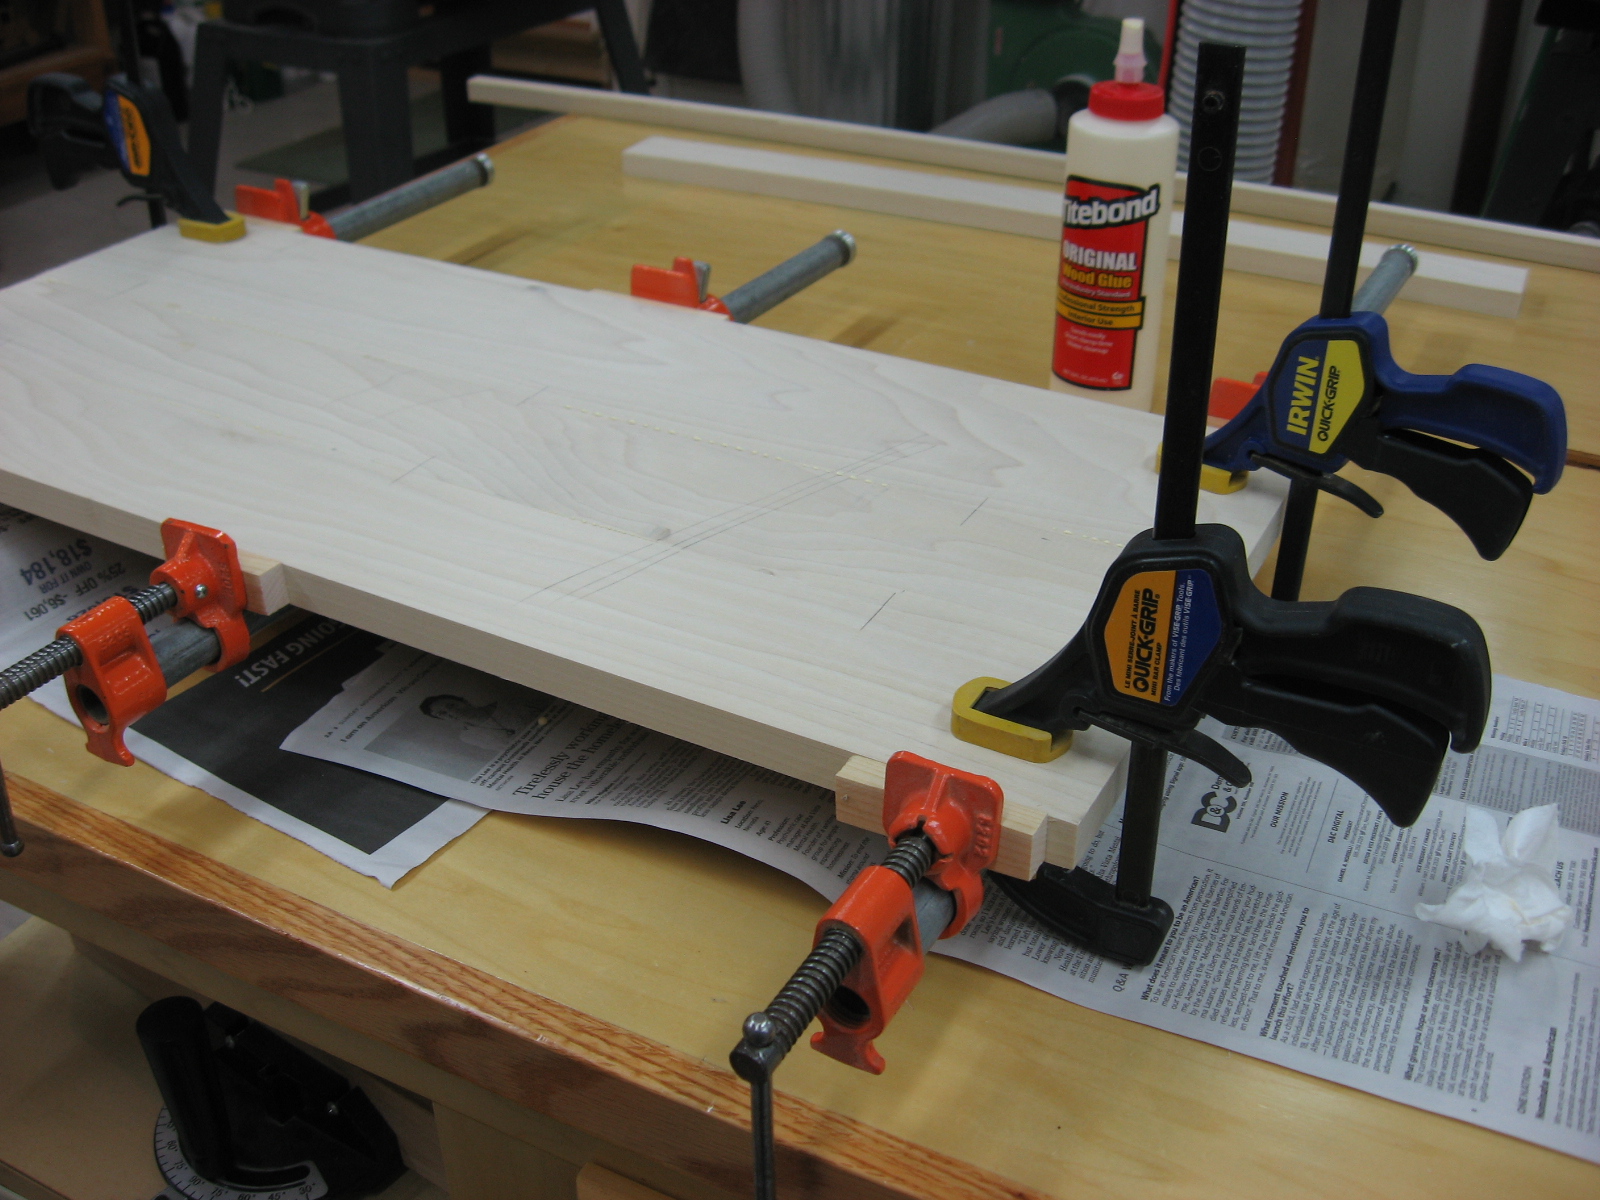
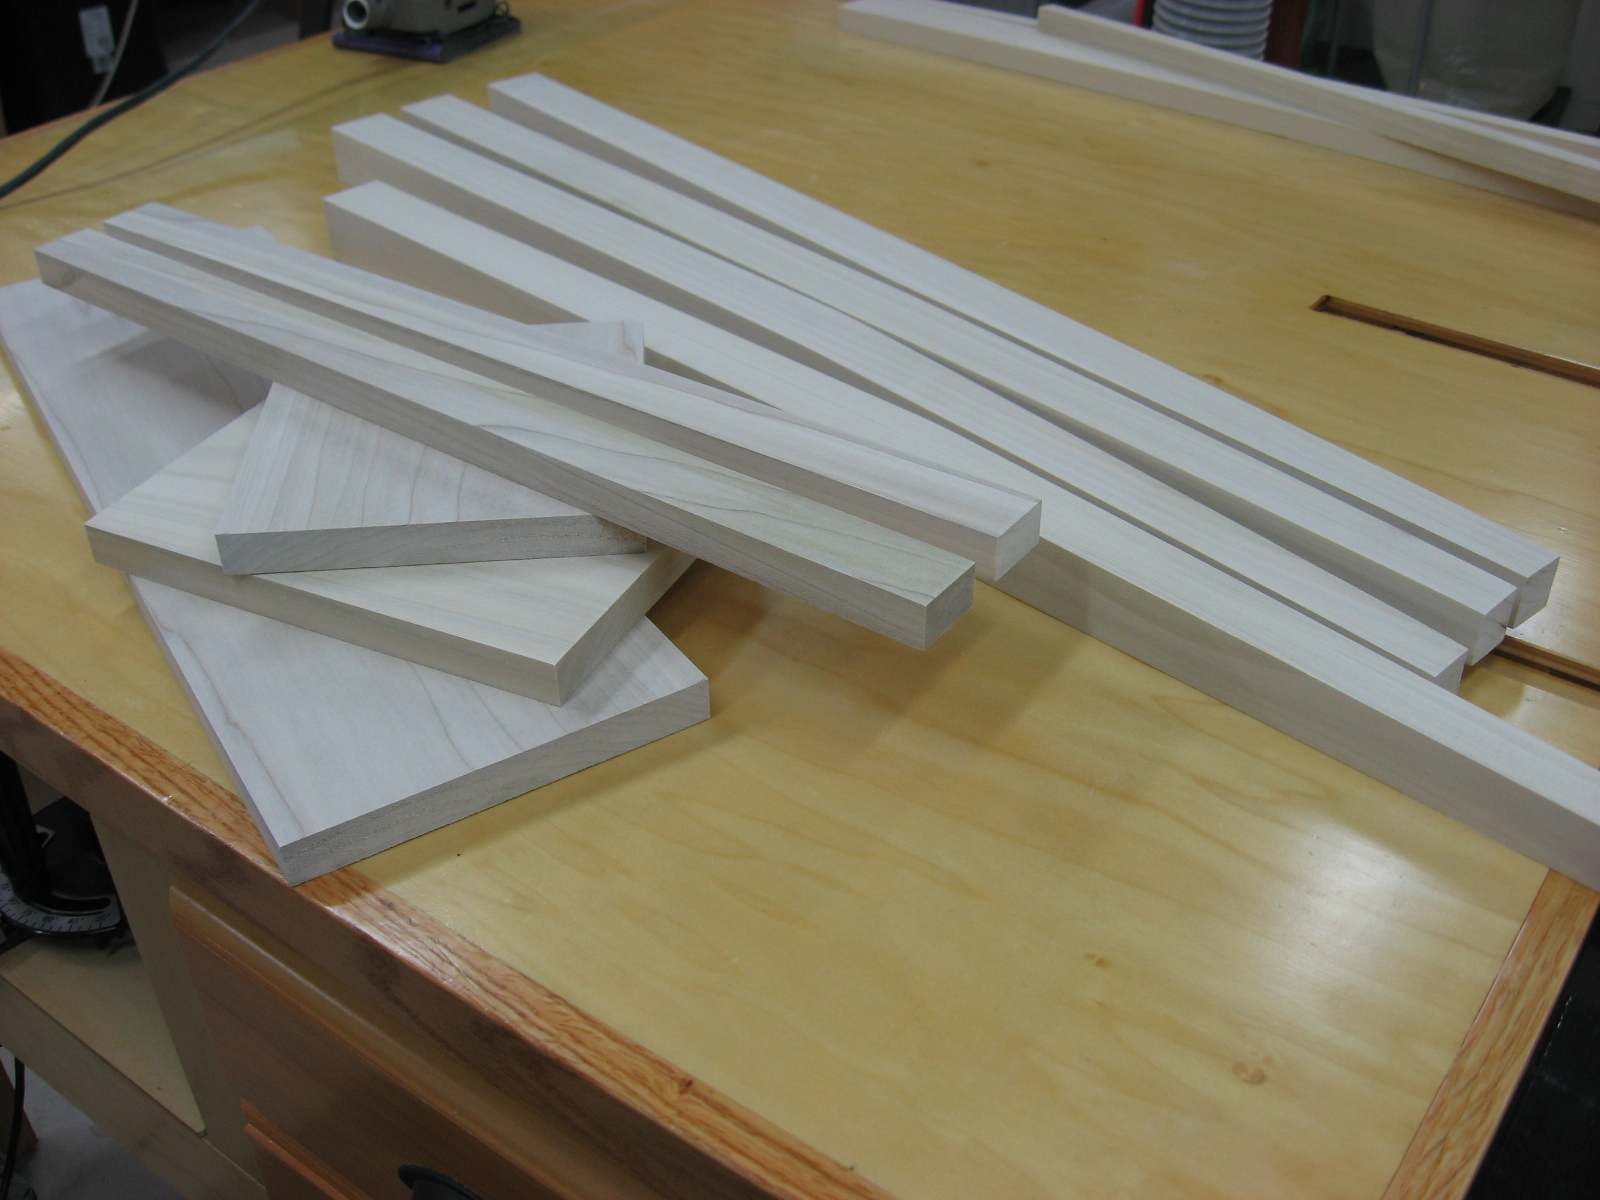
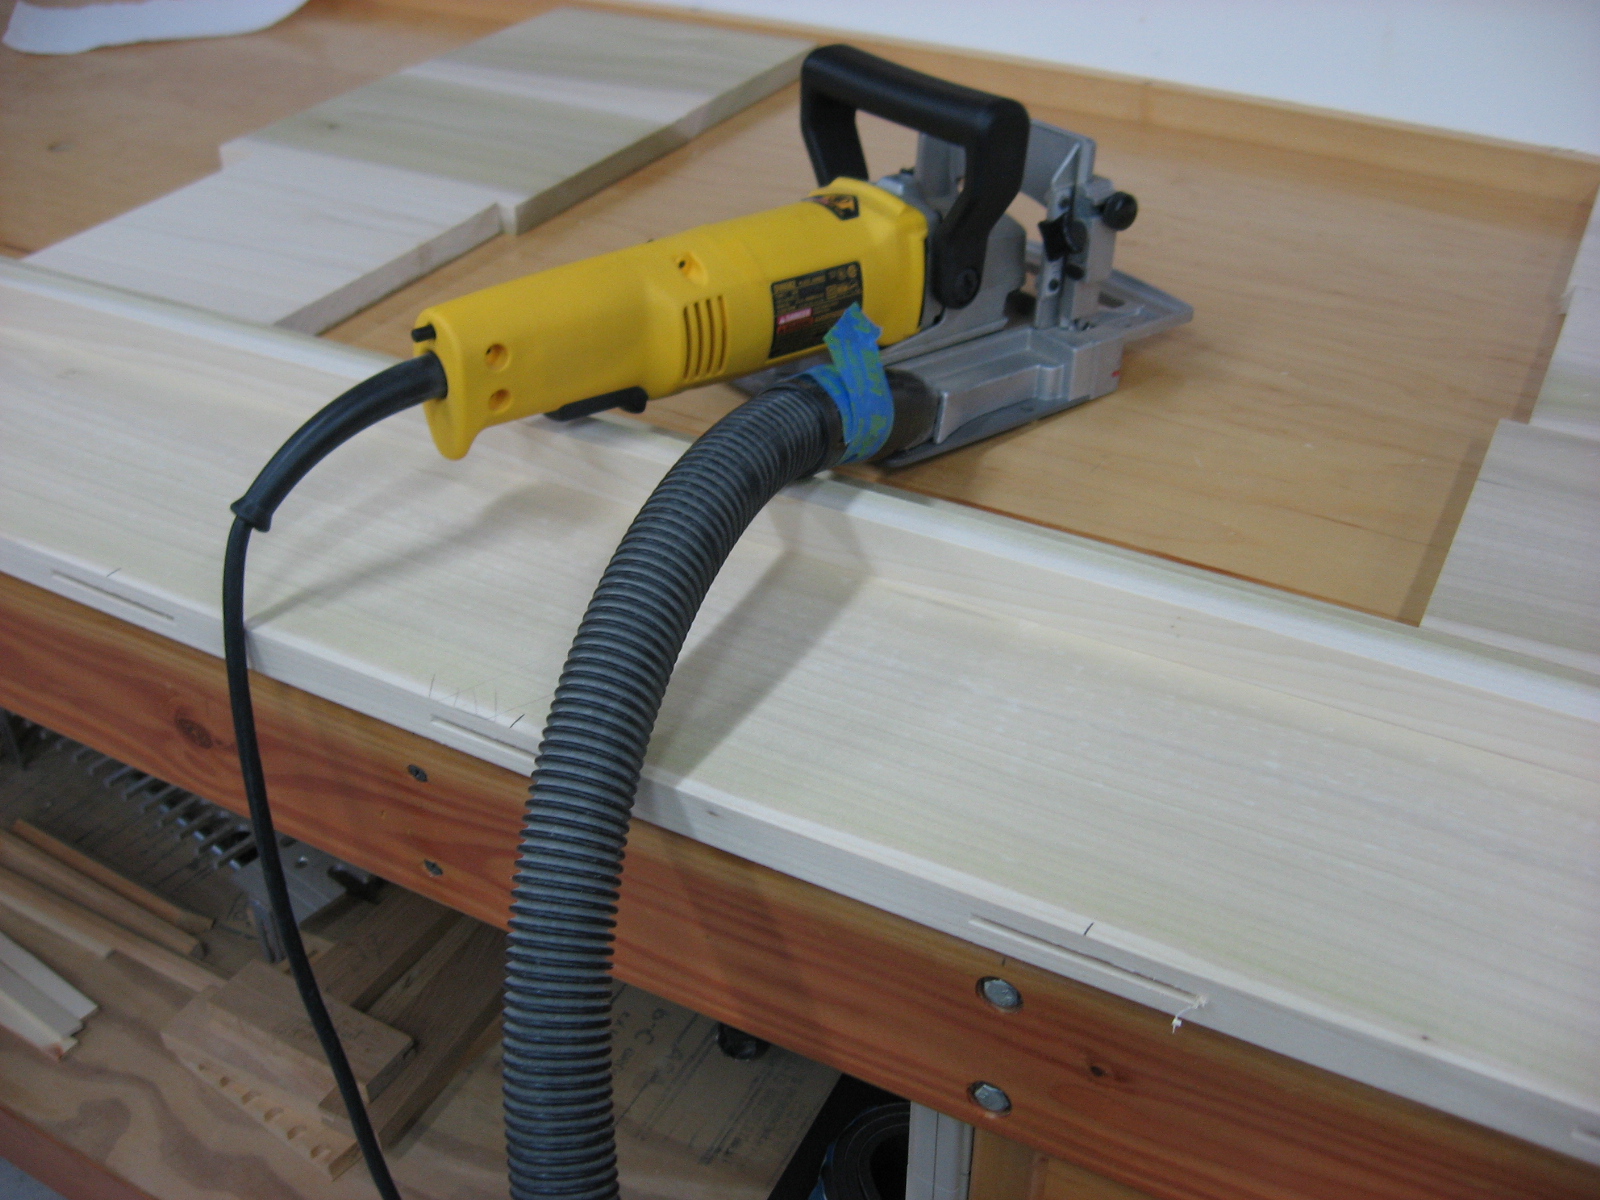
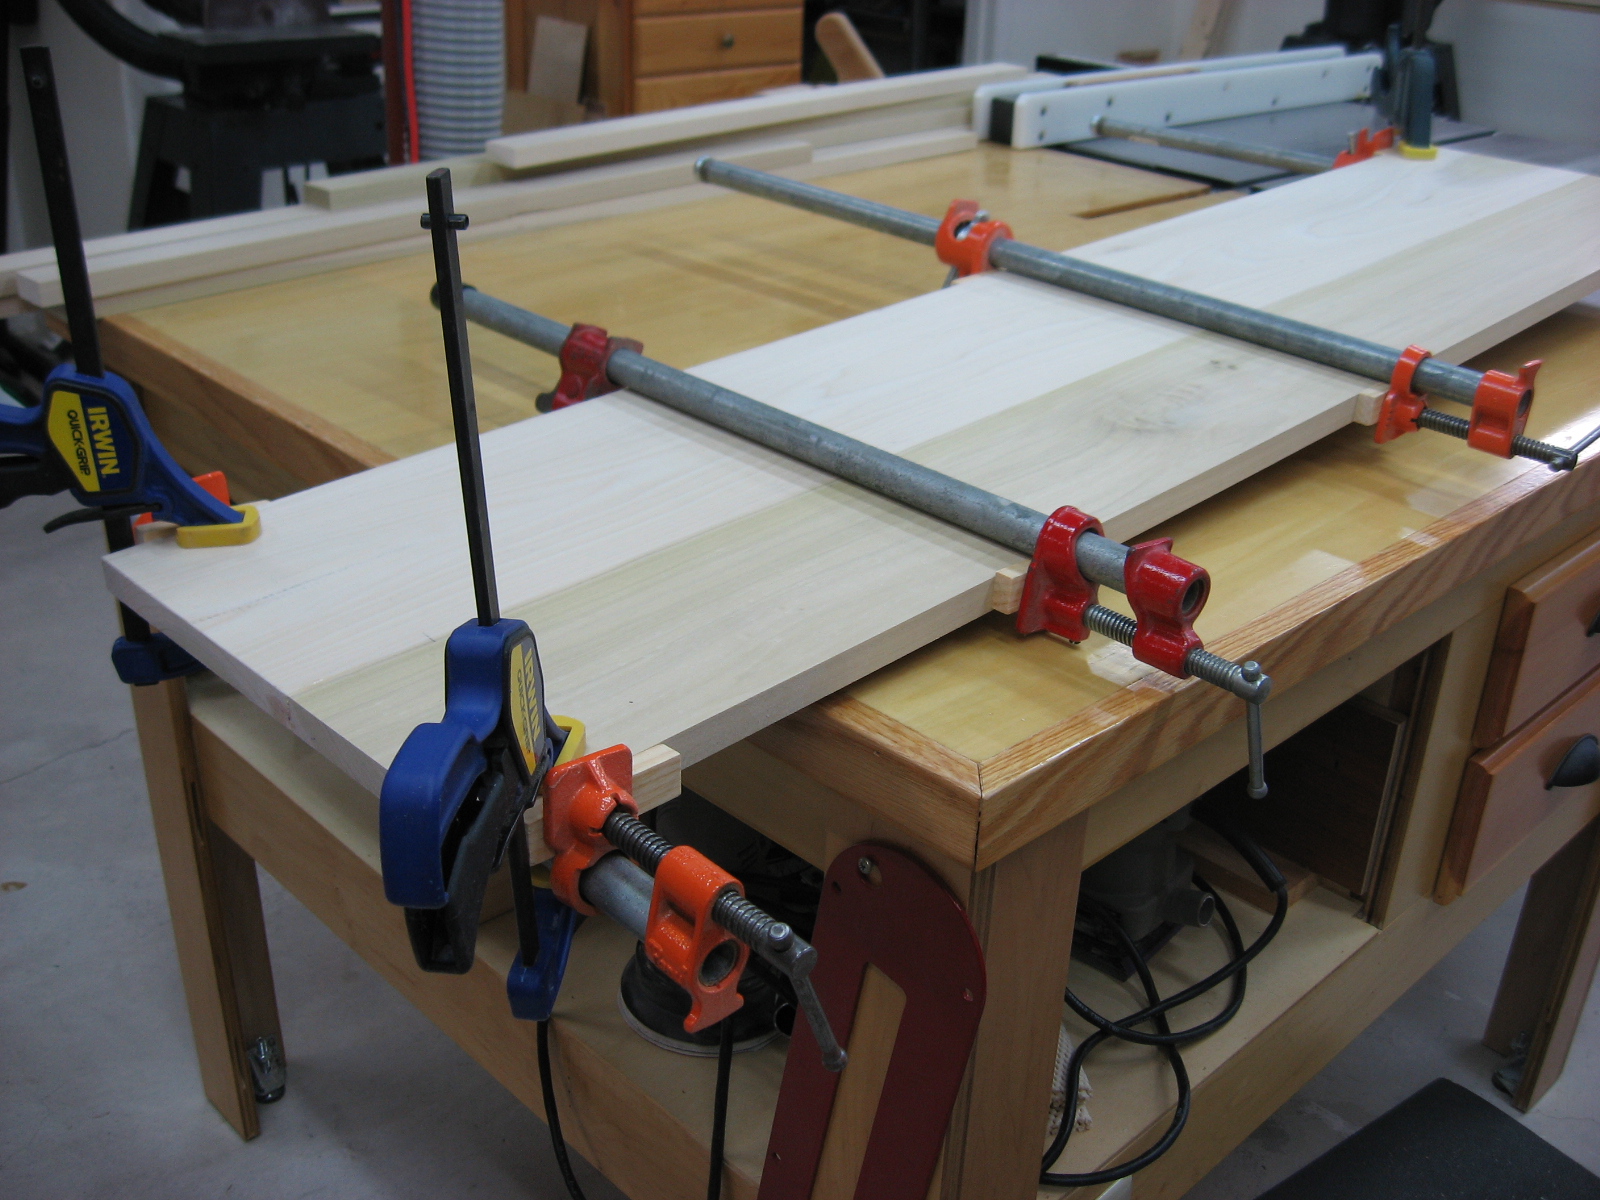
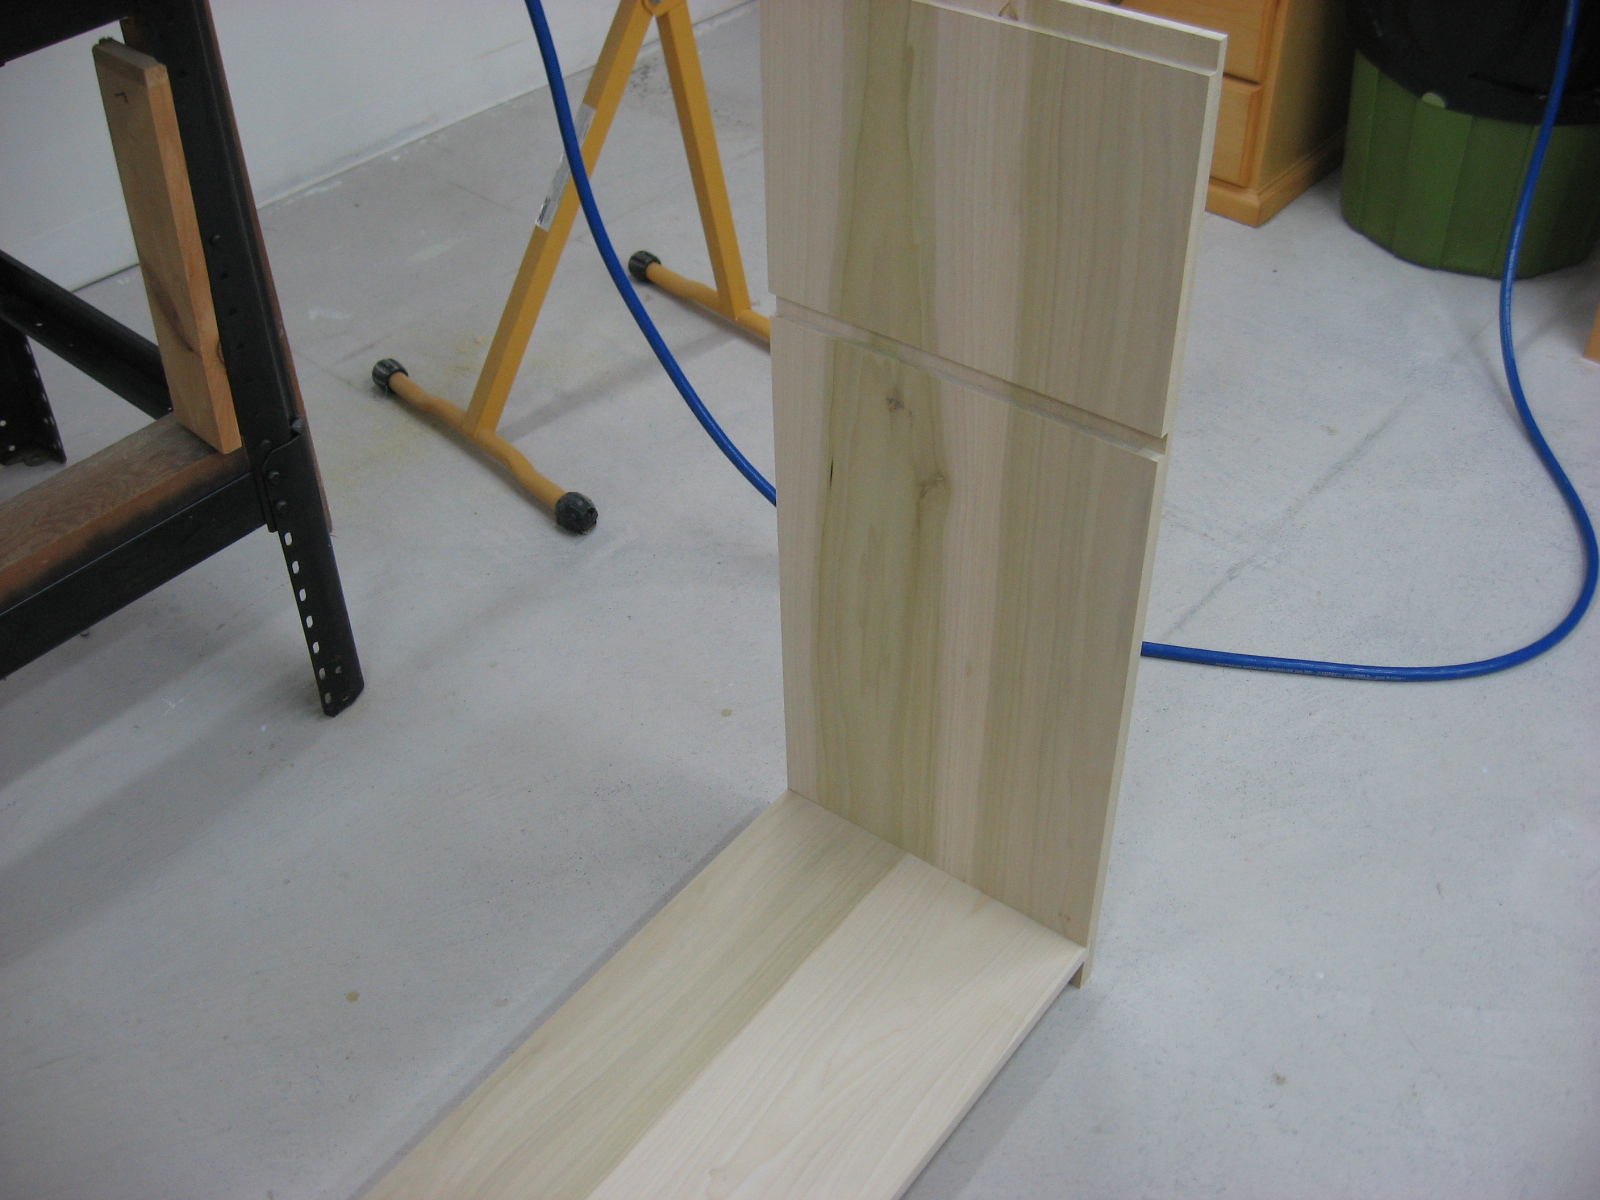
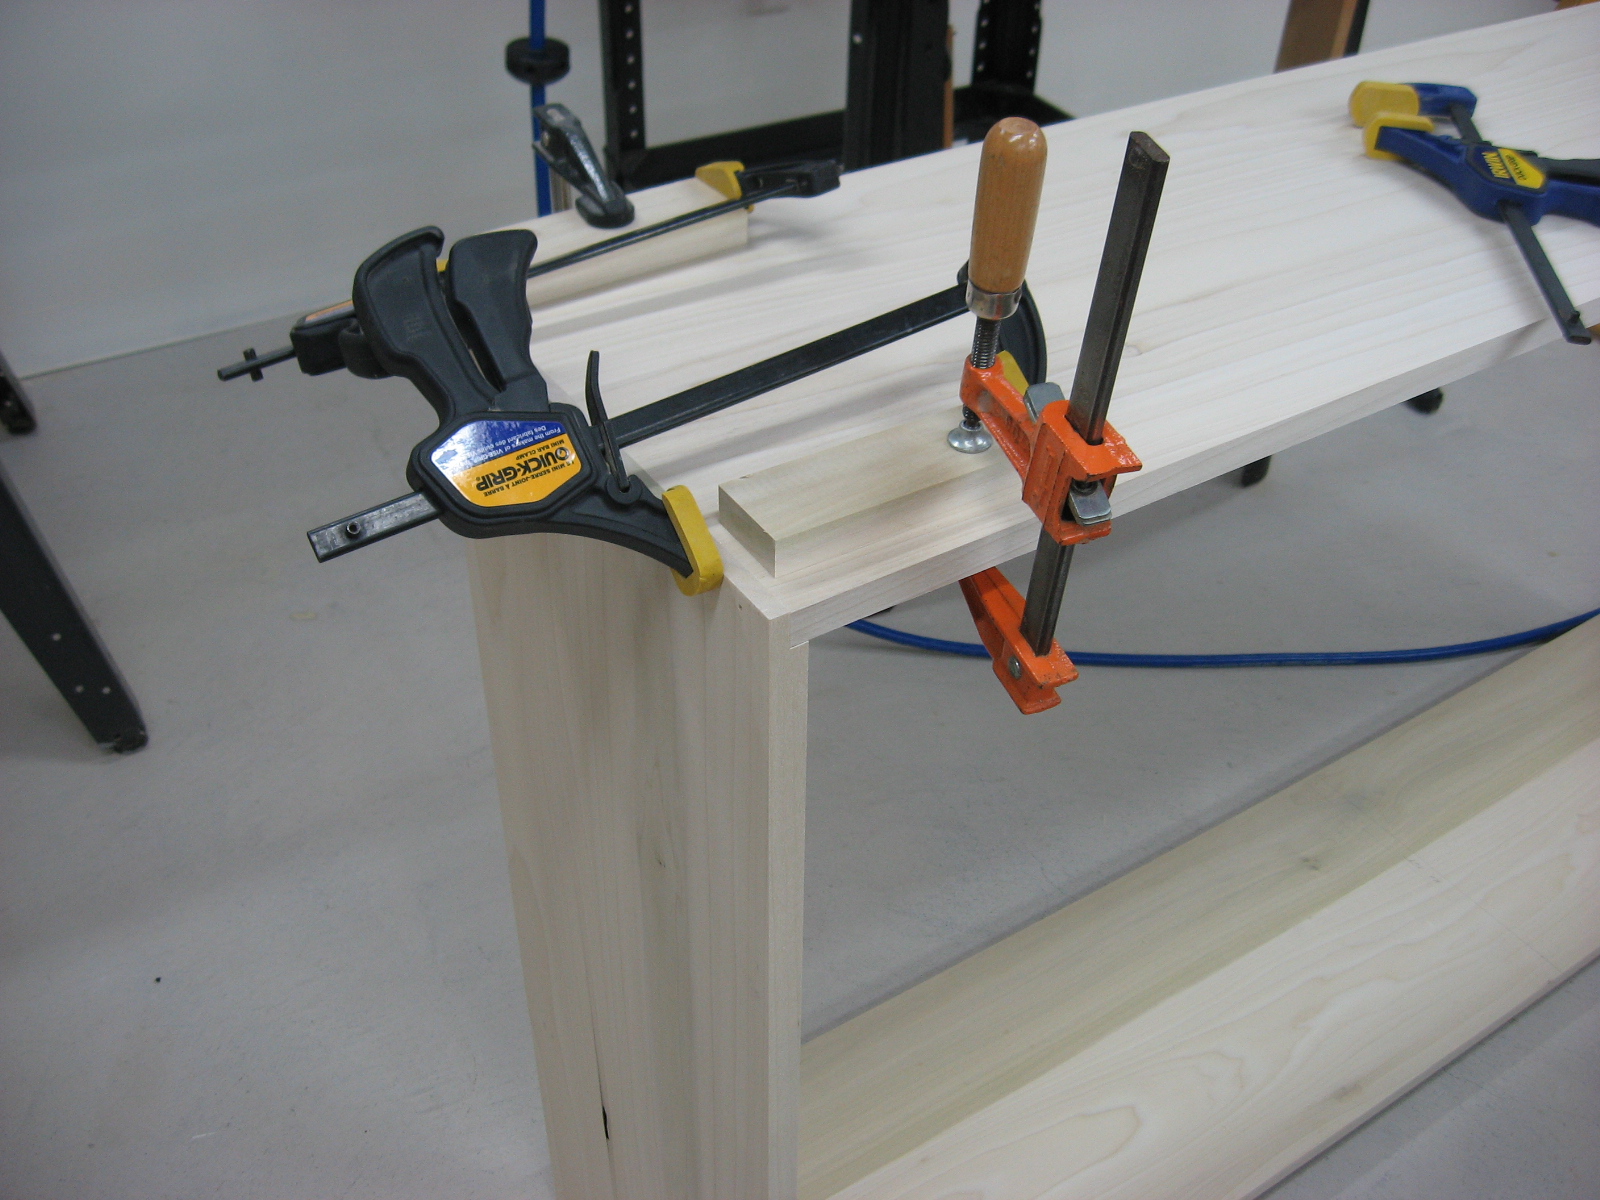
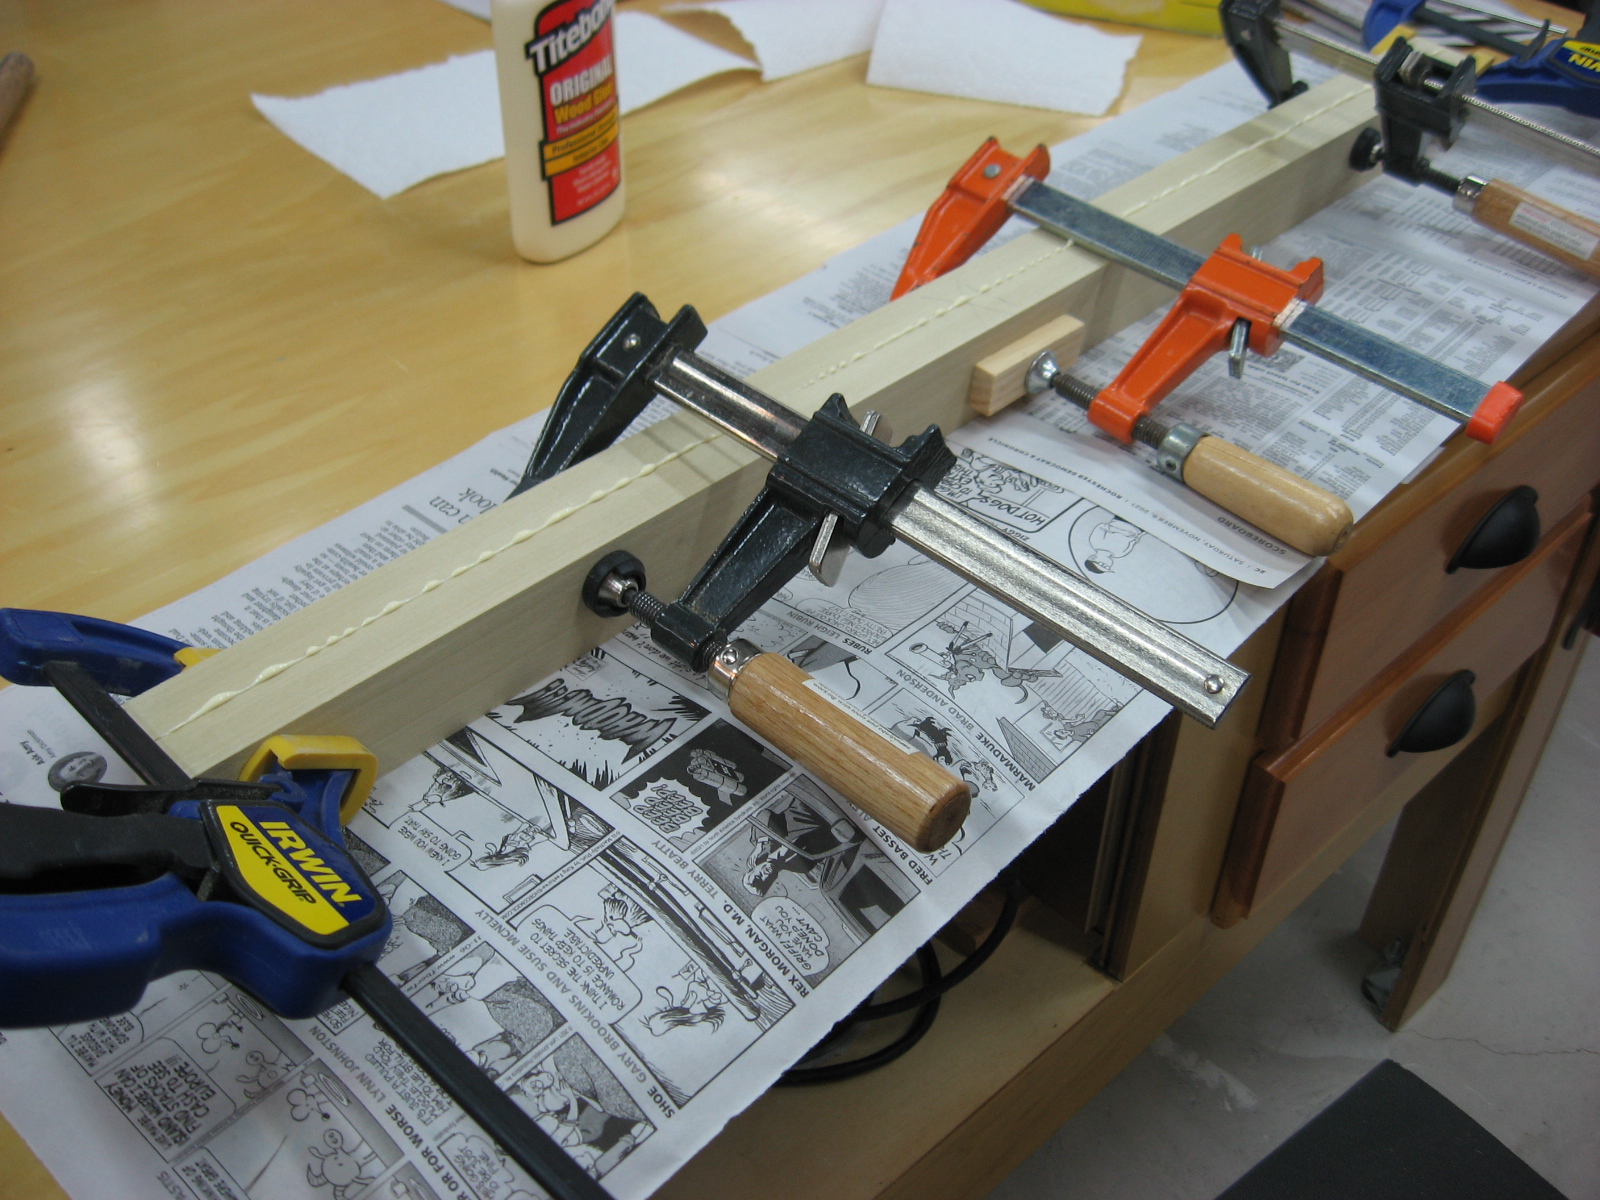
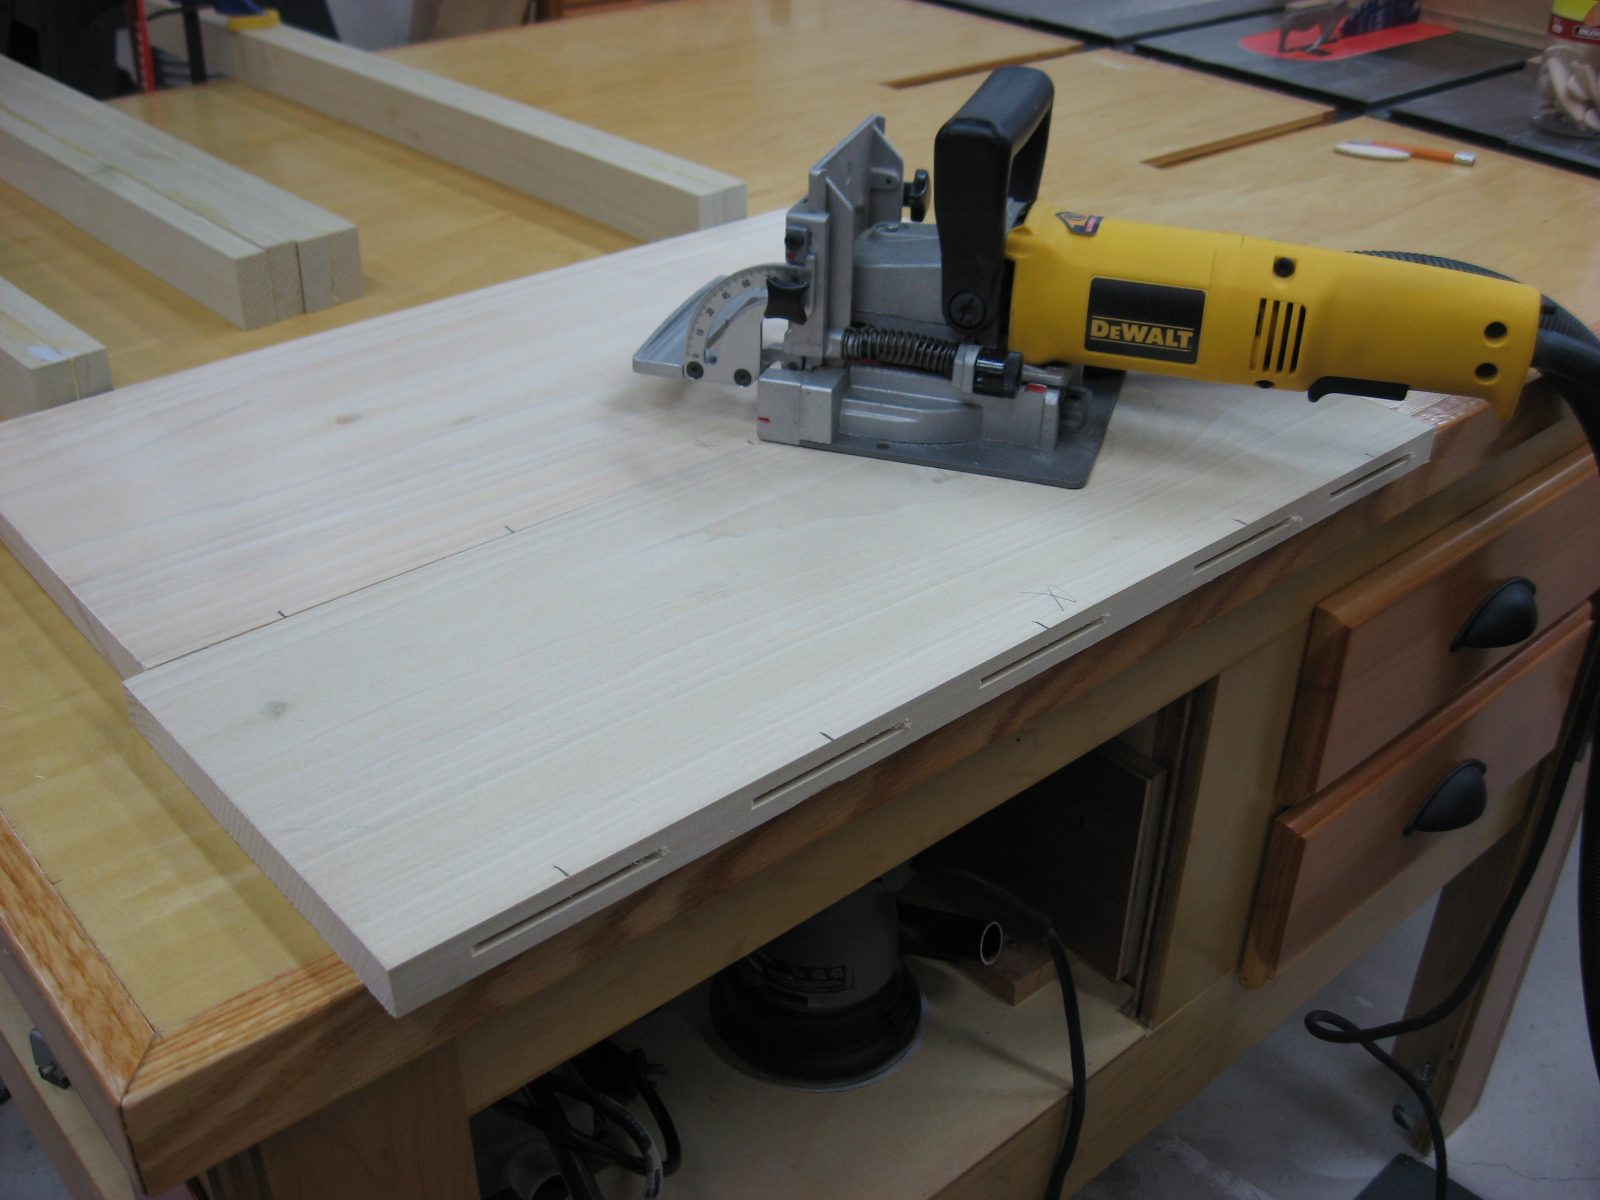
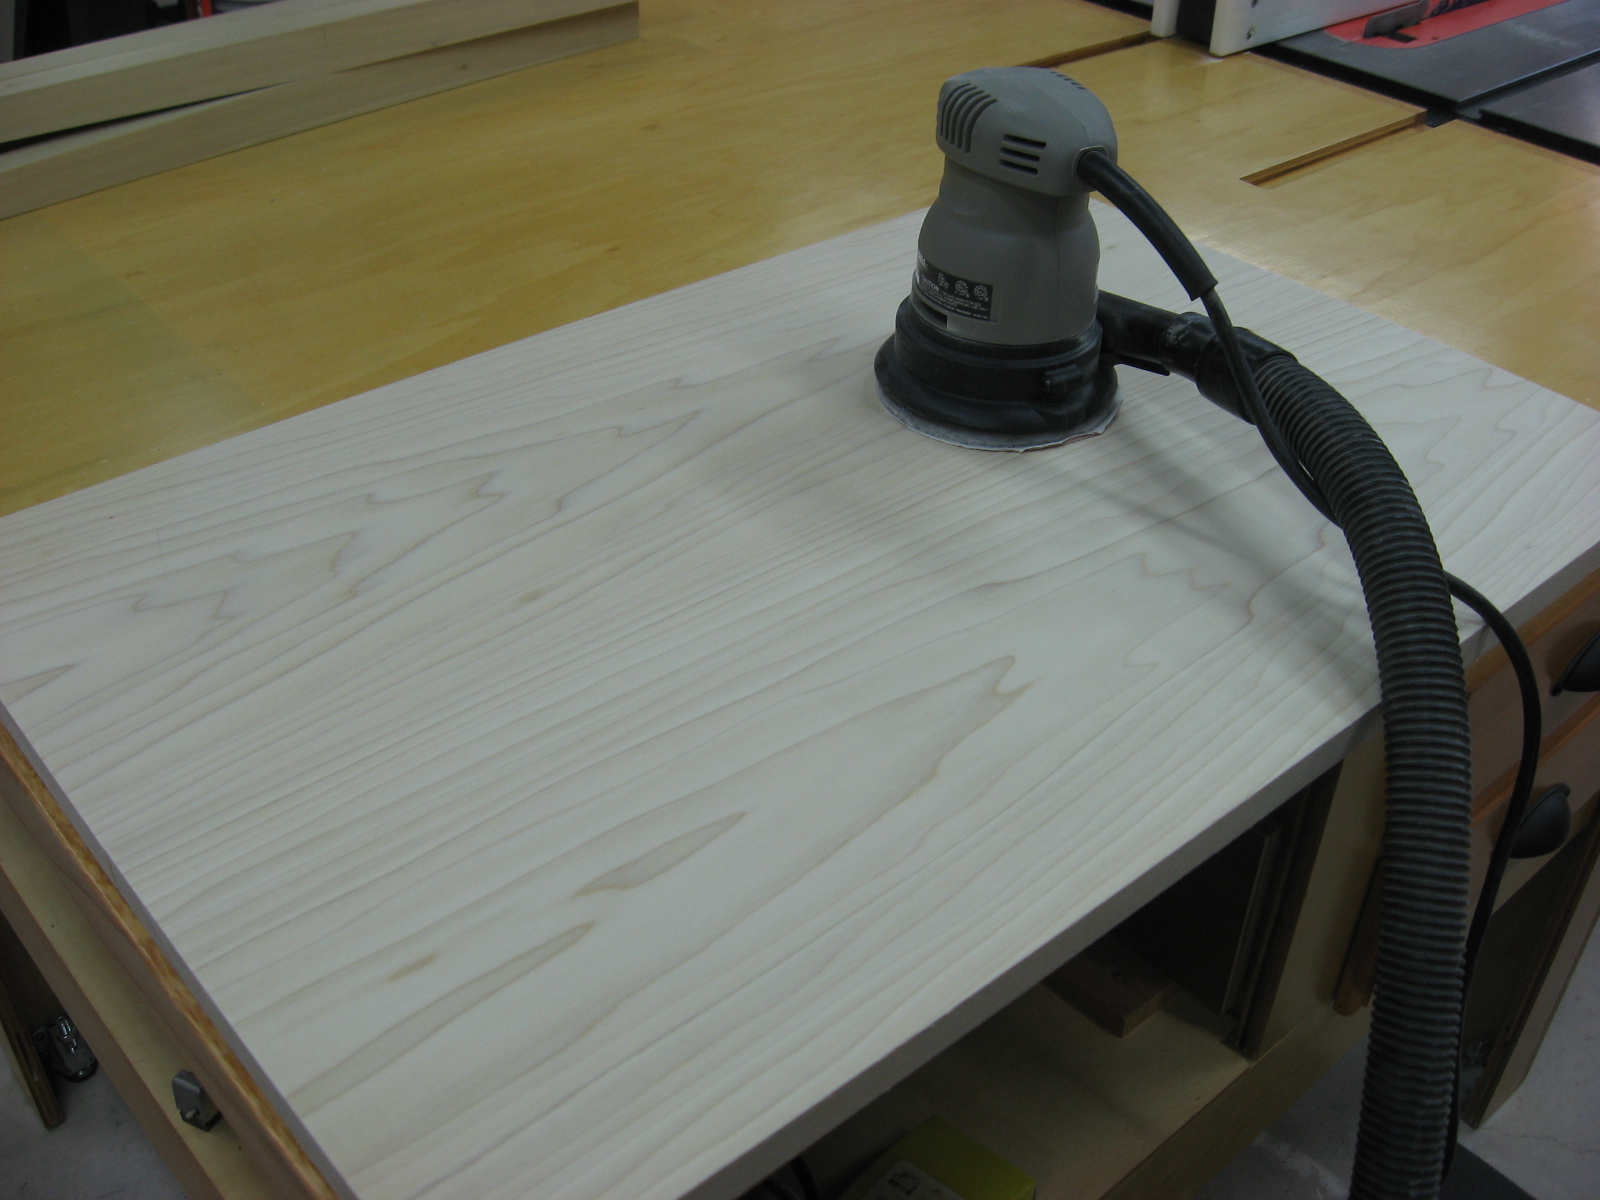
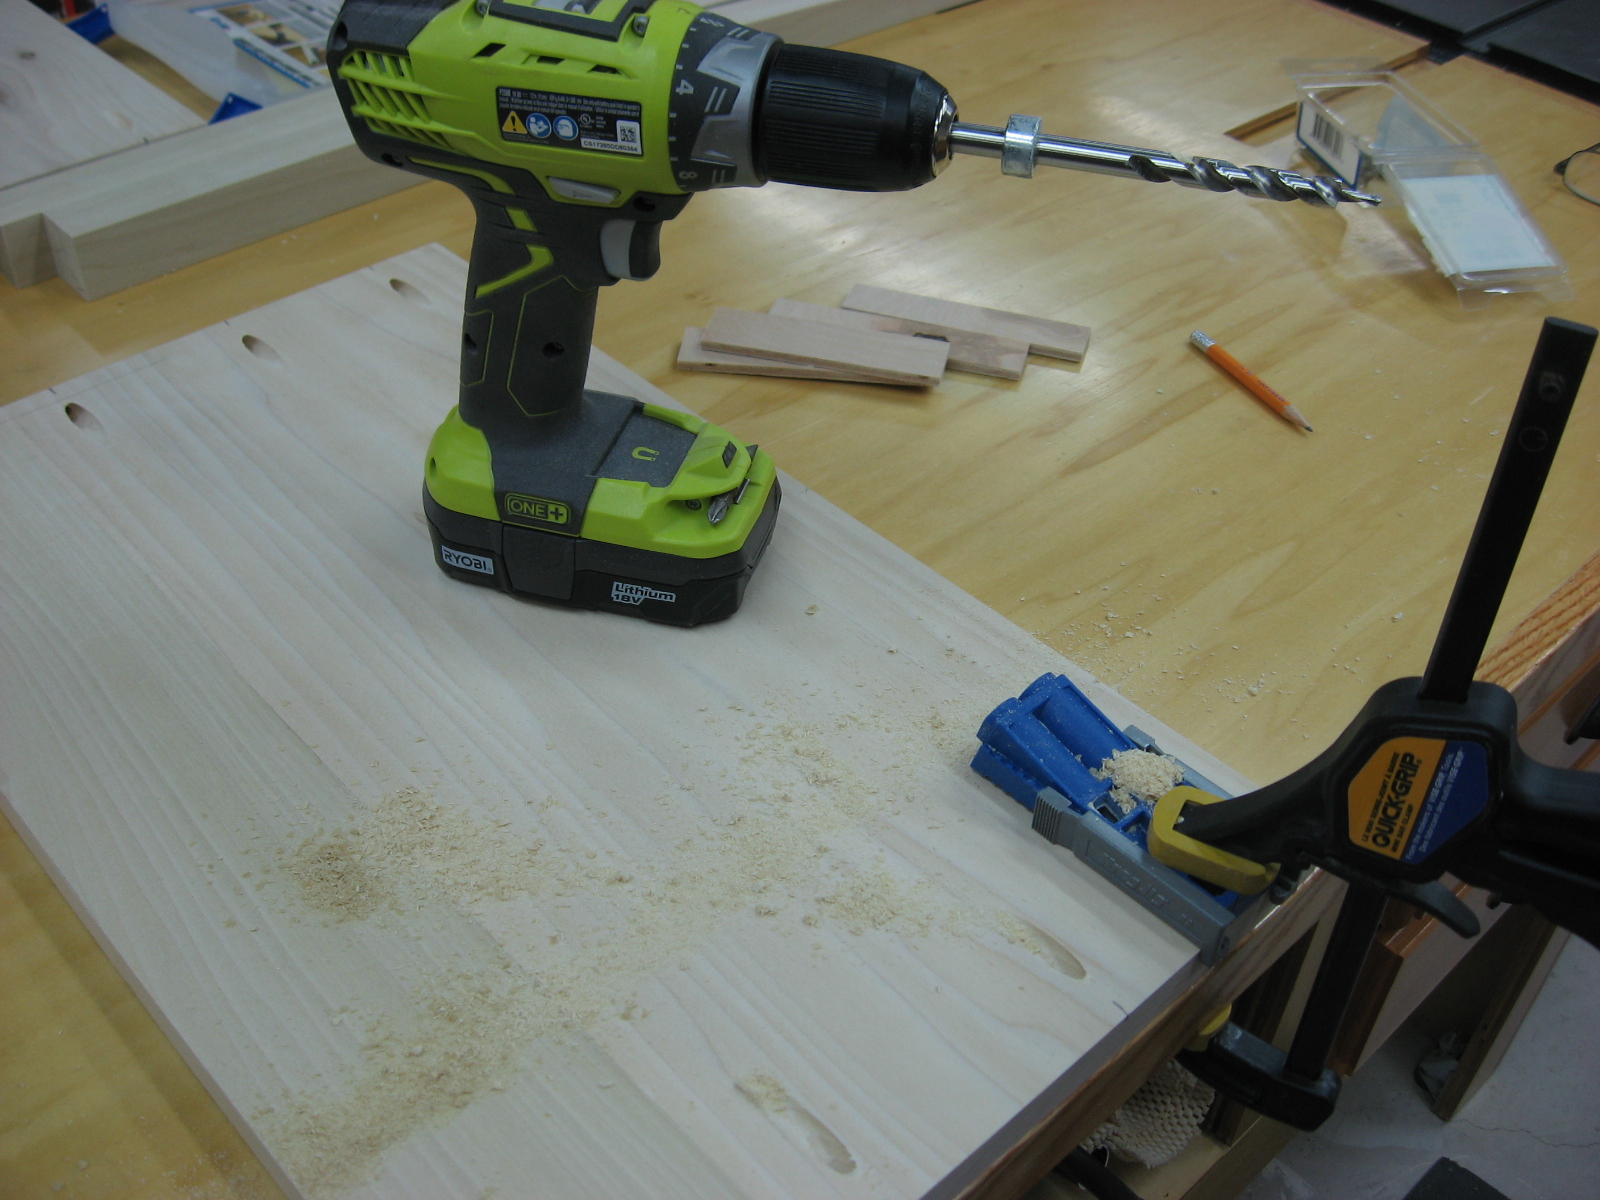
Honeoye End Table This end table was made in March of 2014 for our lake house on Honeoye Lake. The table has a lower shelf and an upper drawer. The lower rails and upper aprons are attached using pocket-hole screws rather than mortise and tenon joinery. The legs were constructed using two 3/4" boards, glued with biscuits and tapered at the lower end below the shelf. I constructed the table using Poplar wood. Total construction time was roughly 16 hours. I treated with pre-stain, applied a reddish brown stain that I blended using 2 stains and finished with 4 coats of semi-gloss Polyurethane. The SketchUp Model is available for download HERE.
|
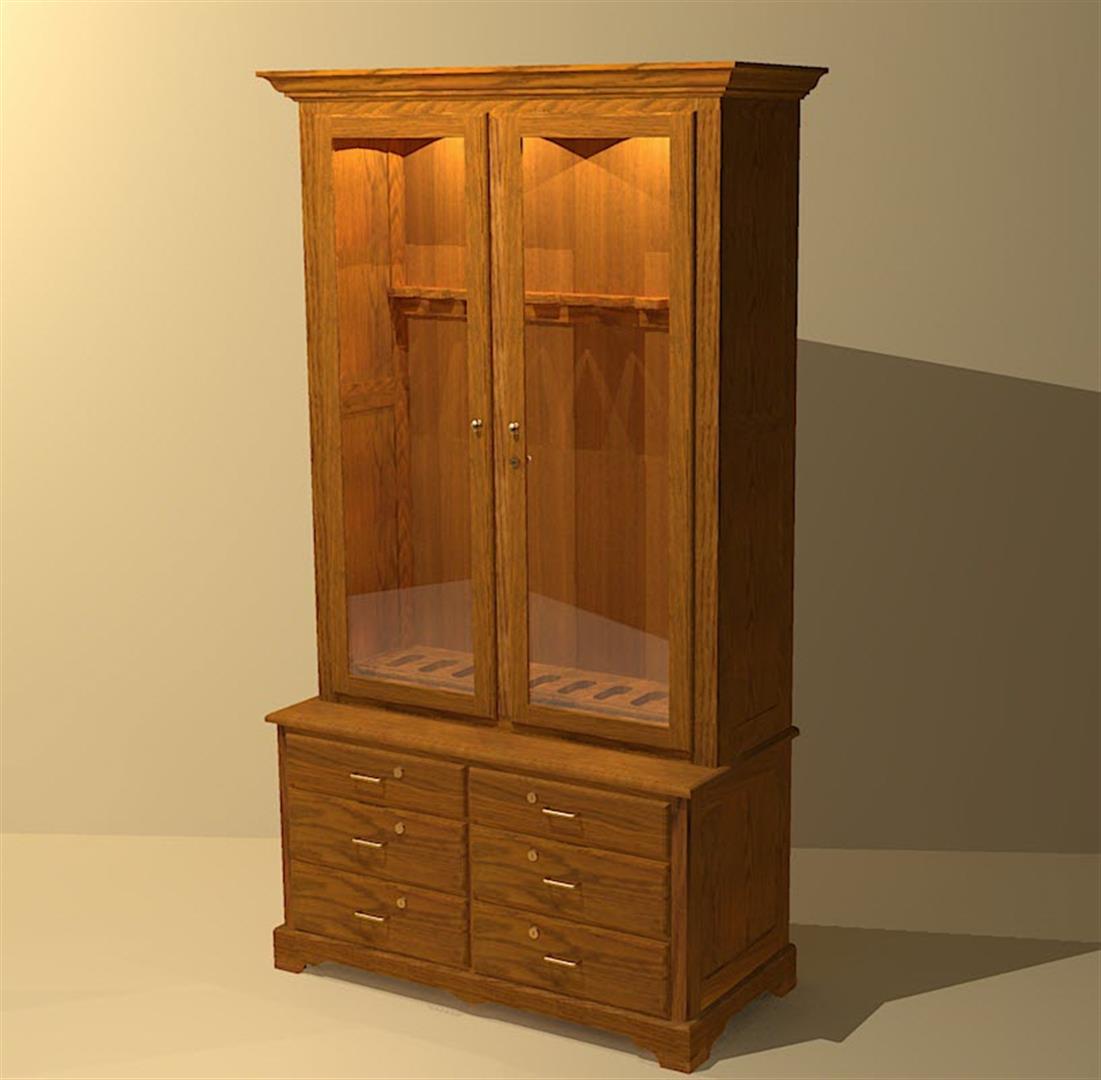  |
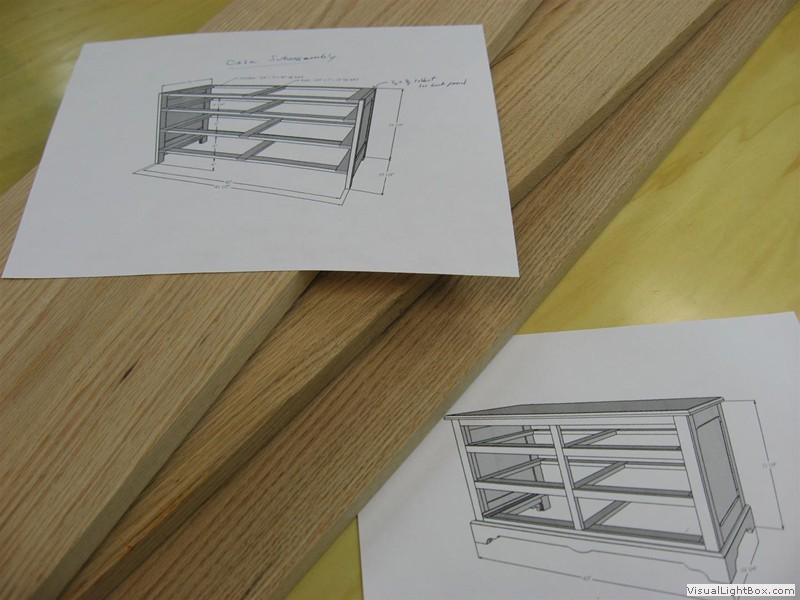
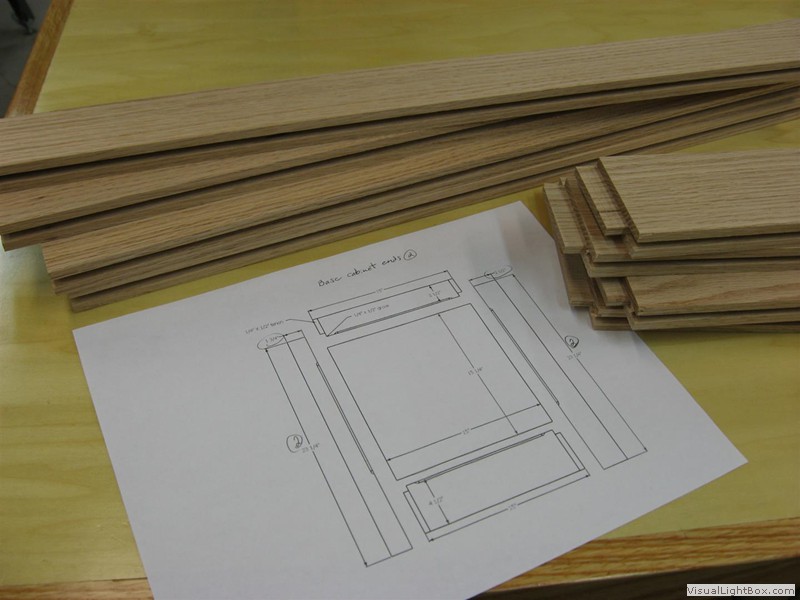
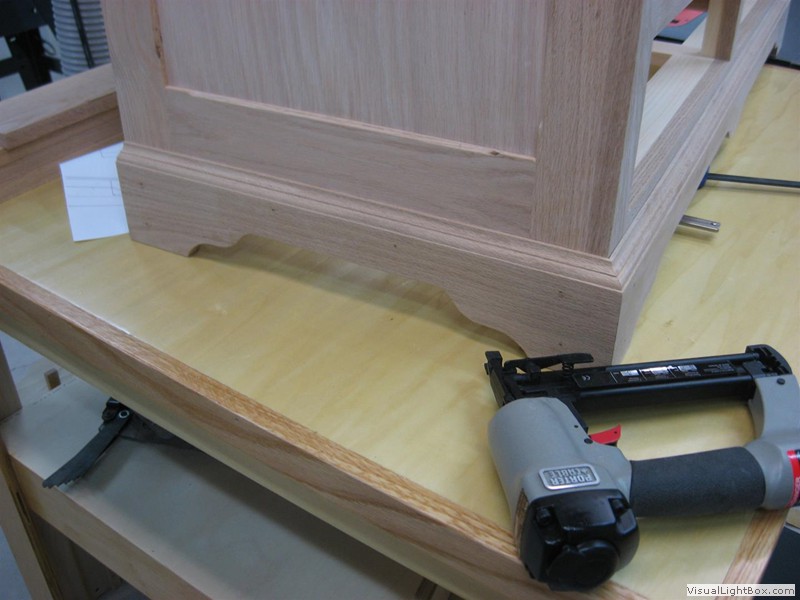
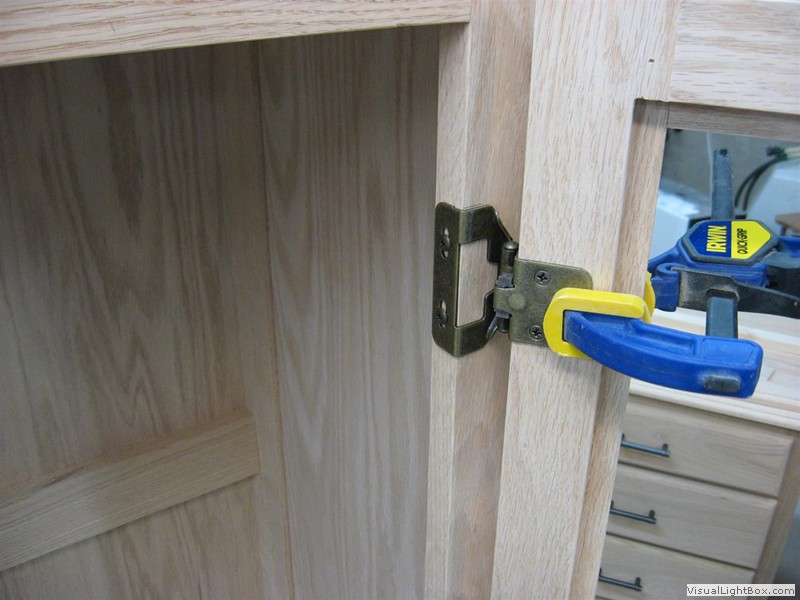
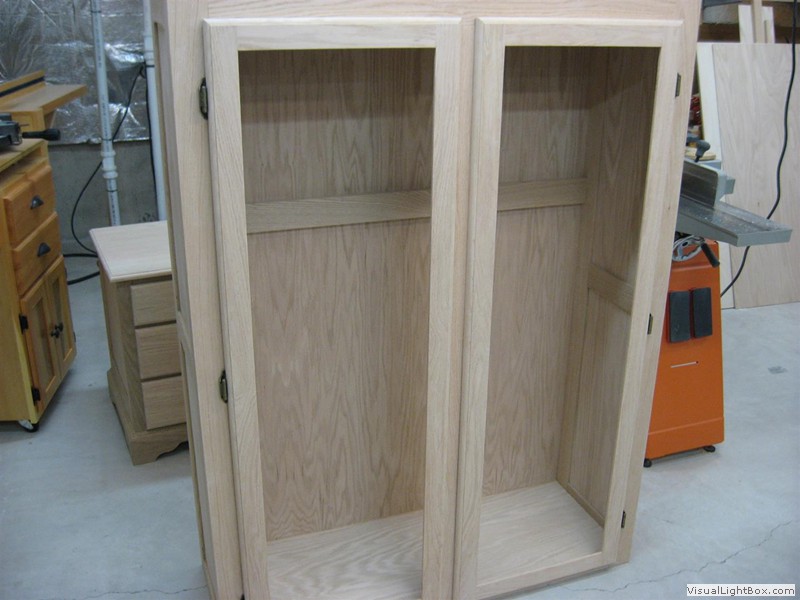
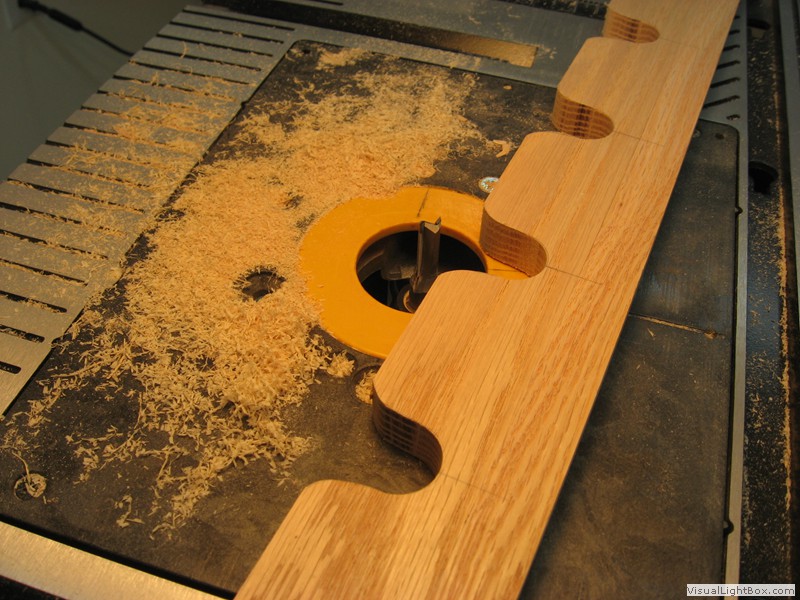
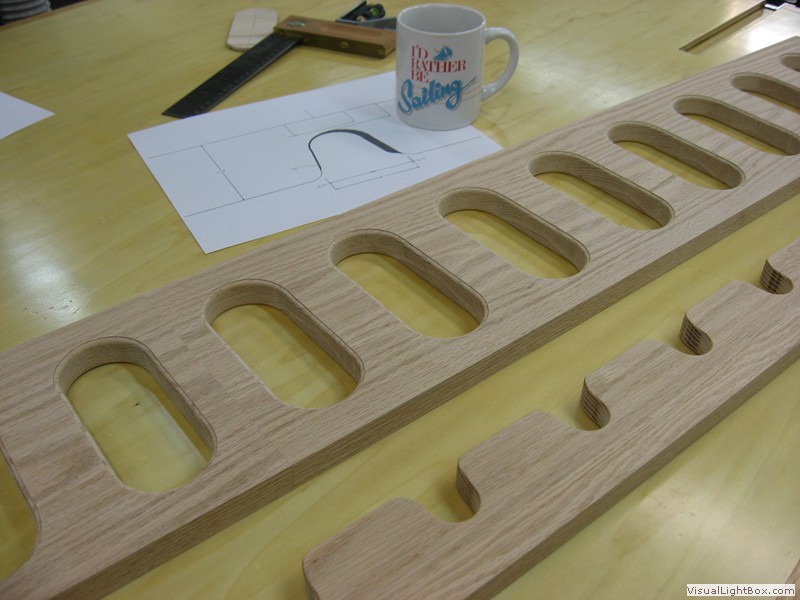
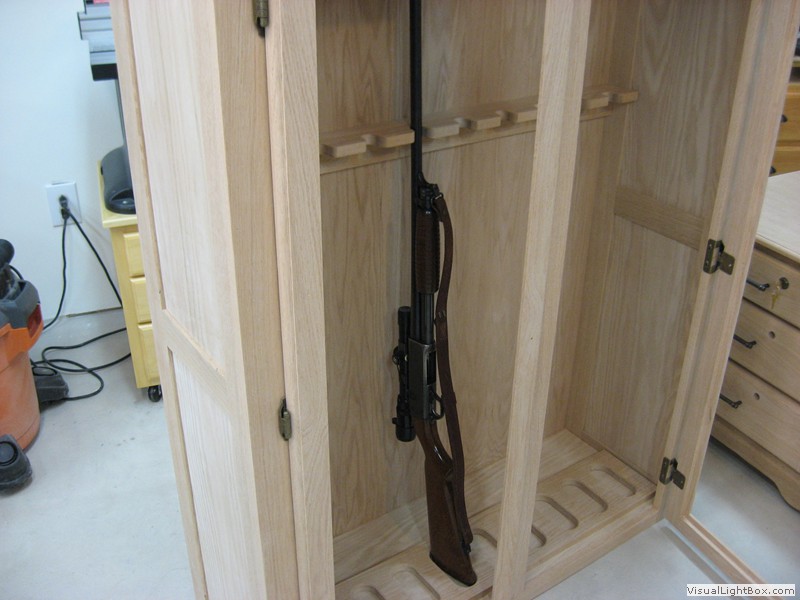
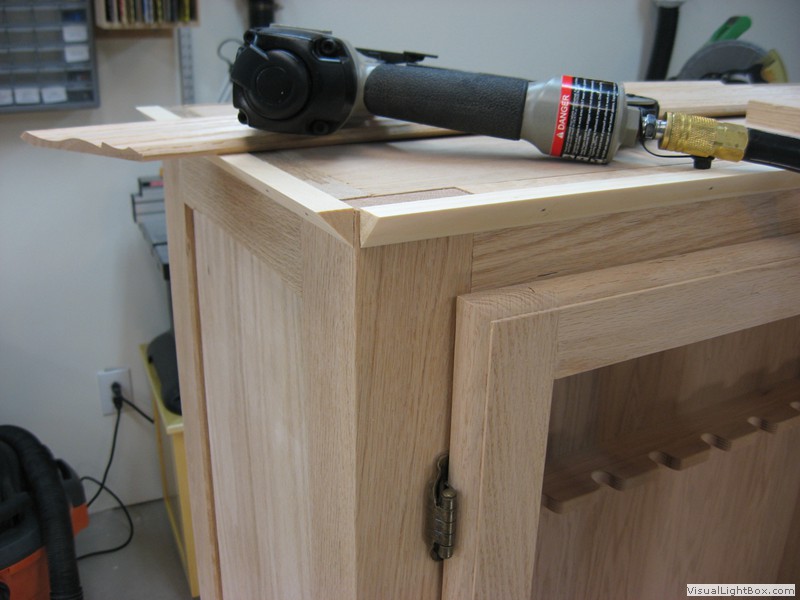
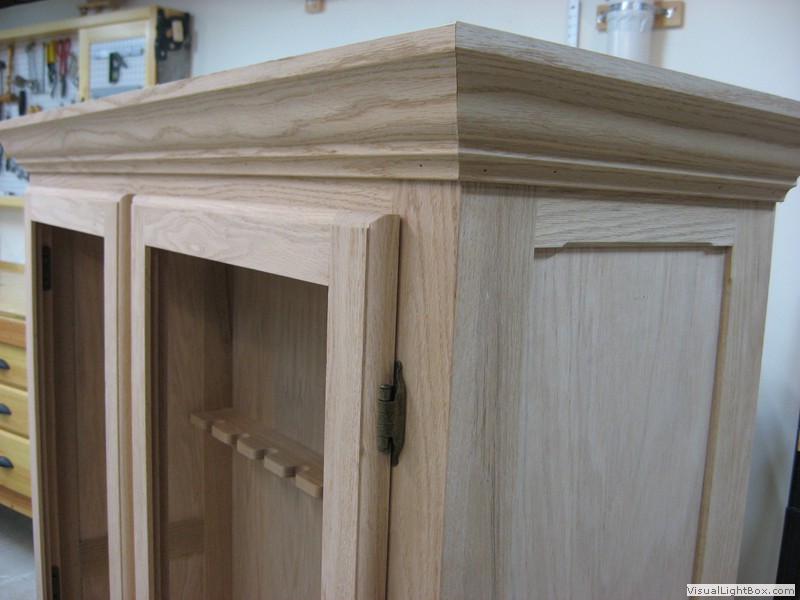
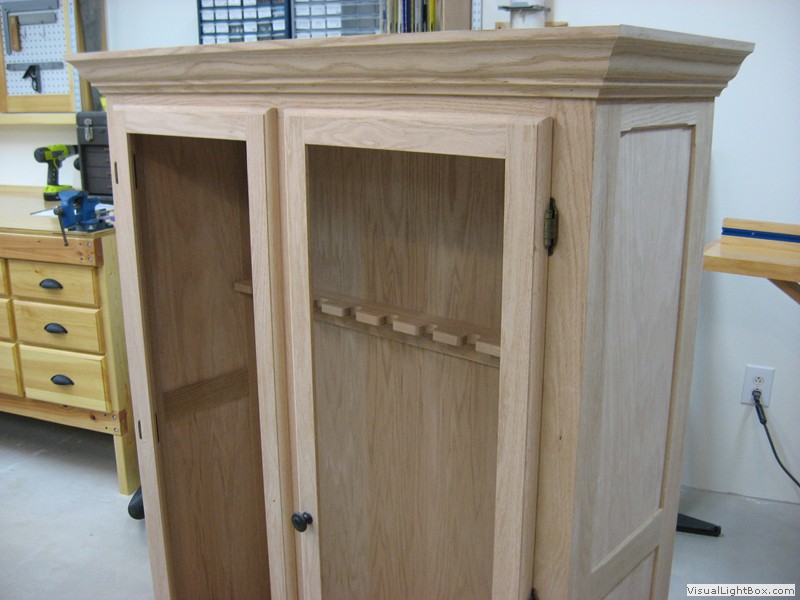
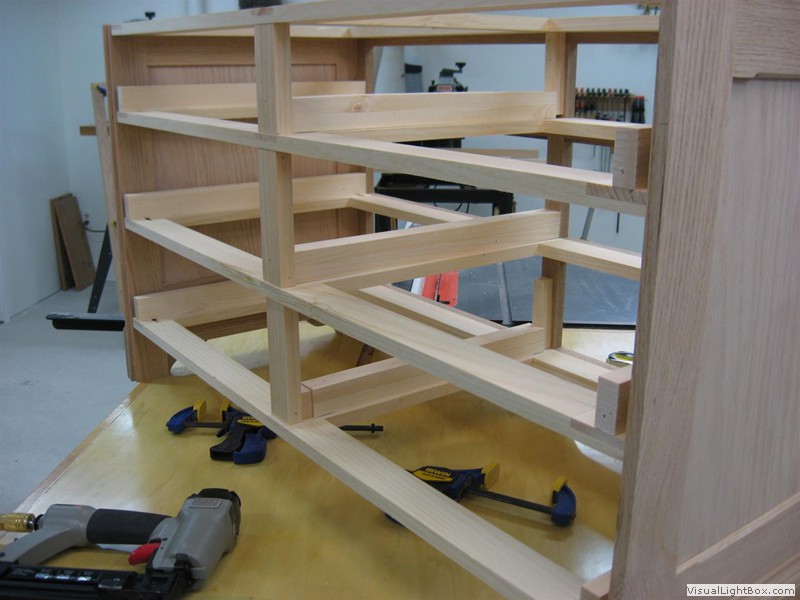
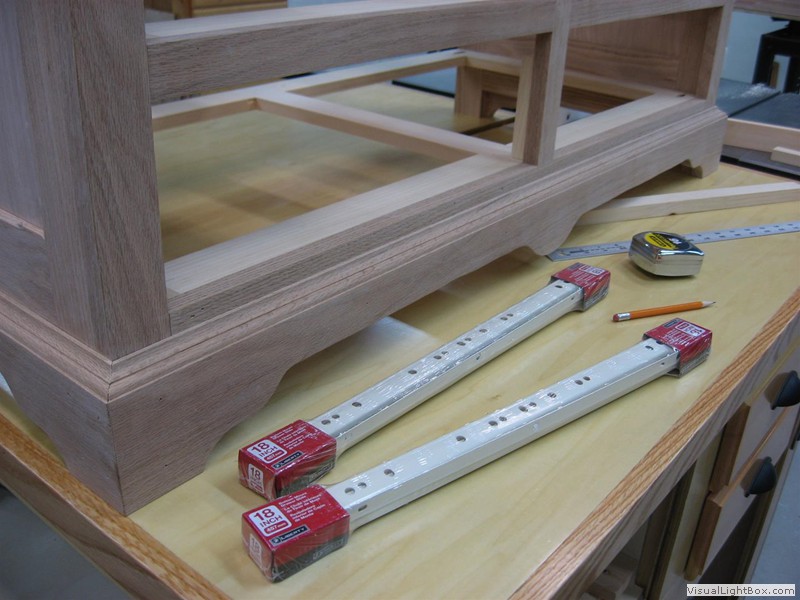
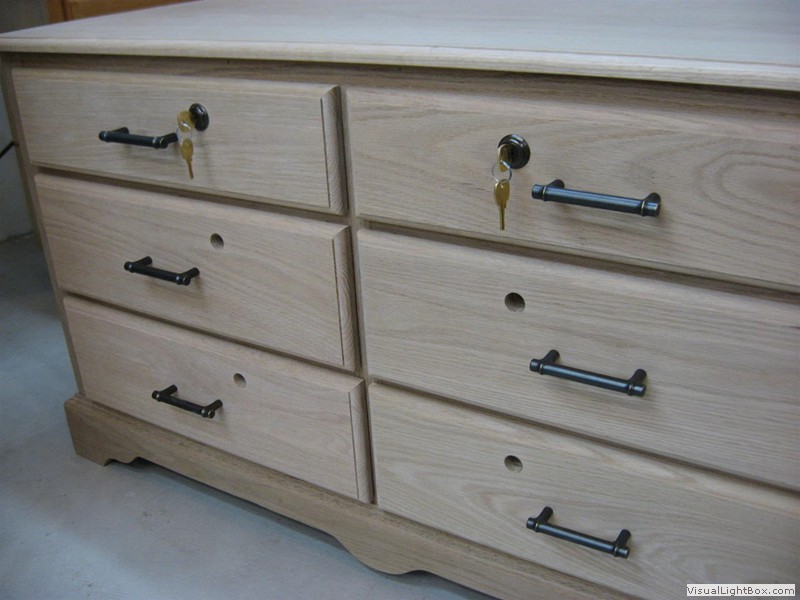
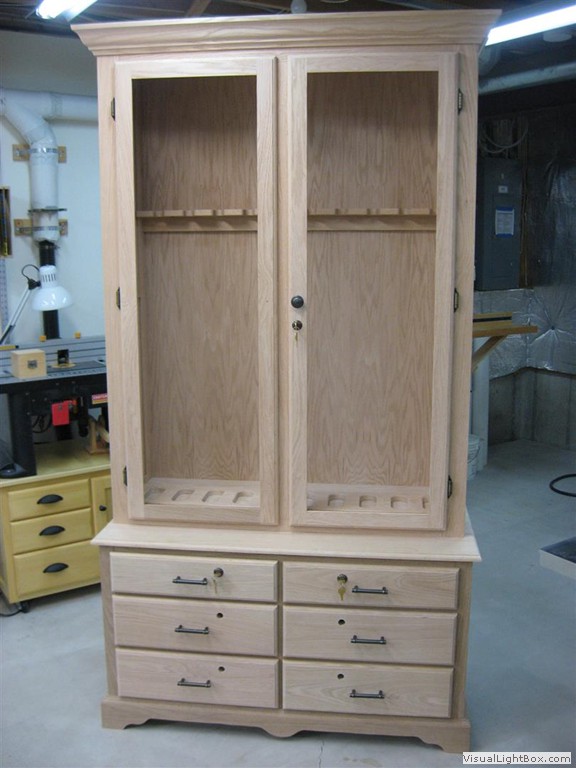
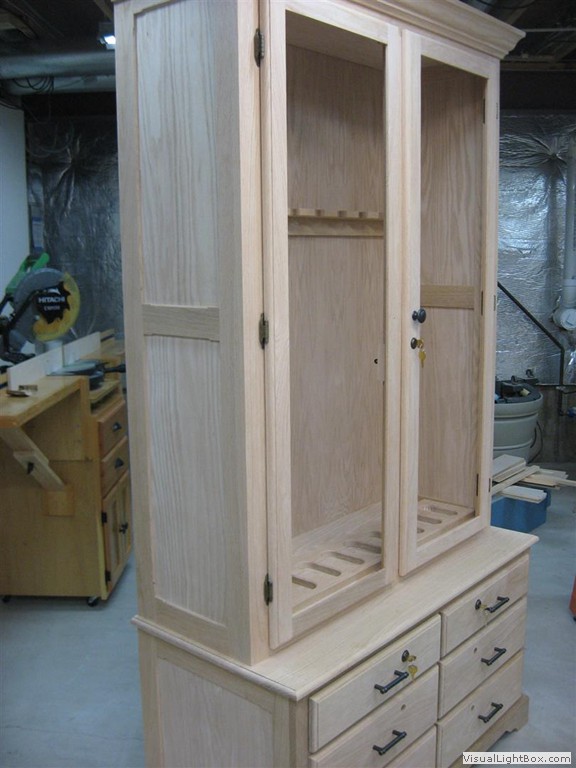
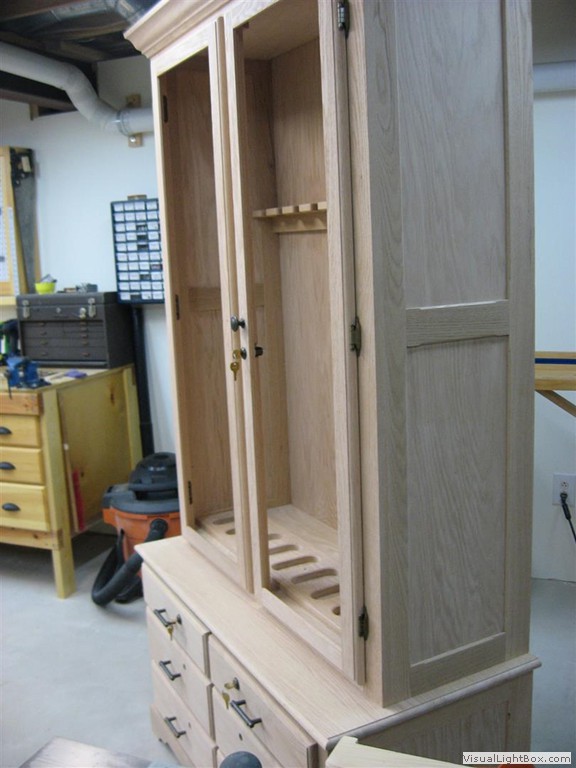
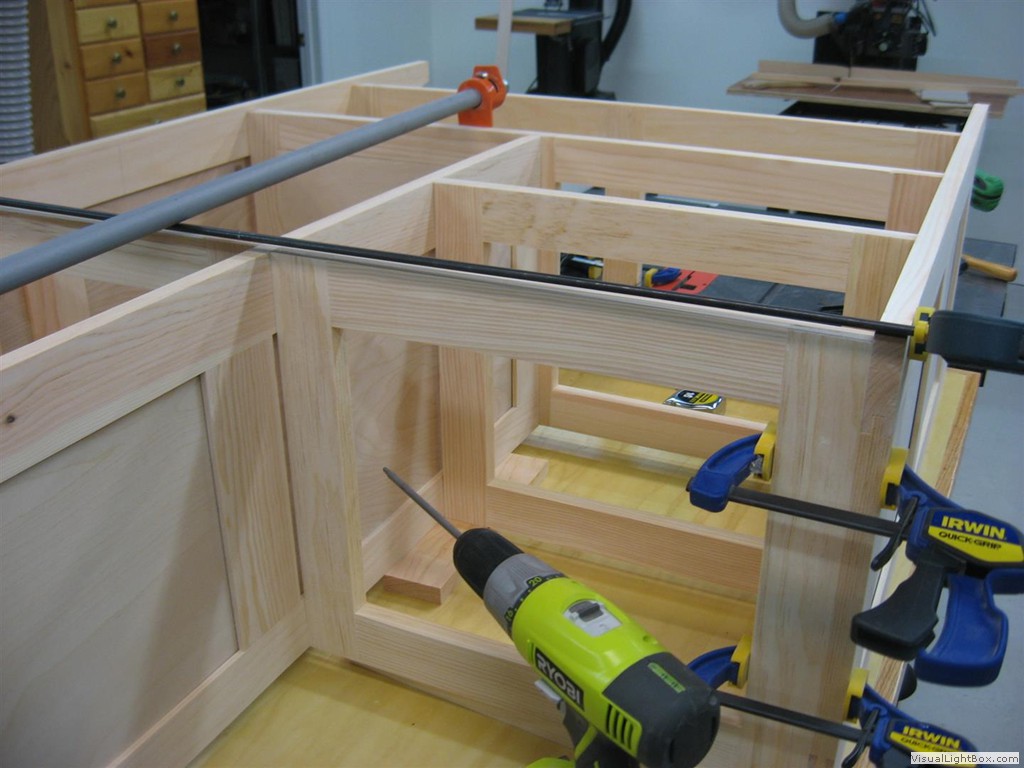
Gun Cabinet This gun cabinet was built in December of 2014. It's designed to hold 10 guns and has plenty of drawer storage. The cabinet is made of solid Oak lumber. I used standard cylinder locks to secure all the drawers and glass doors. Total construction time was about 70 hours not including the finishing steps. The SketchUp Model is available for download HERE.
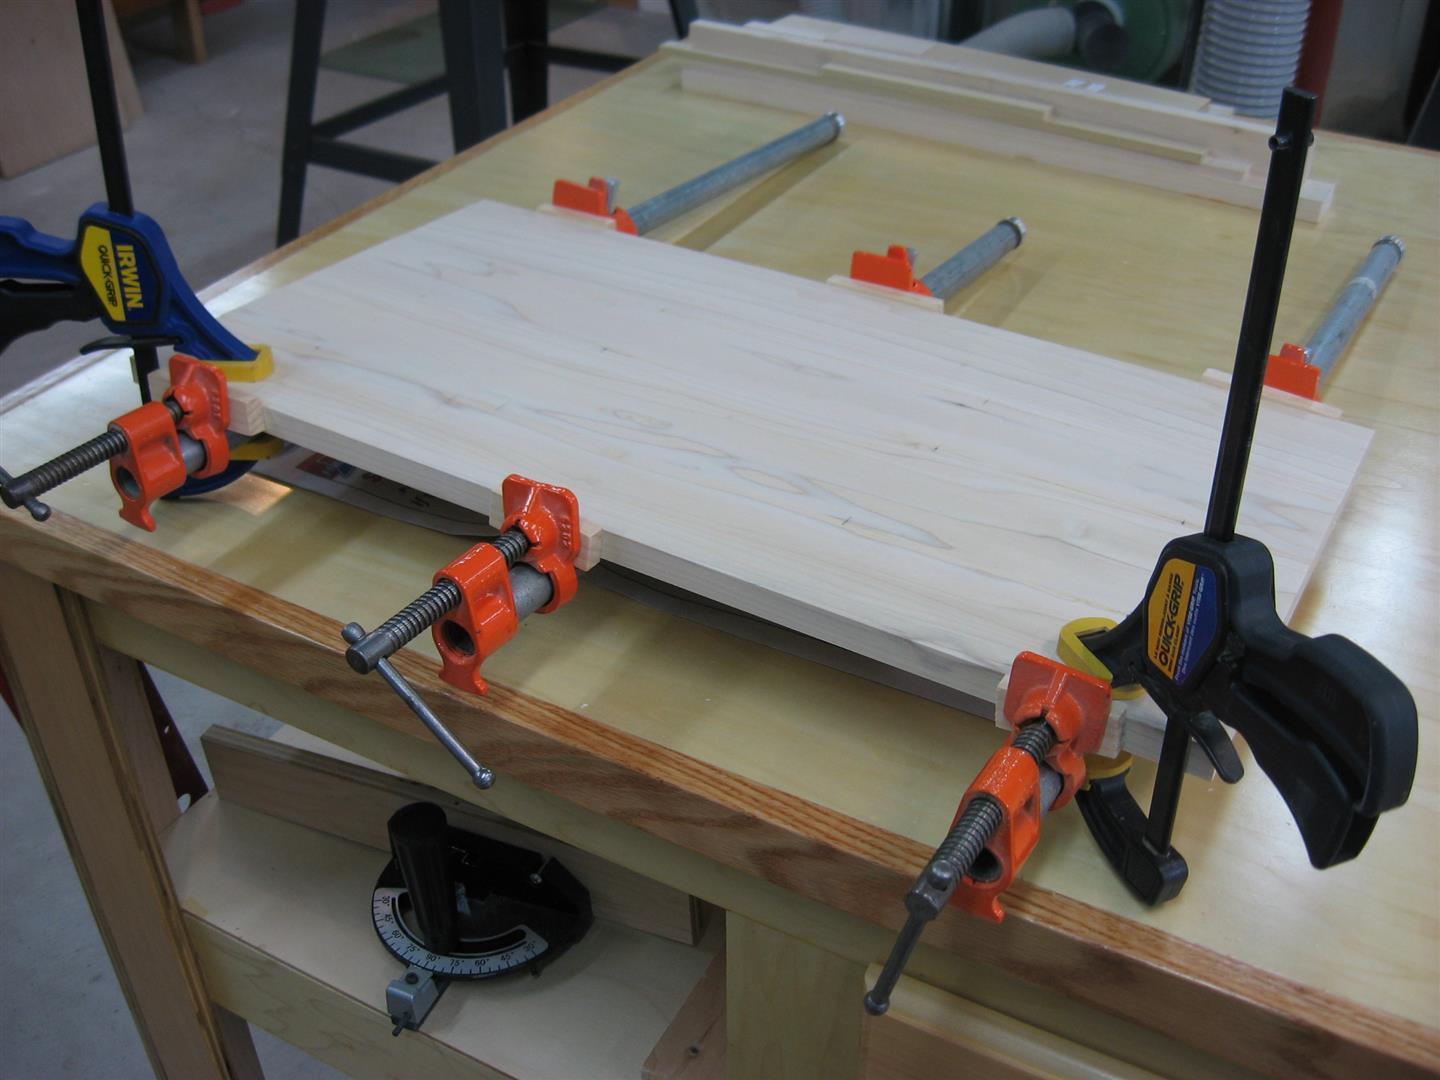
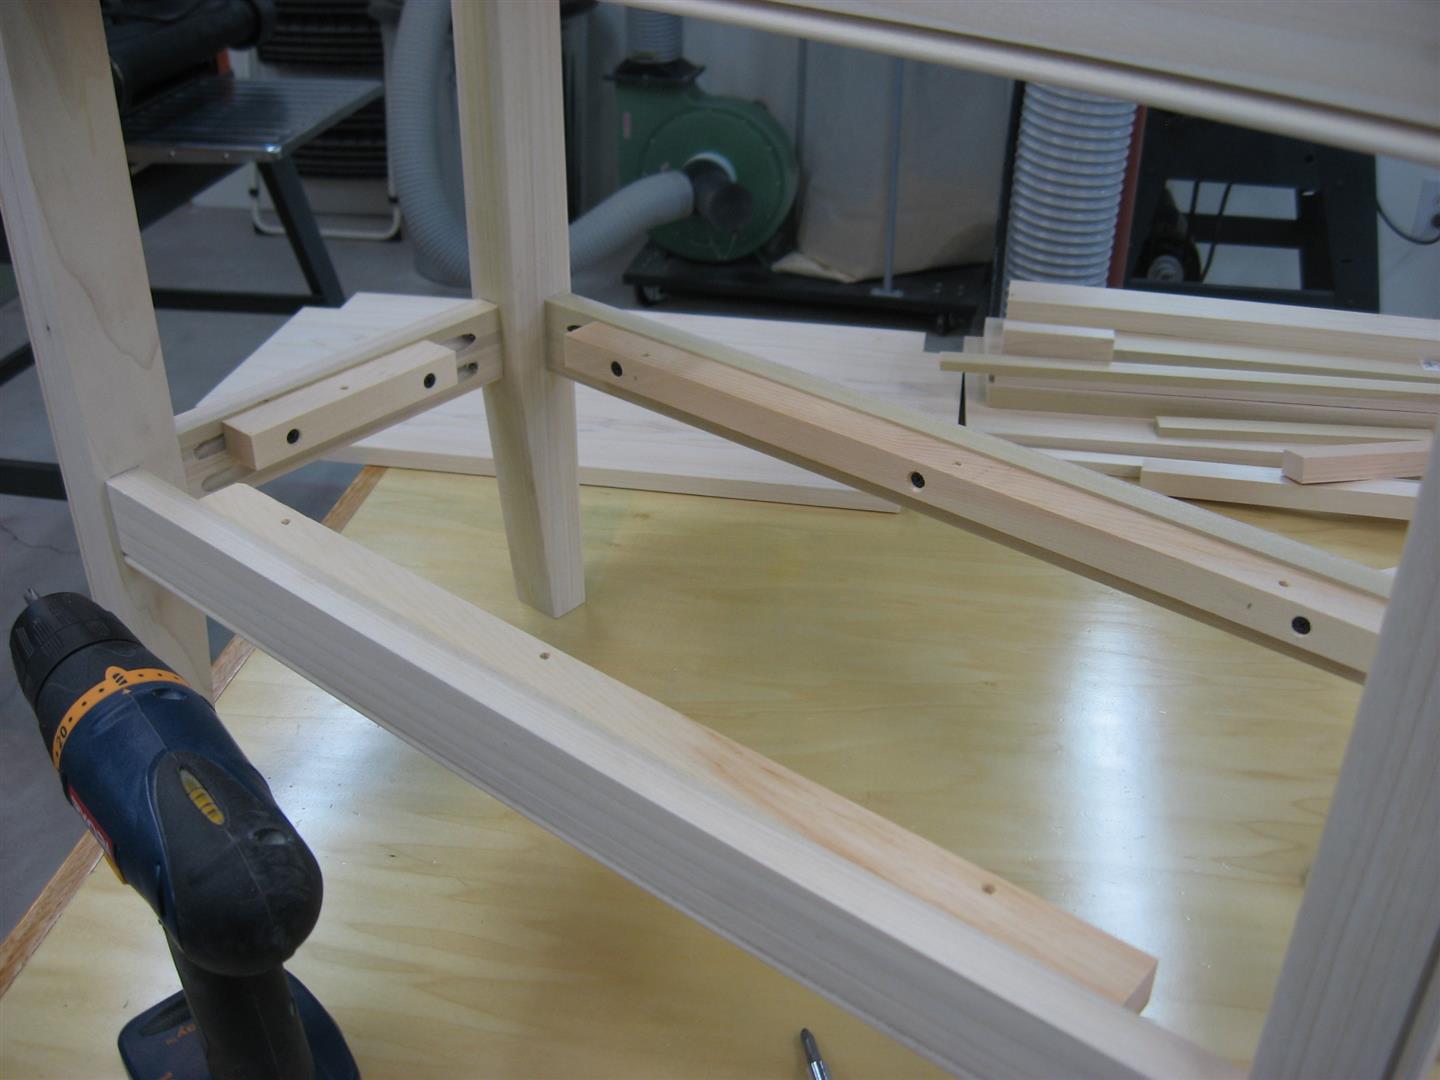
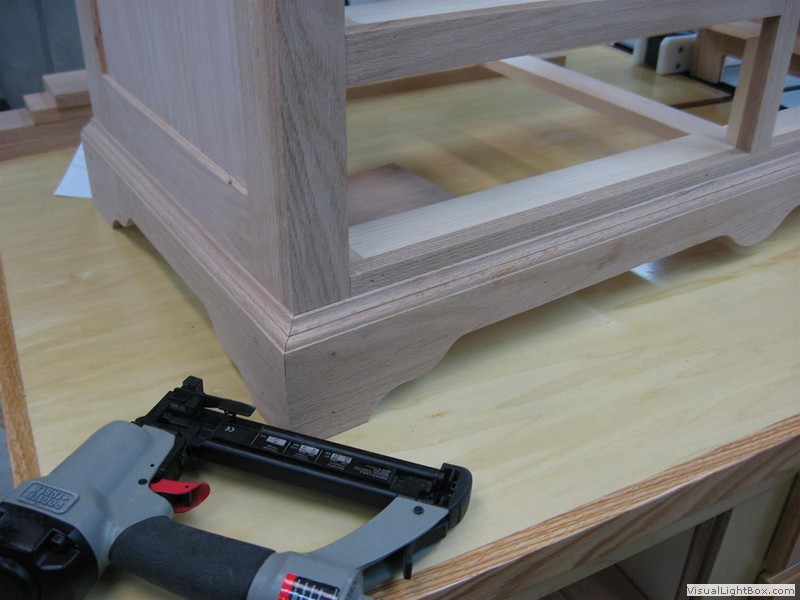
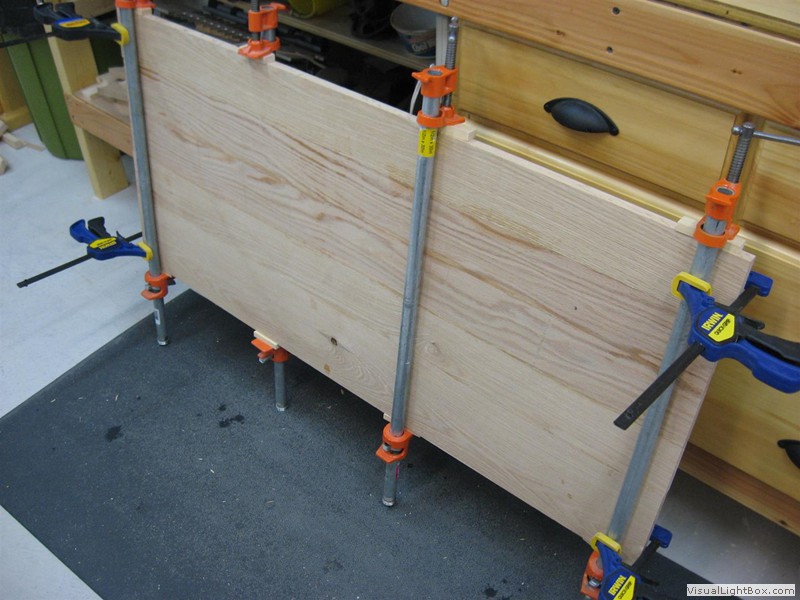
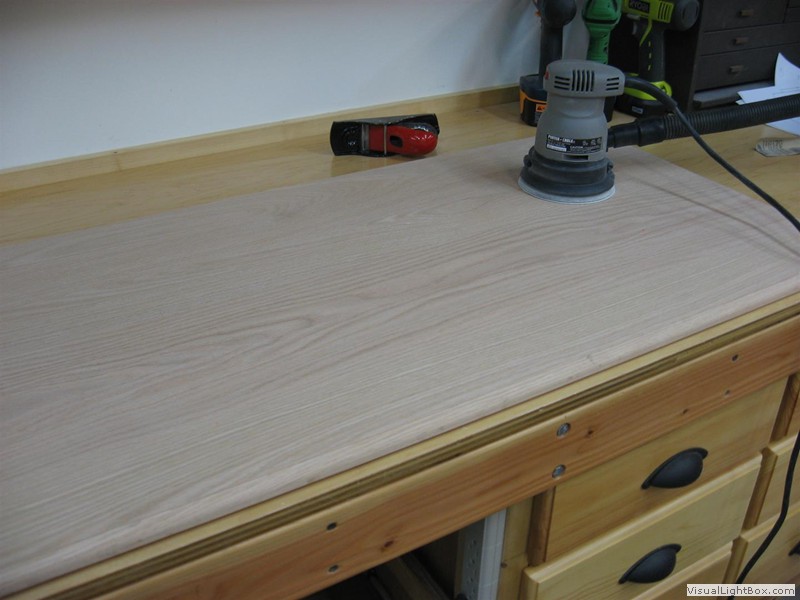
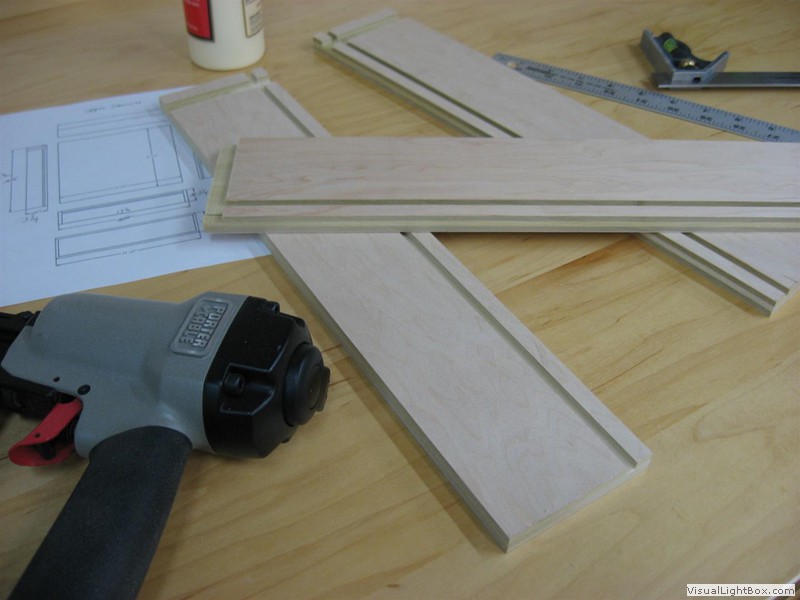
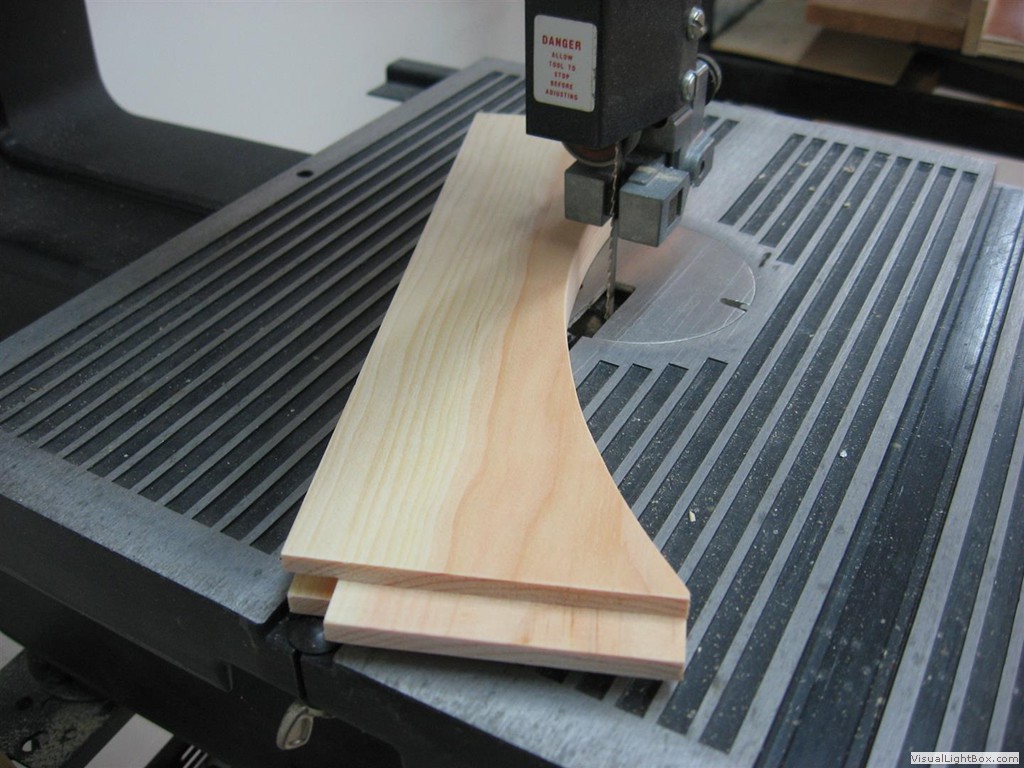
Base Cabinet Construction: Construction of the base cabinet started with the frame and panel sides which were made of solid Red Oak and 1/4" Oak plywood panels. The internal framing (drawer dividers) were made form Pine and half lap joints and were attached to the sides with pocket hole screws. The solid Oak front face frames were cut and attached using glue and finish nails. The 4" base board was cut from solid Oak and a decorative bottom scroll was cut. The top was made from 4 separate boards that were joined, planed flat and edge glued using biscuits. The sides and front of the top received a round over.
Construction of the Top Cabinet and Glass Door Frames: Construction of the upper cabinet starts with the frame and panel sides. The top and bottom components are the only 3/4" Oak plywood that get used on the entire project. These are attached to the sides with glue and finish nails. A center back board id also attached at this time. This piece gets used as additional support of the back as well as a place for the gun barrel holder to attach to.
At this time I move onto the doors. The doors are made using grove and tenon joinery. A rabbit is cut along the stock inside for the glass. The knobs and hinges are installed. The gun stock holder and barrel rests are layed out cut and installed. The crown molding is the final piece to be installed.
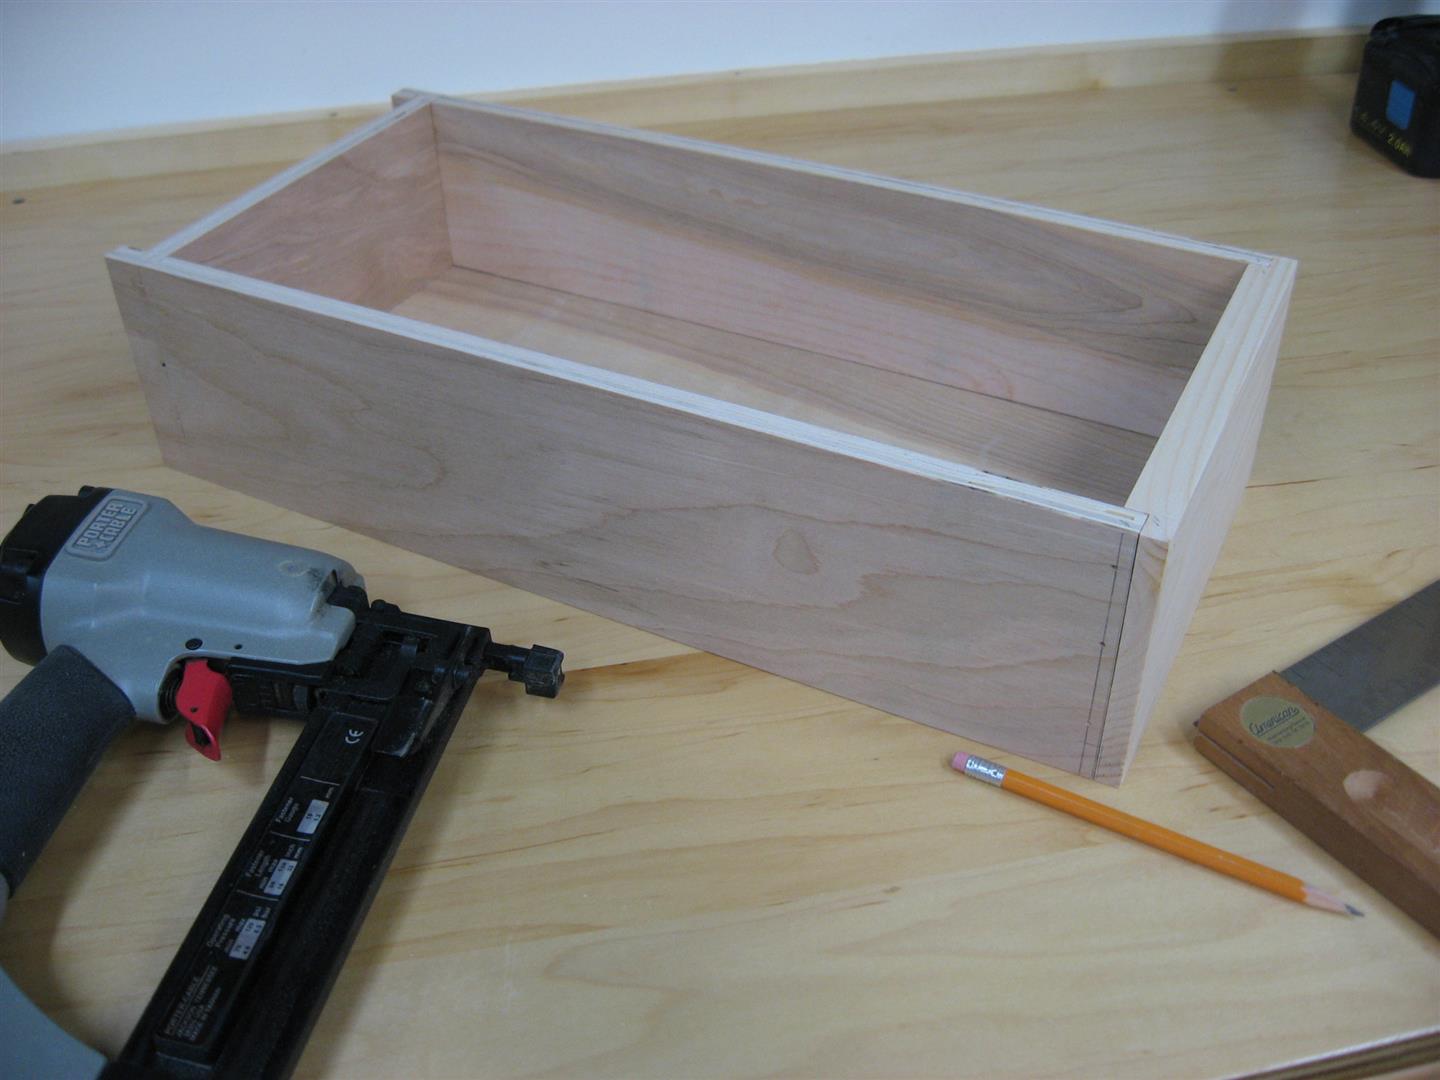
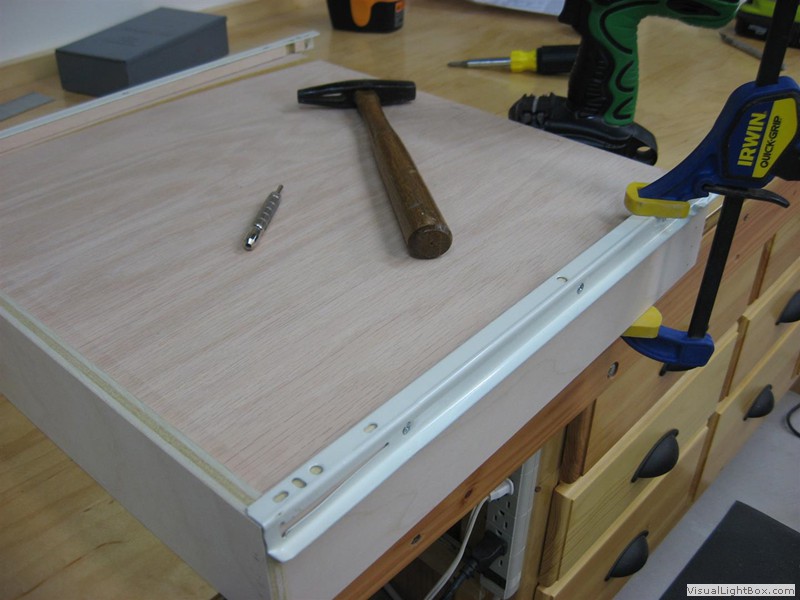
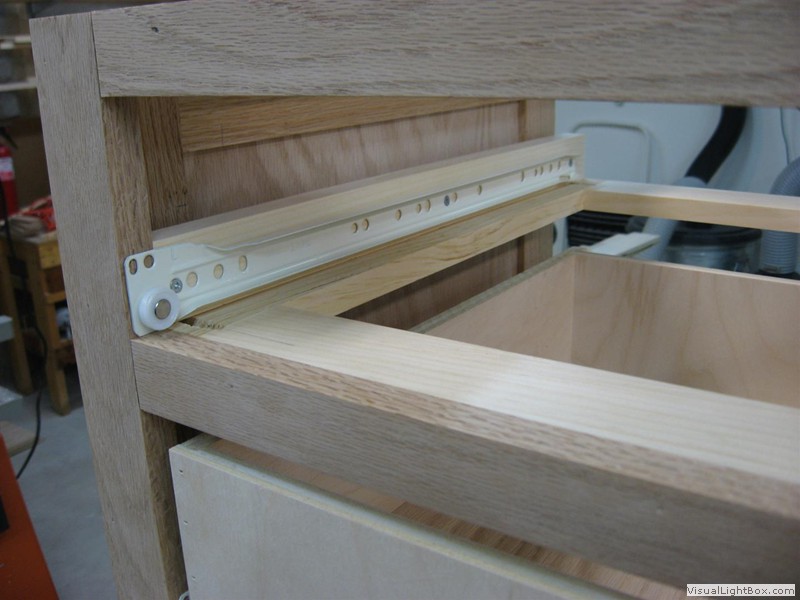
Construction of the Drawers:
Construction Complete: The construction phase is complete. Waiting on the finishing phase now.
|
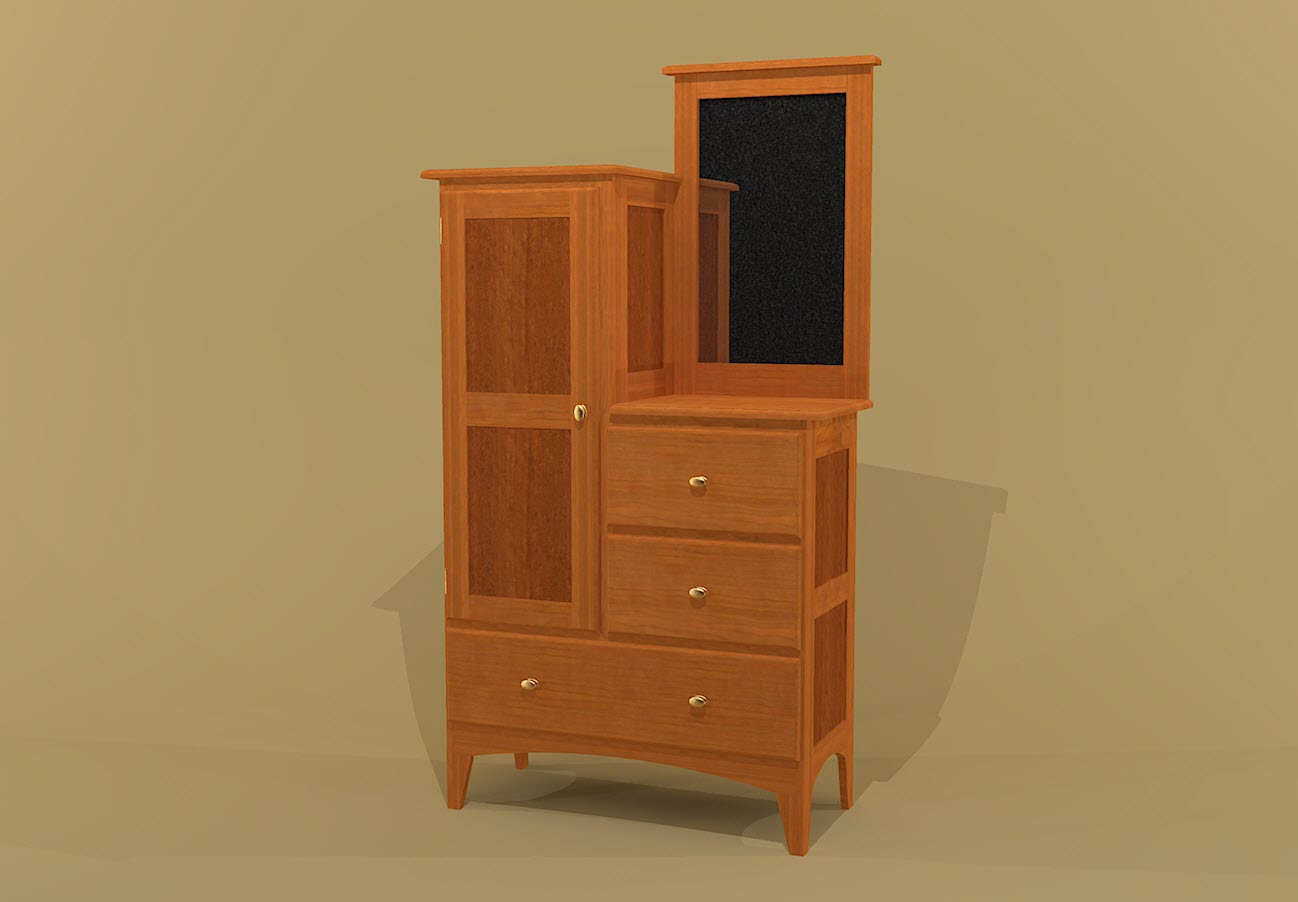   |
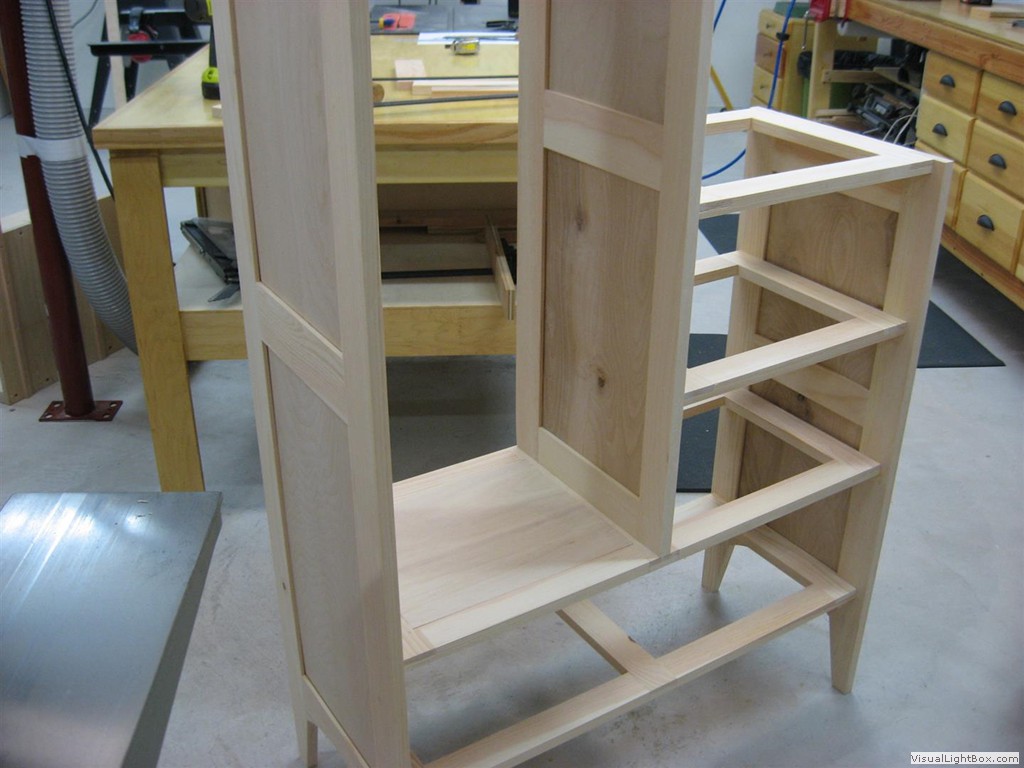
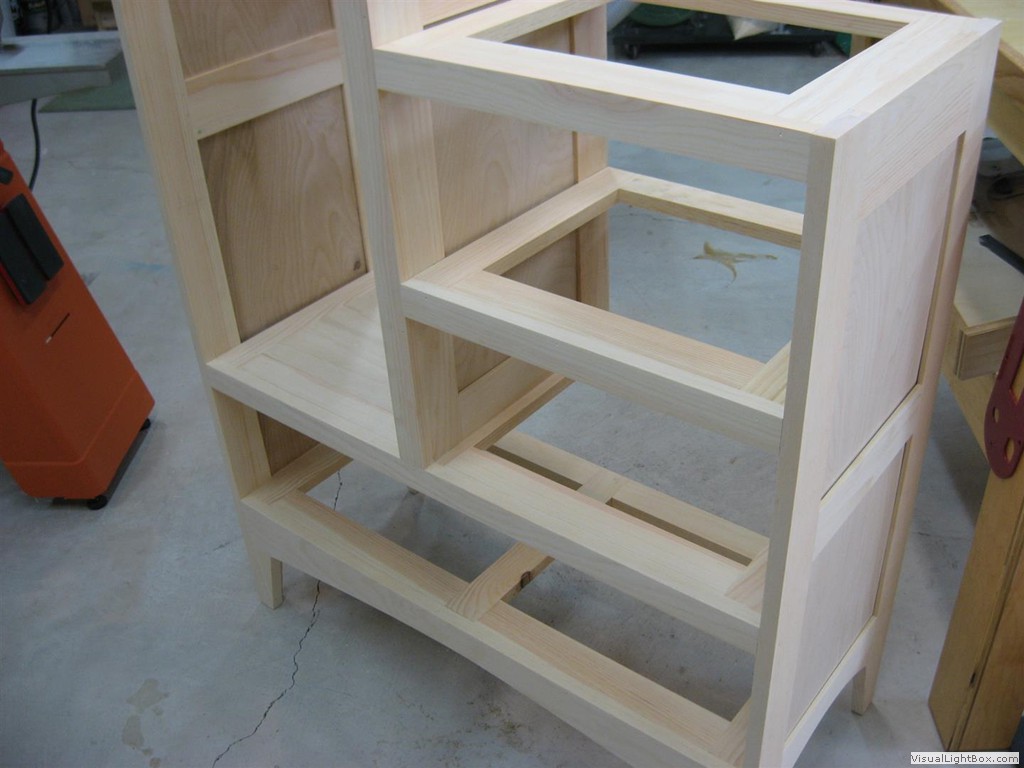
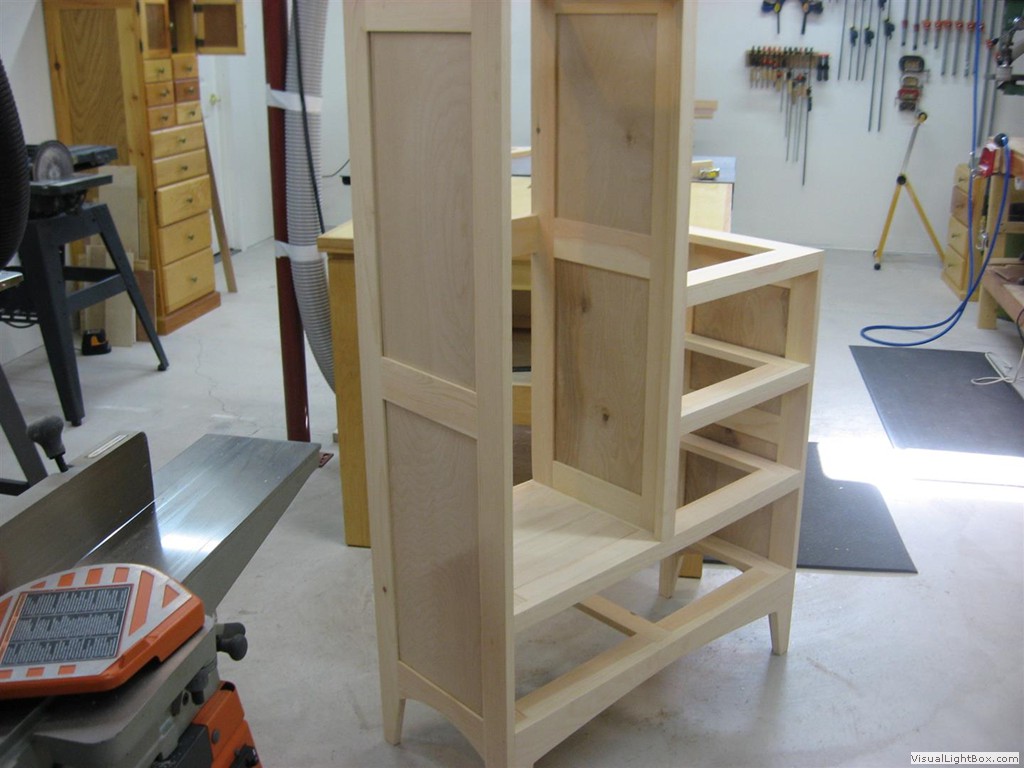
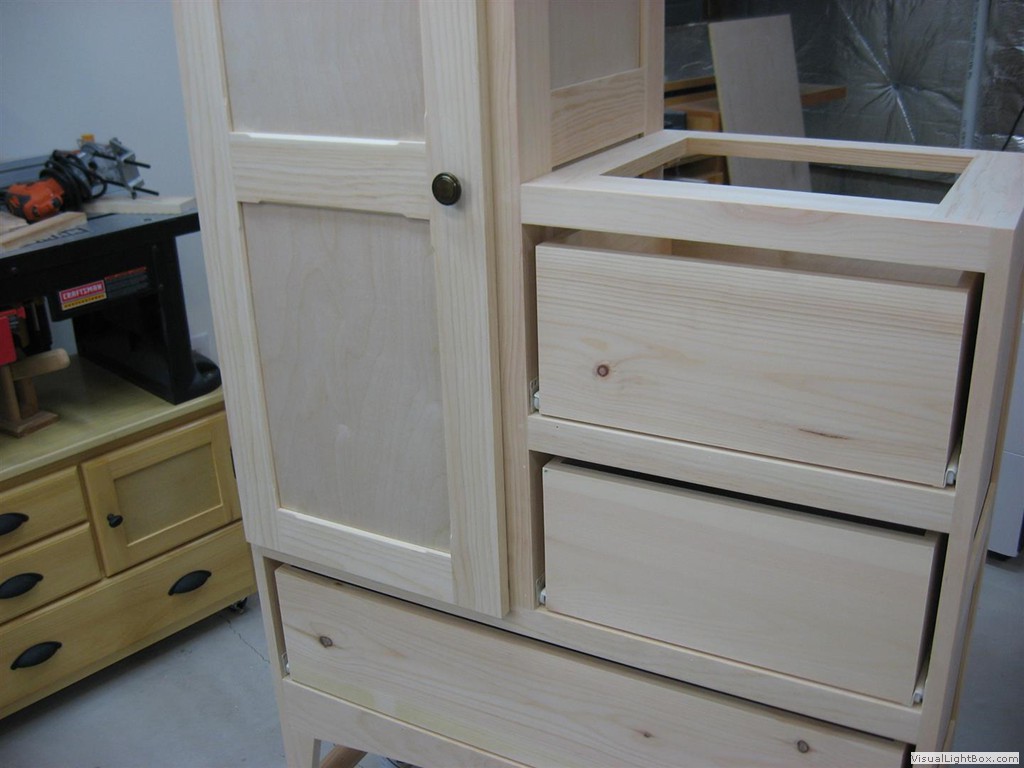
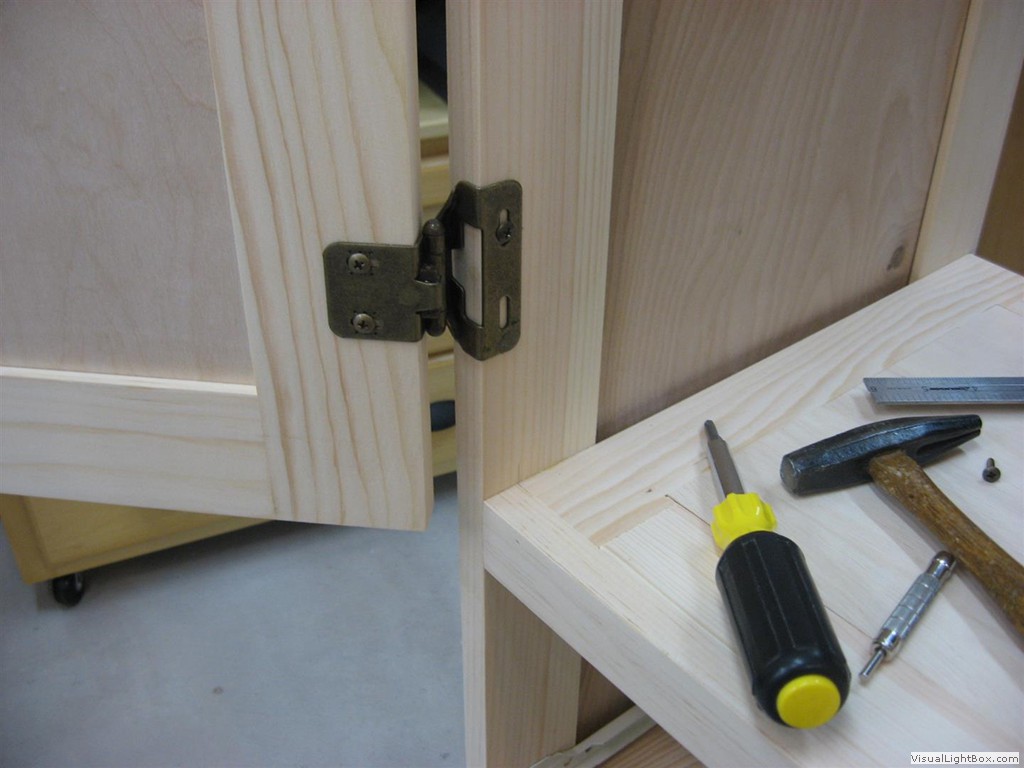
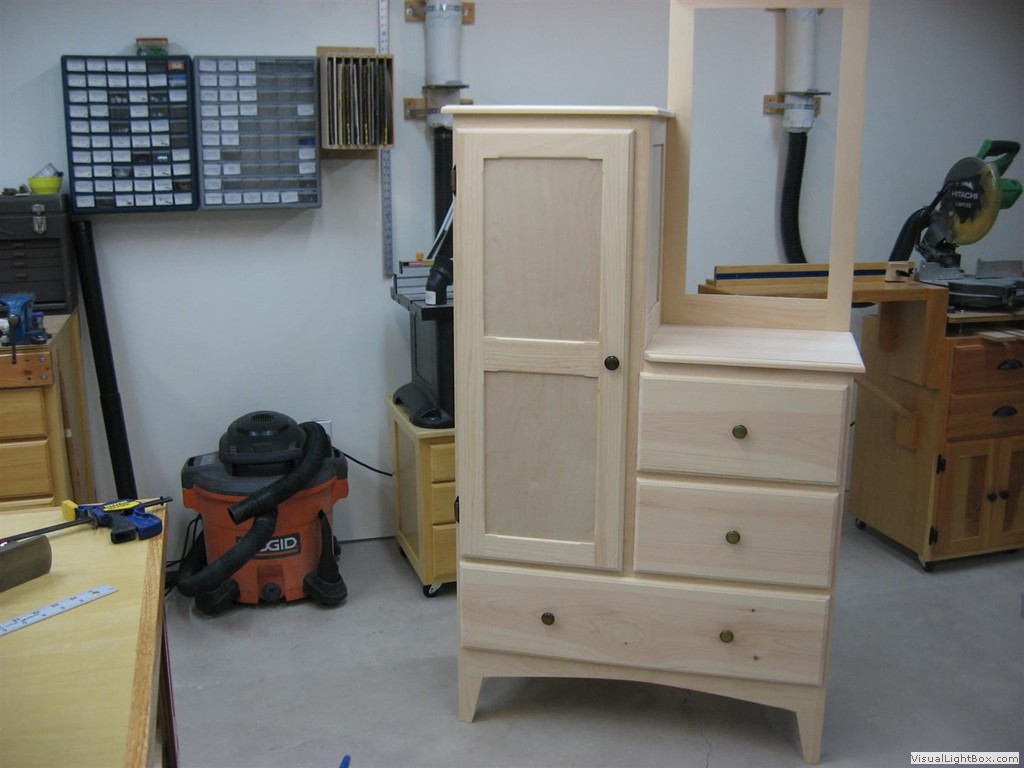
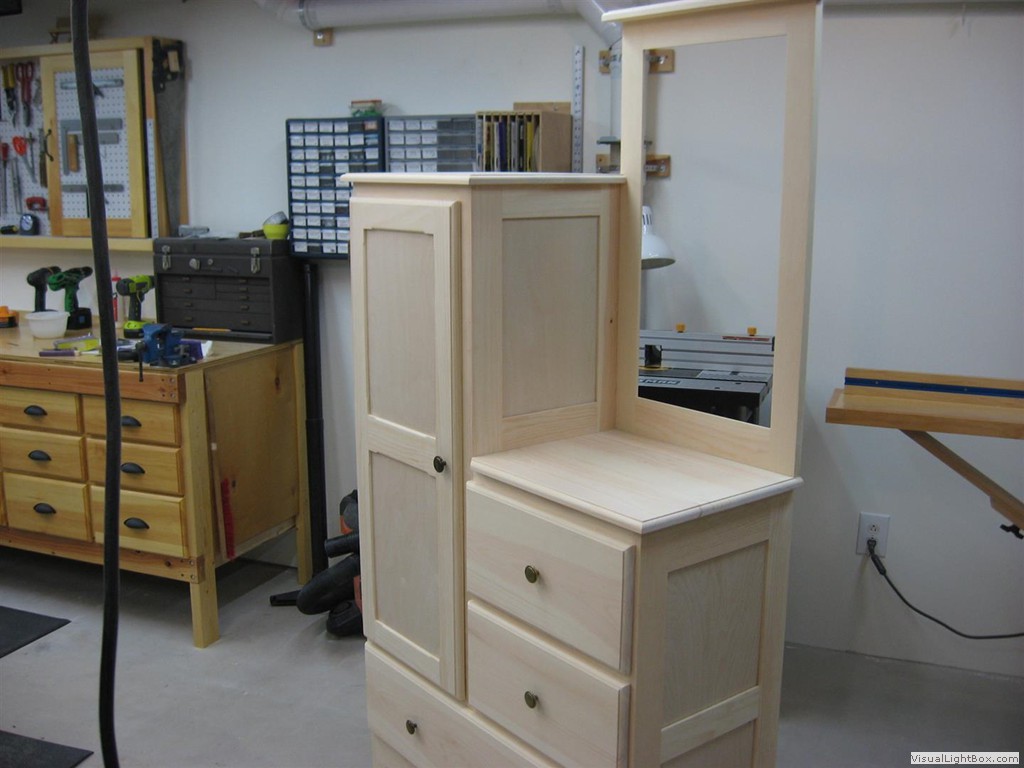
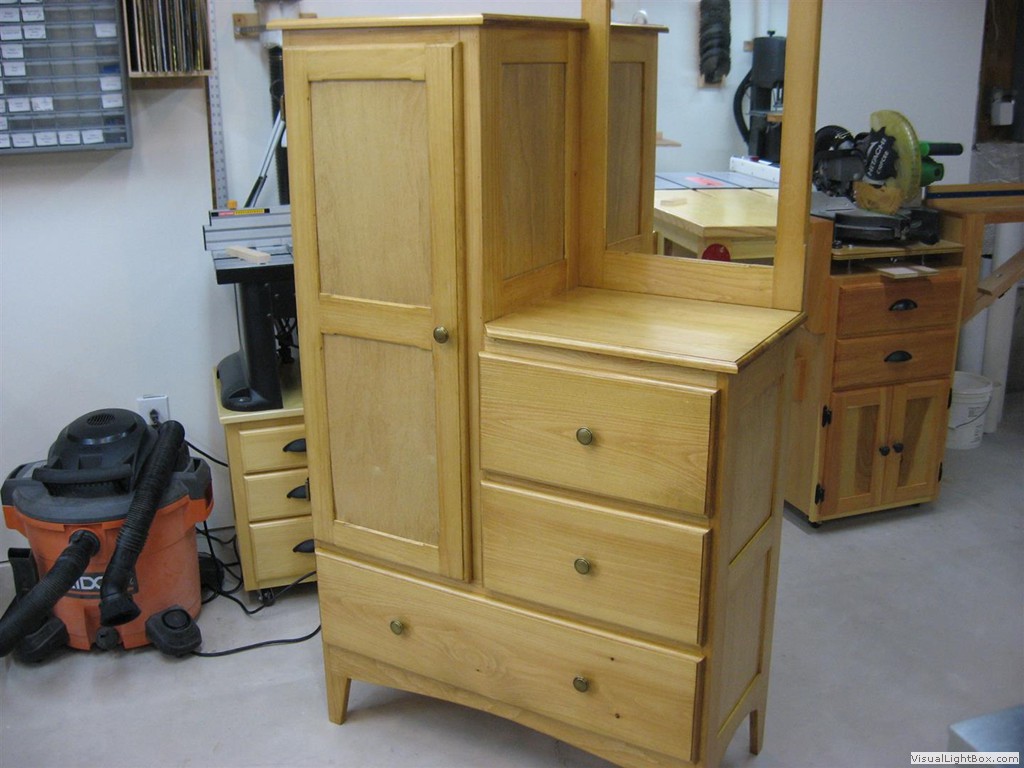
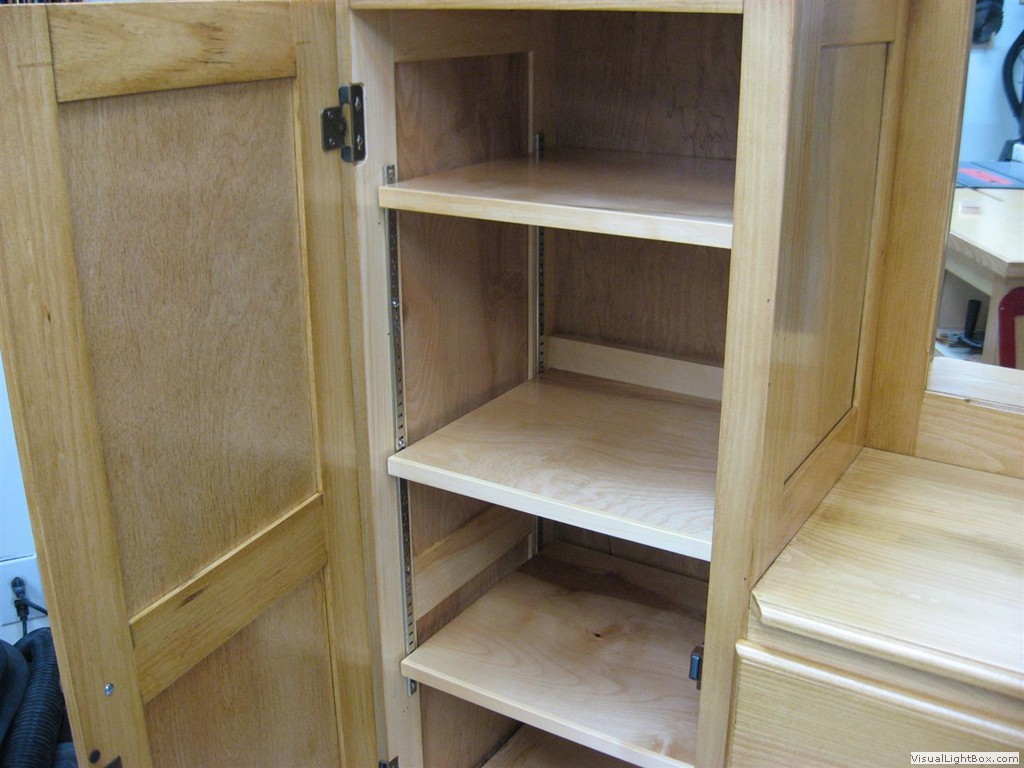
Lakehouse Chifferobe This cabinet was built in December of 2015 and its unique style is based on a Chifferobe which is a closet-like piece of furniture that combines a long space for hanging clothes on one side and a row of drawers running down the other. As you can see, I have modified the design to fit our specific needs which includes the addition of a mirror. Total construction time was about 42 hours not including the finishing steps. The SketchUp Model is available for download HERE.
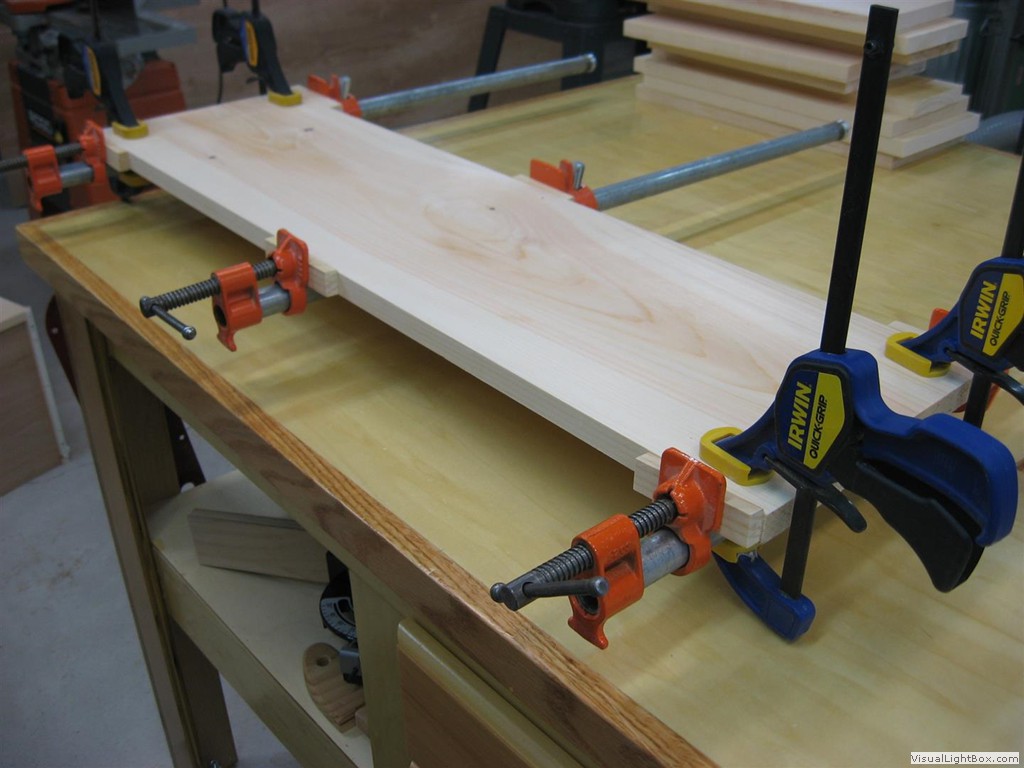
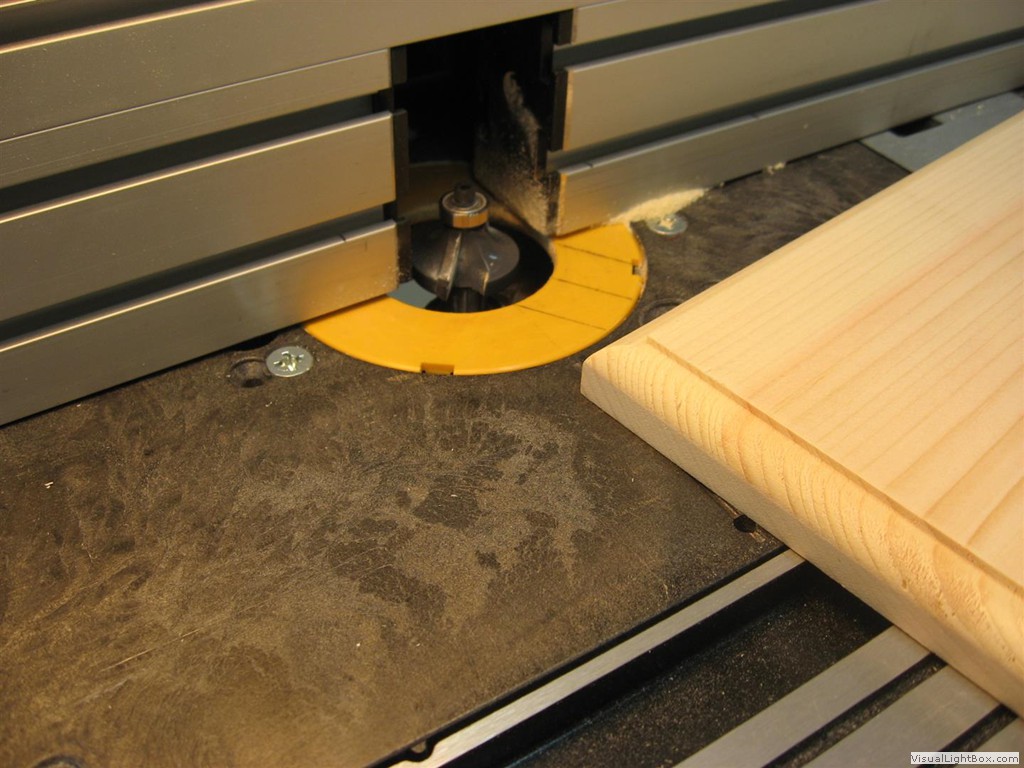
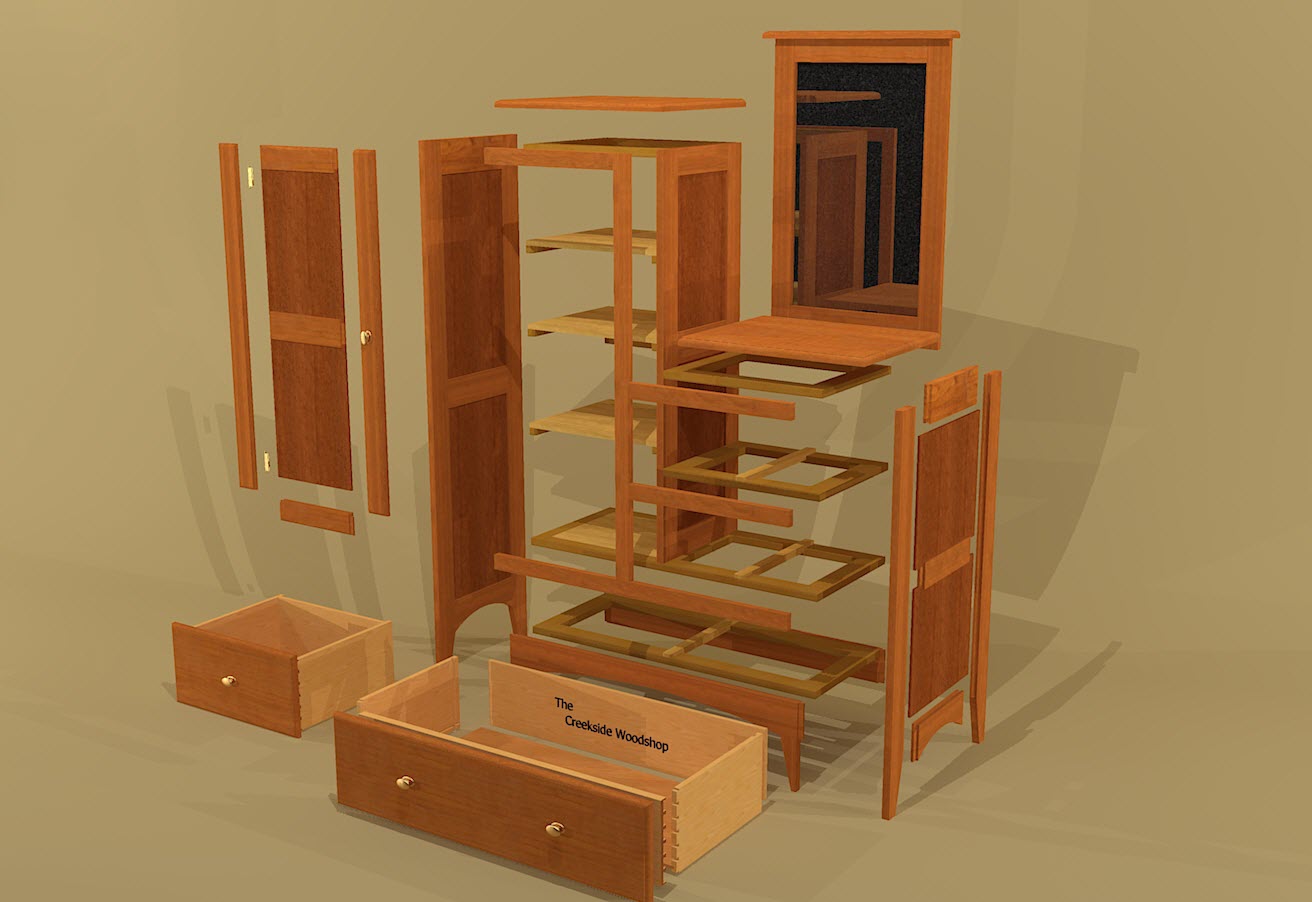
Cabinet Construction: Construction of the base cabinet started with the frame and panel sides and center divider. These were made of solid Pine and 1/4" Birch plywood panels. The internal framing (drawer dividers) were made form Pine and half lap joints and were attached to the sides with pocket hole screws. The Pine front face frames were cut and attached using glue and finish nails. The lower front rail was cut with an arch to match the lower rail on the end panels. The two top pieces were made from 3 separate boards that were joined, planed flat and edge glued using biscuits. The sides and front of the tops received a decorative round over.
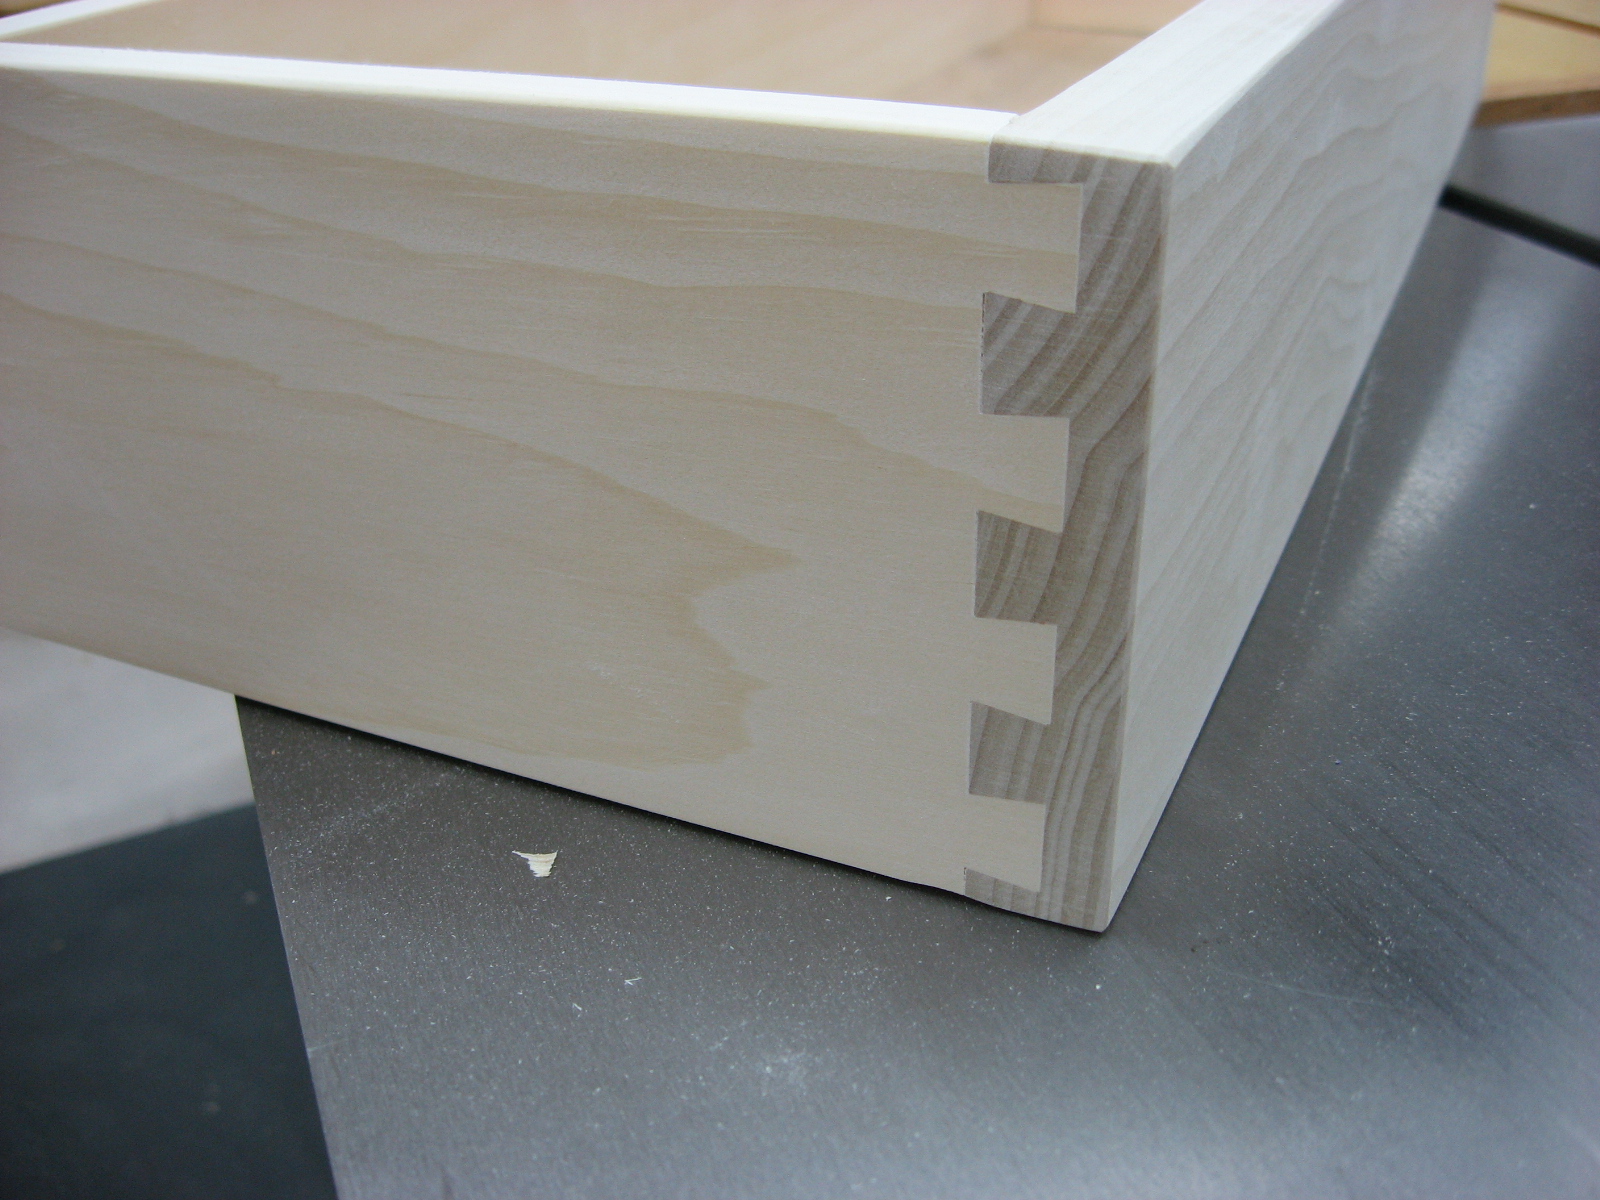
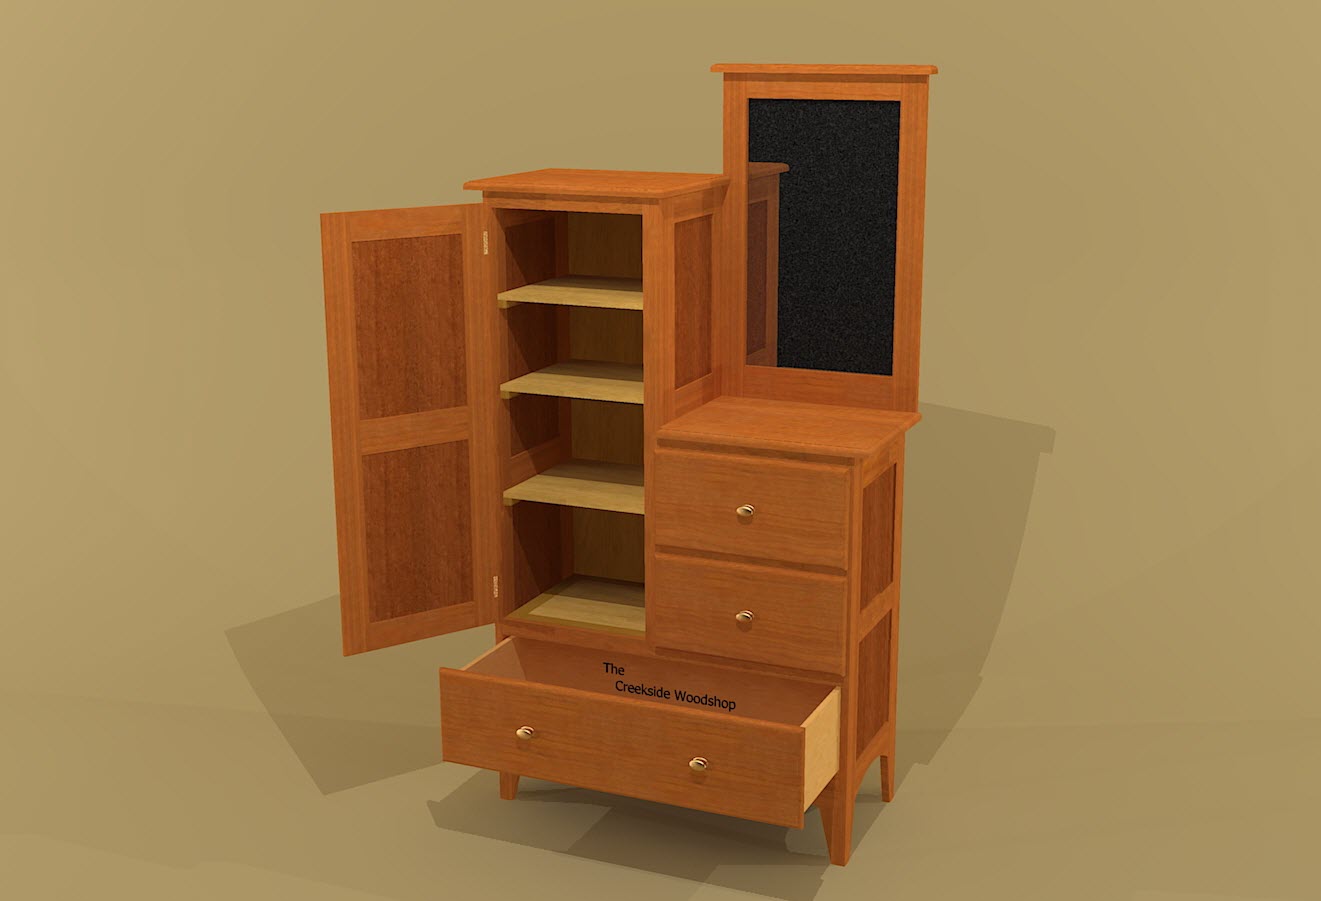
Drawer, Door and Mirror Frame Construction: Construction of the door is a typical frame and panel build. The drawers have 1/2" pine sides and fronts which are dovetailed. The drawers faces are joined, planed flat and edge glued using biscuits. The edges receive a decorative round over. The mirror frame is cut to size, groves and tenons are cut and the back is routed to receive the mirror. A simple top is added to the mirror and it too received a decorative round over.
Construction Complete: The construction phase is complete. For the finishing phase I used Charles Neil pre-conditioner, a light stain and 4 coats of Minwax Polyurethane. |
 |
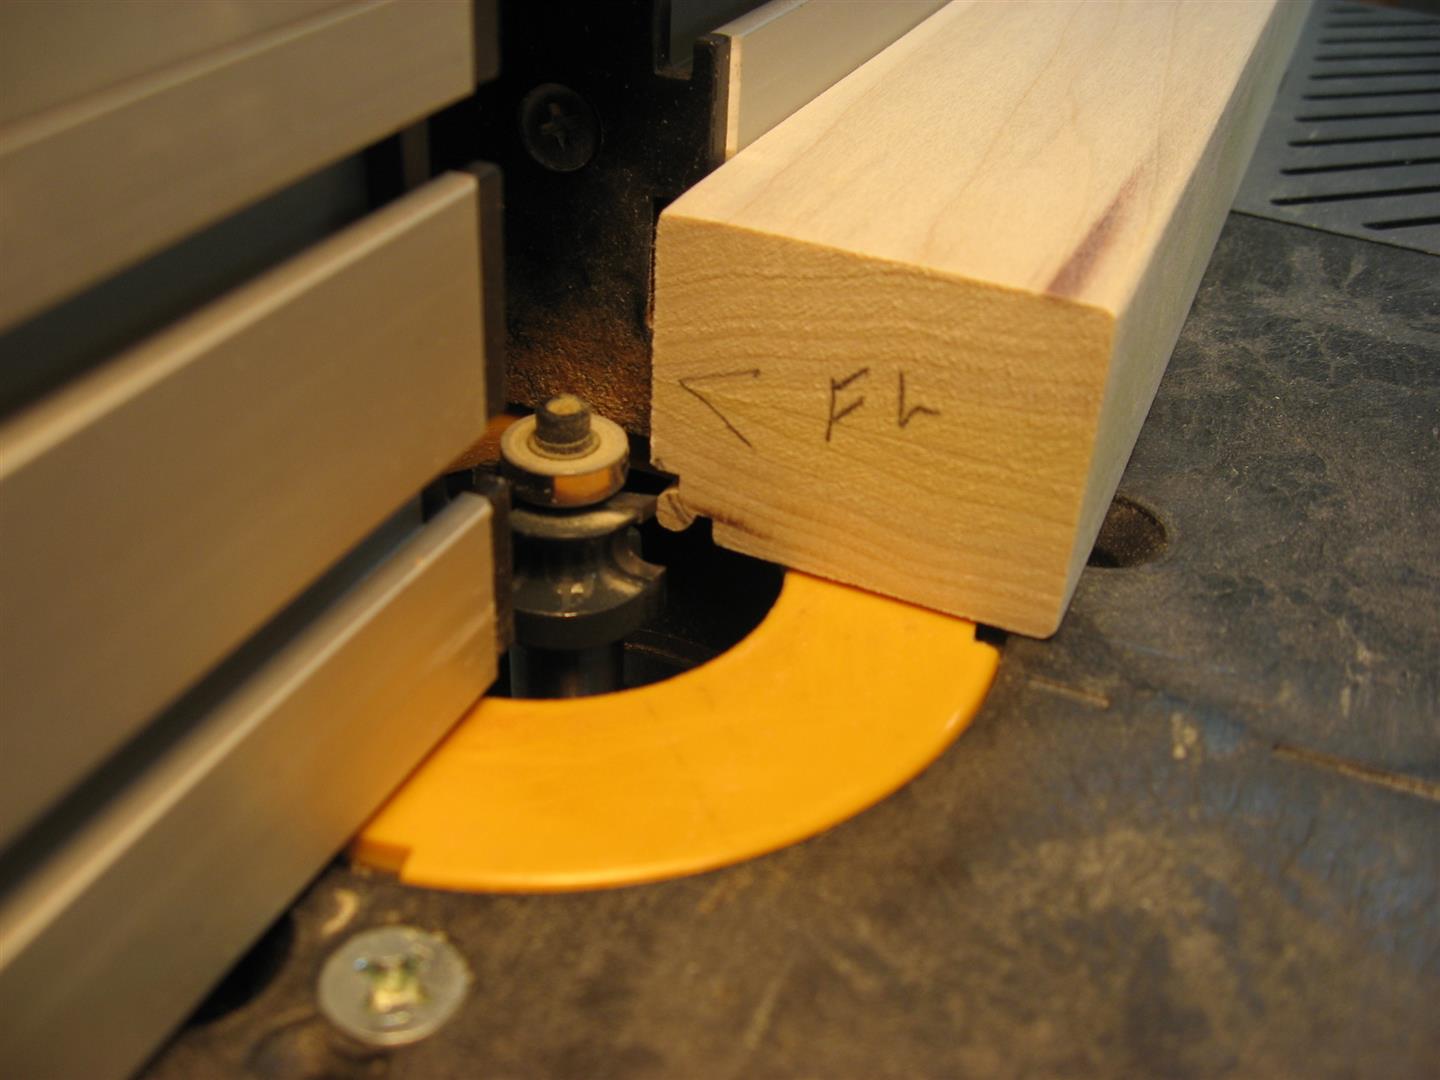
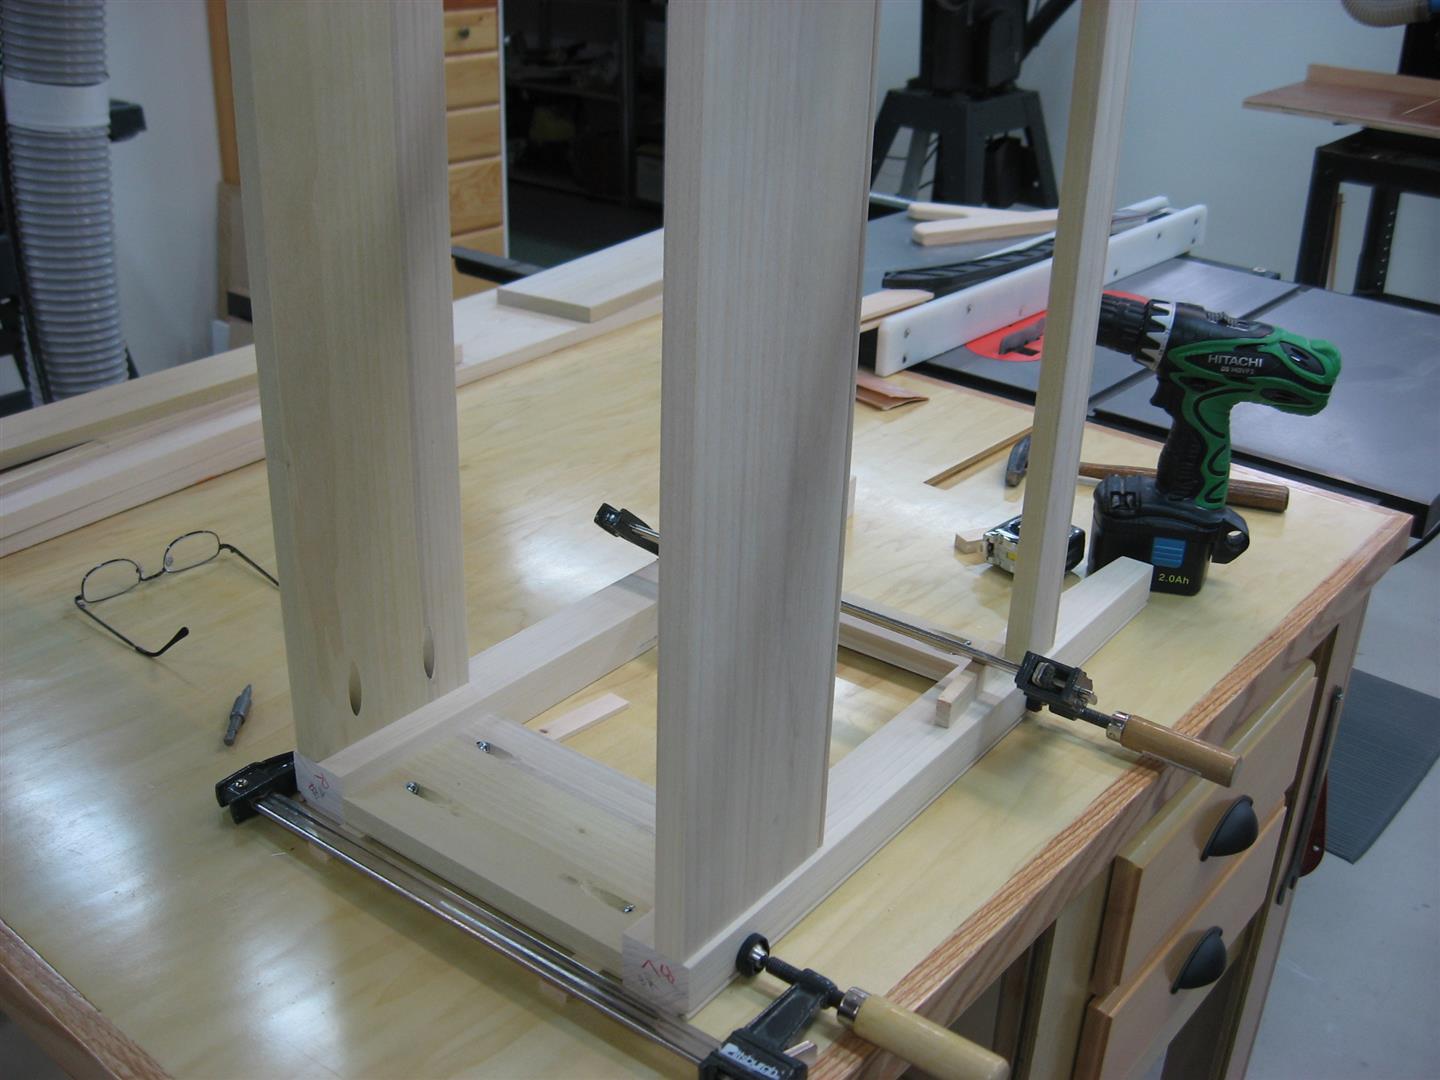
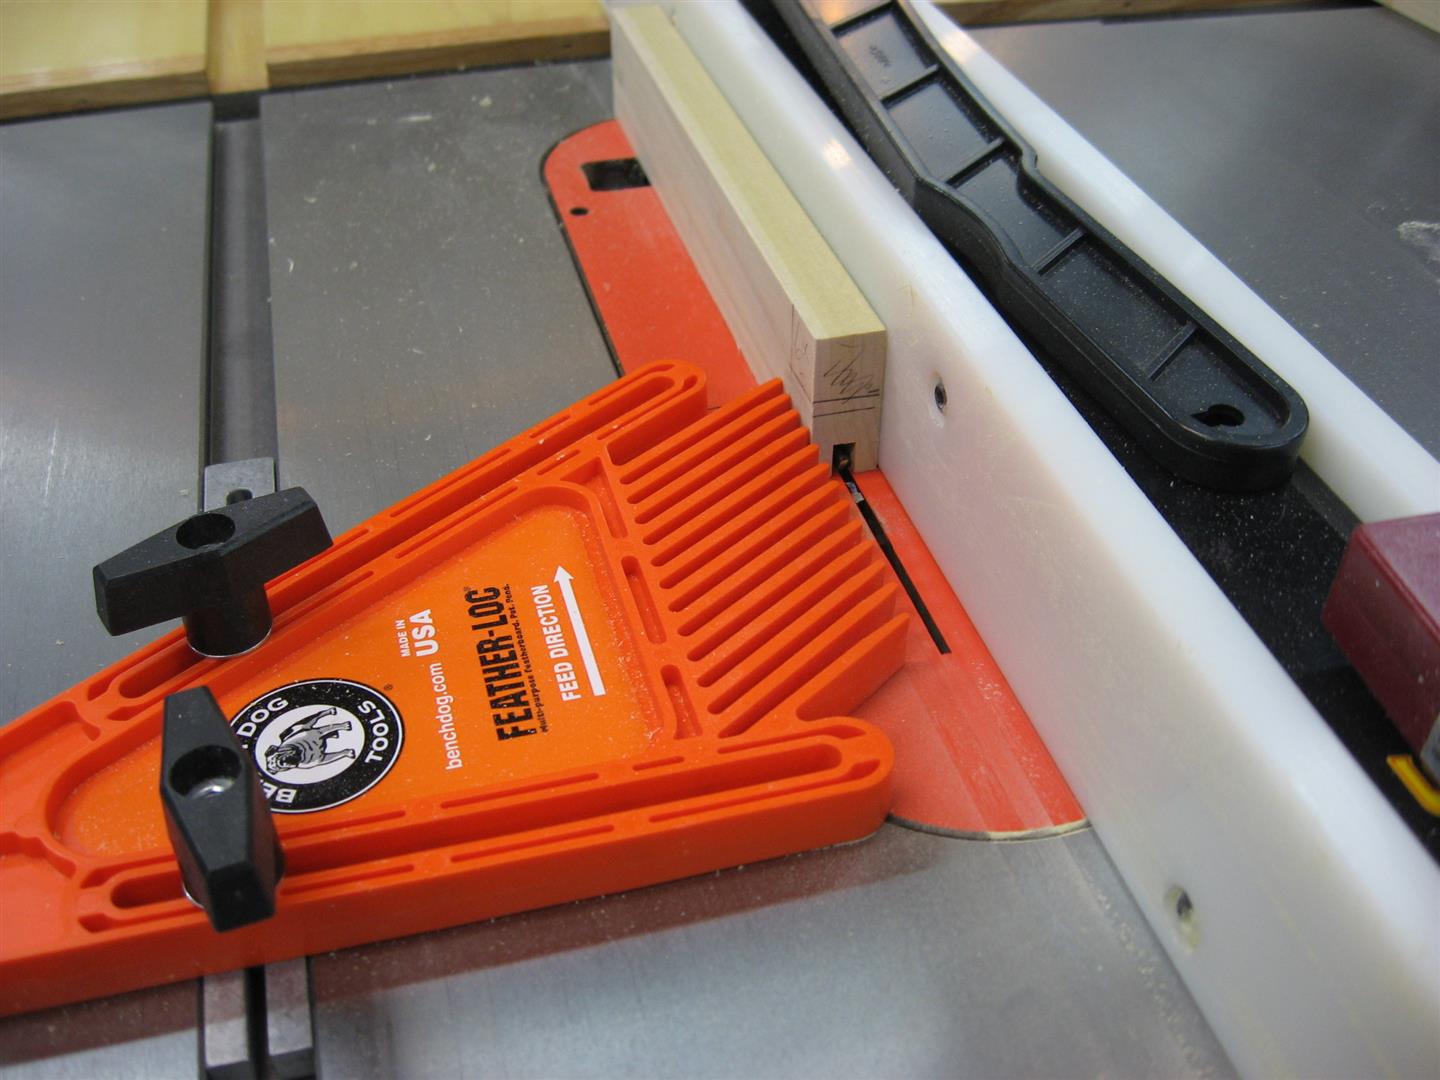
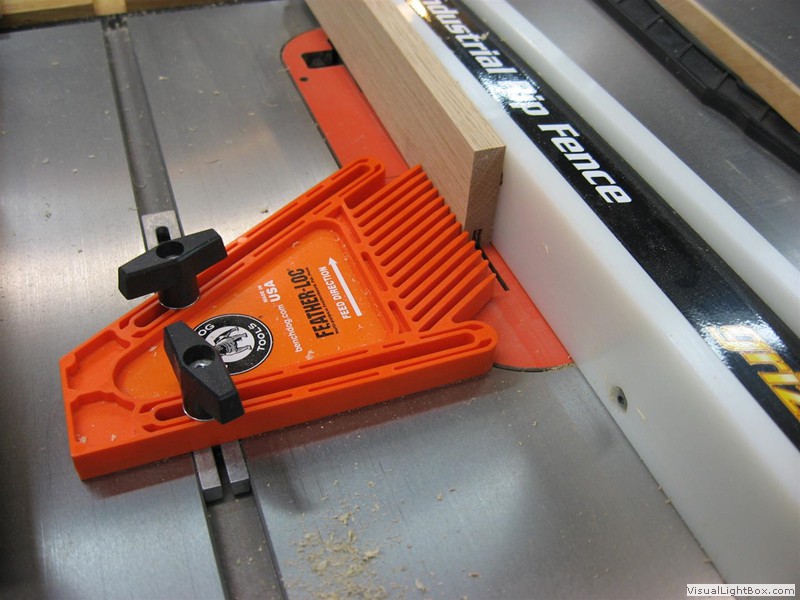
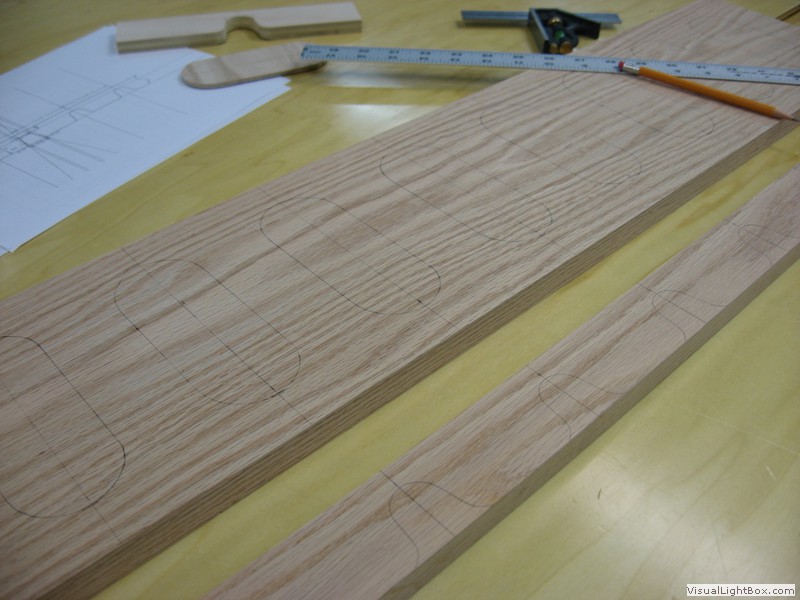
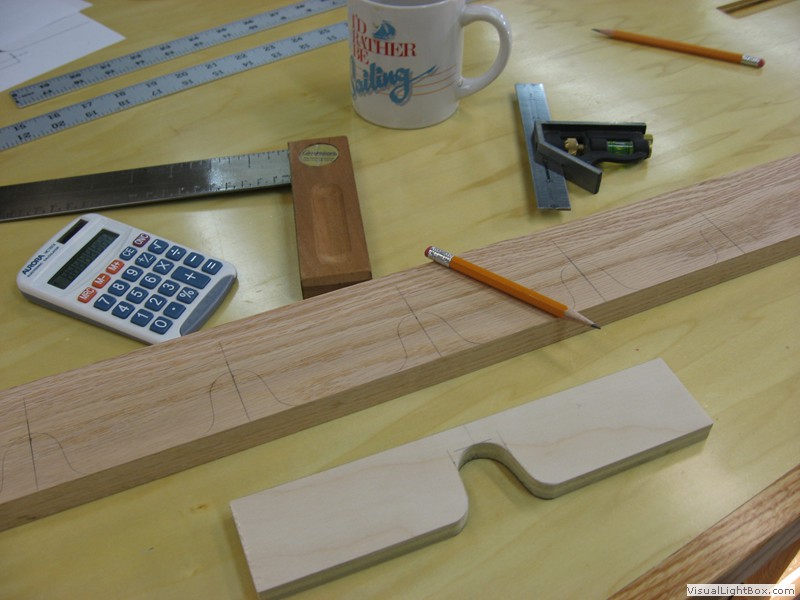
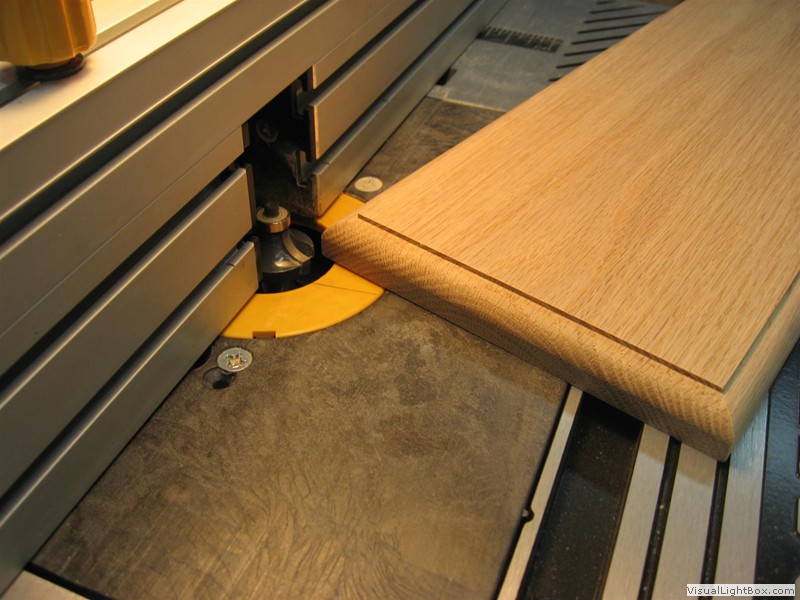
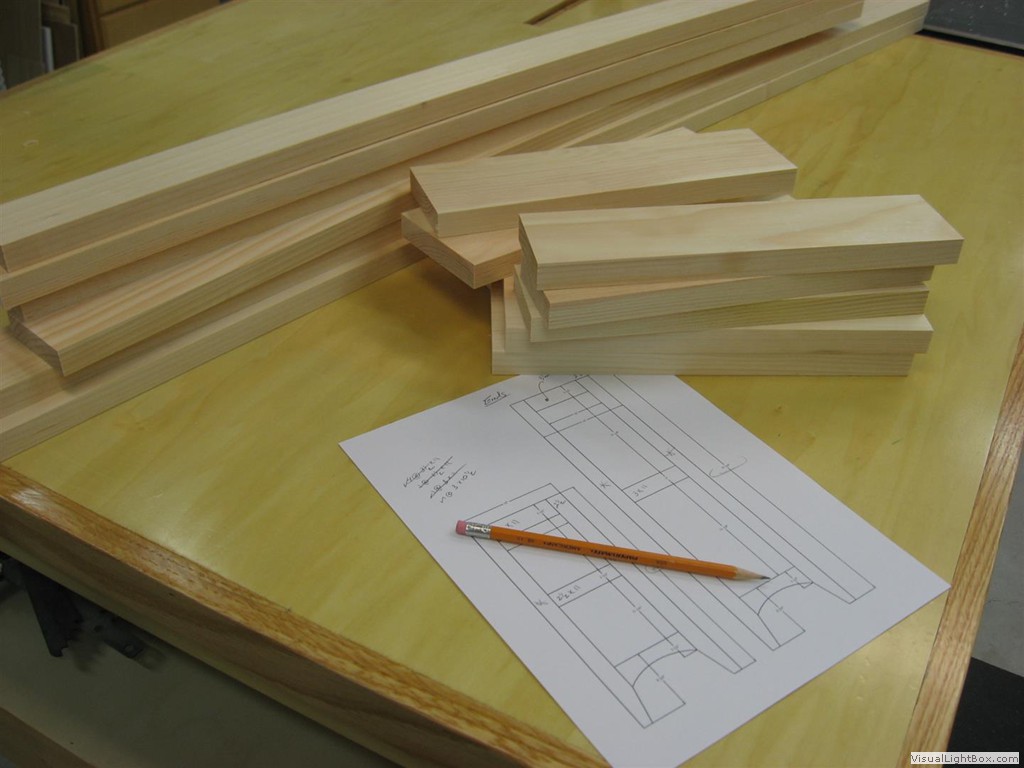
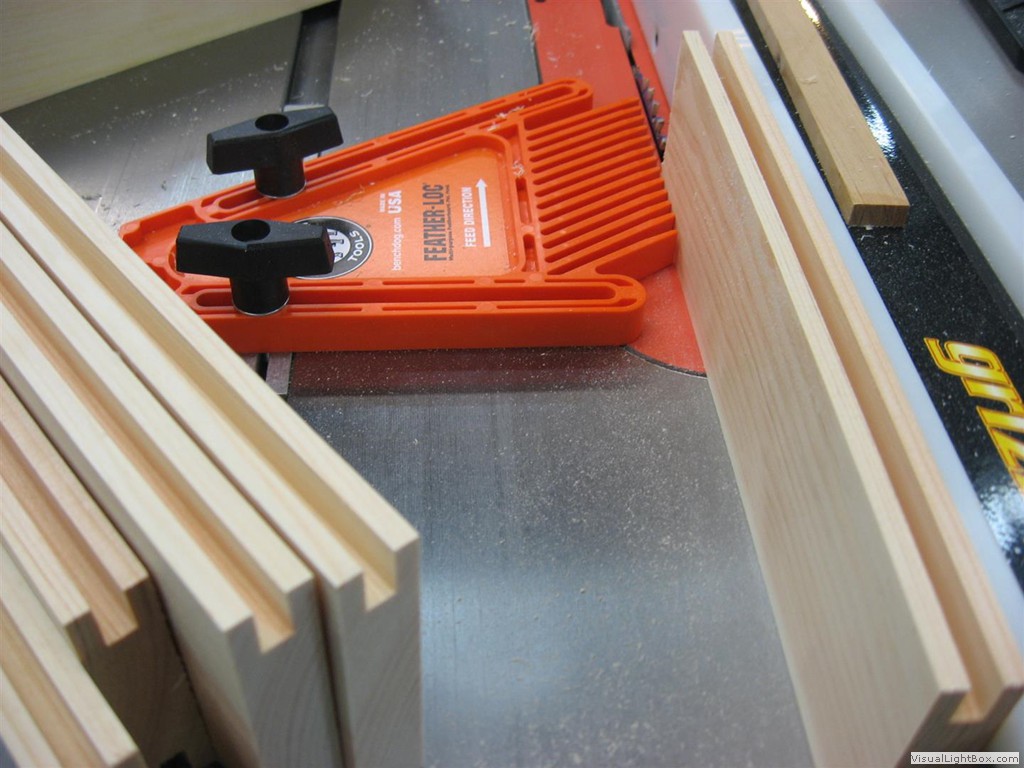
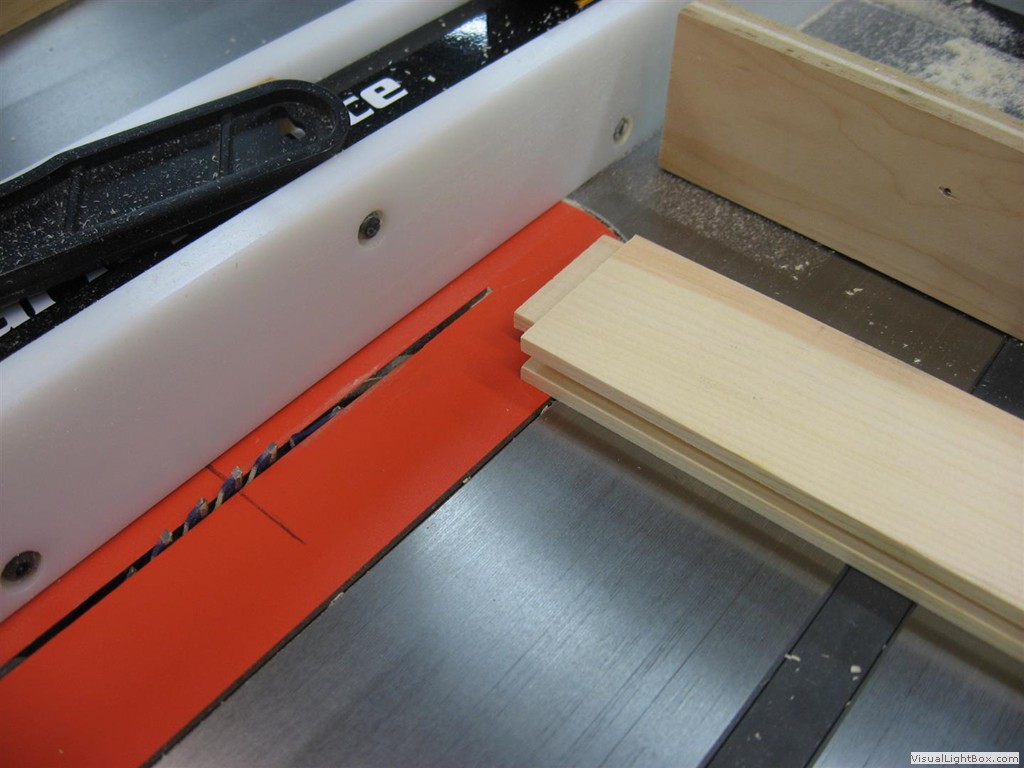
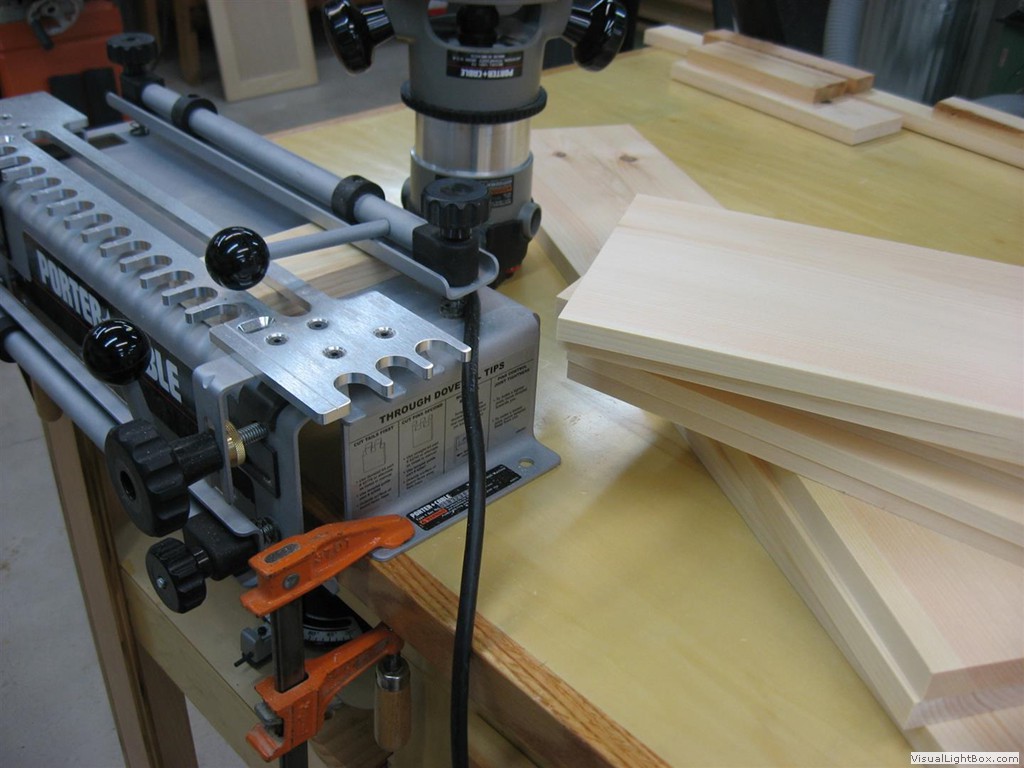
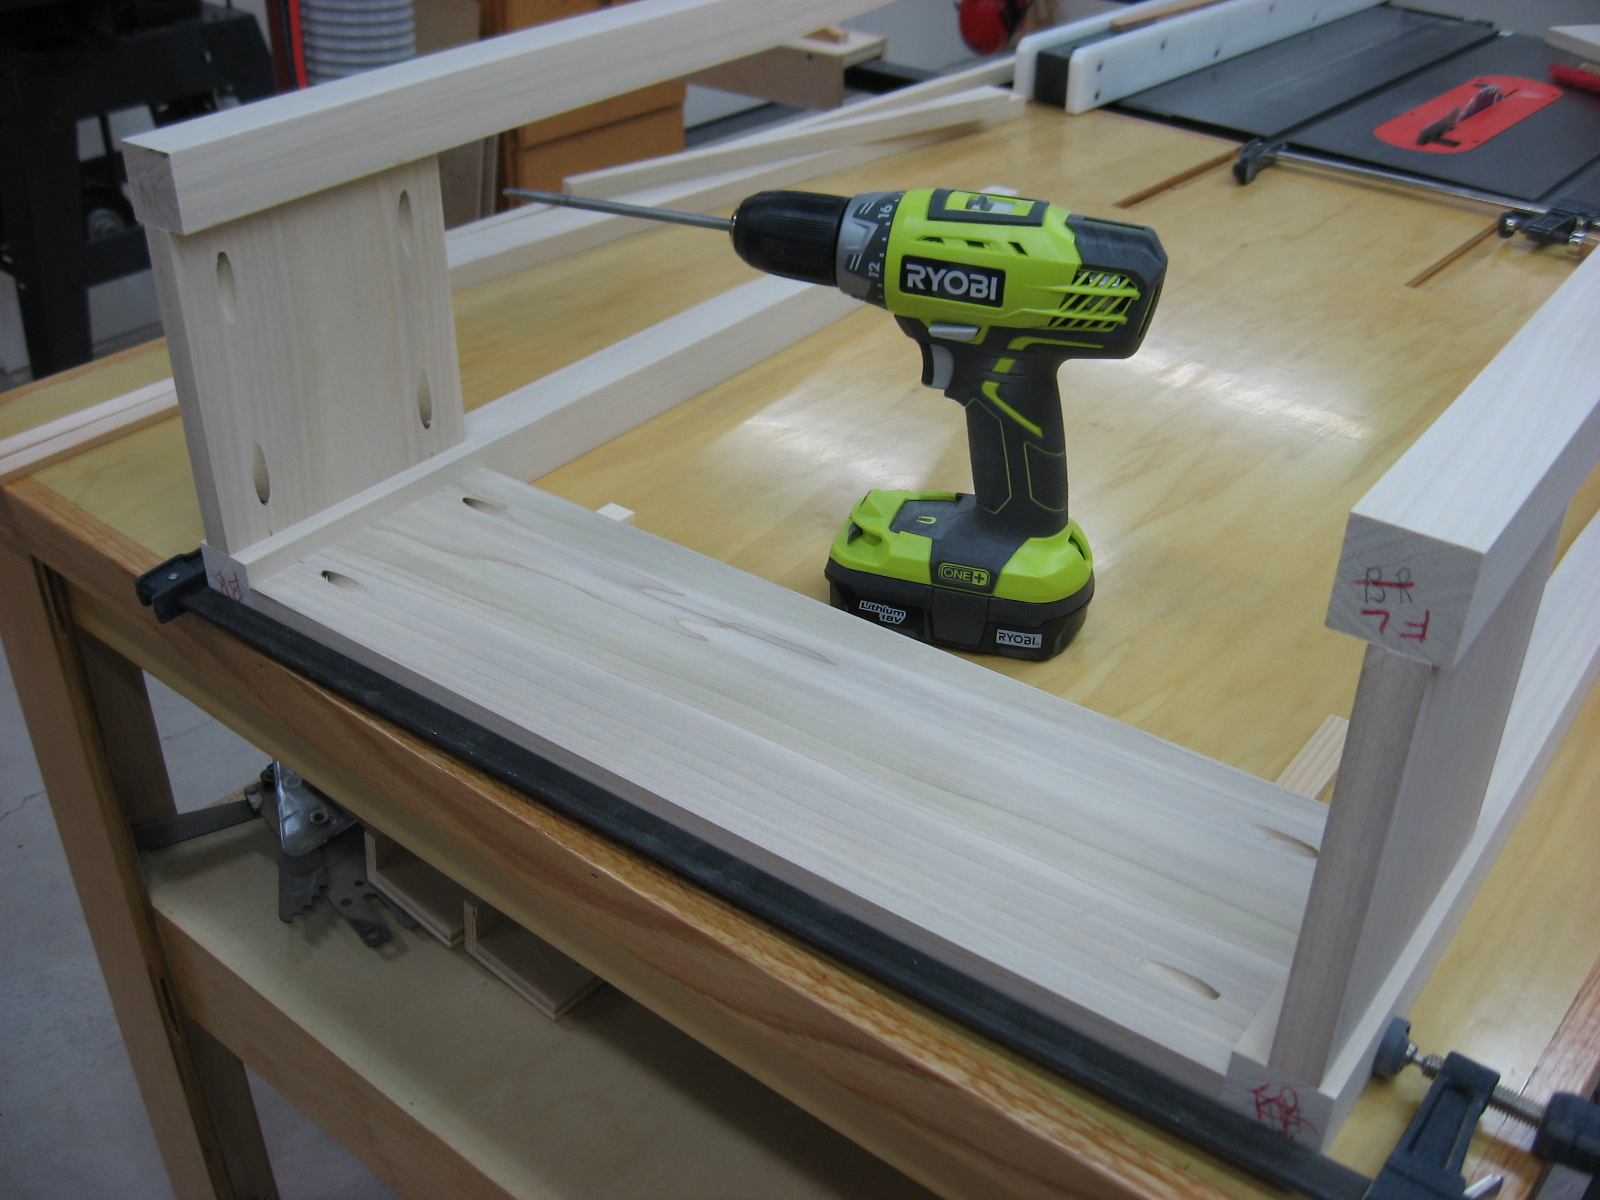
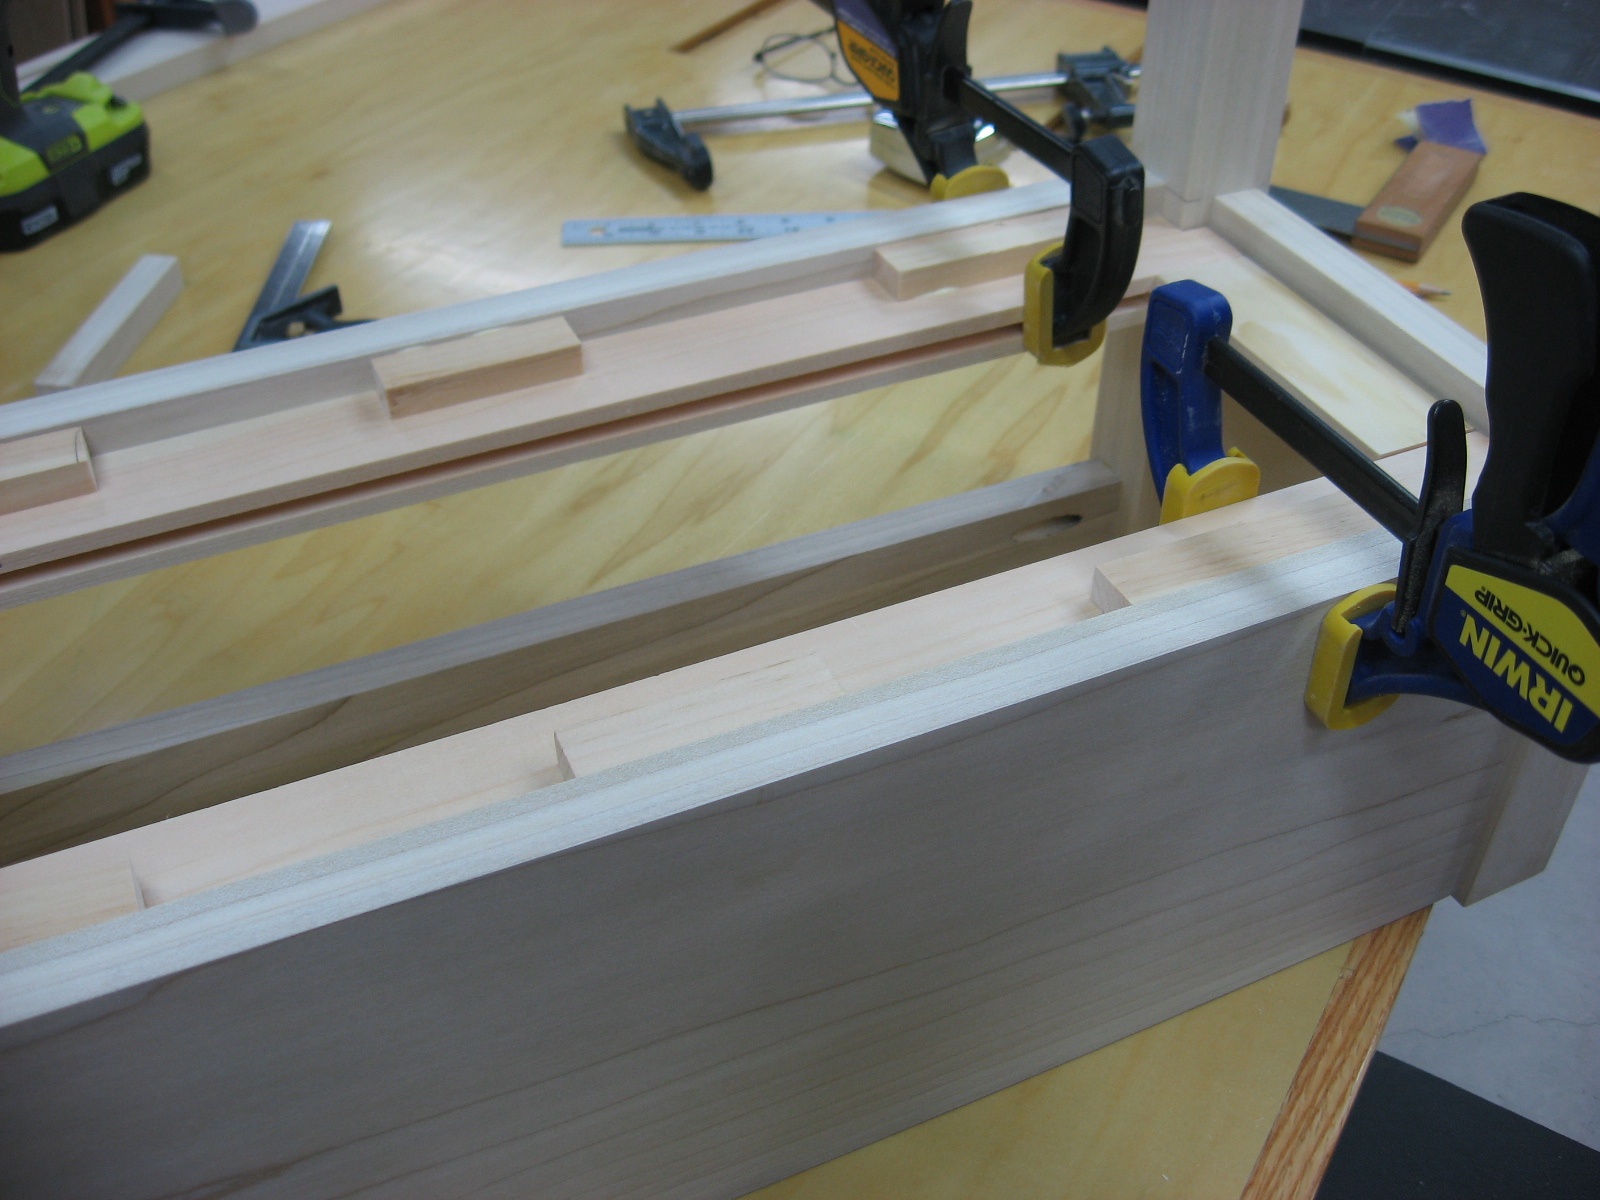
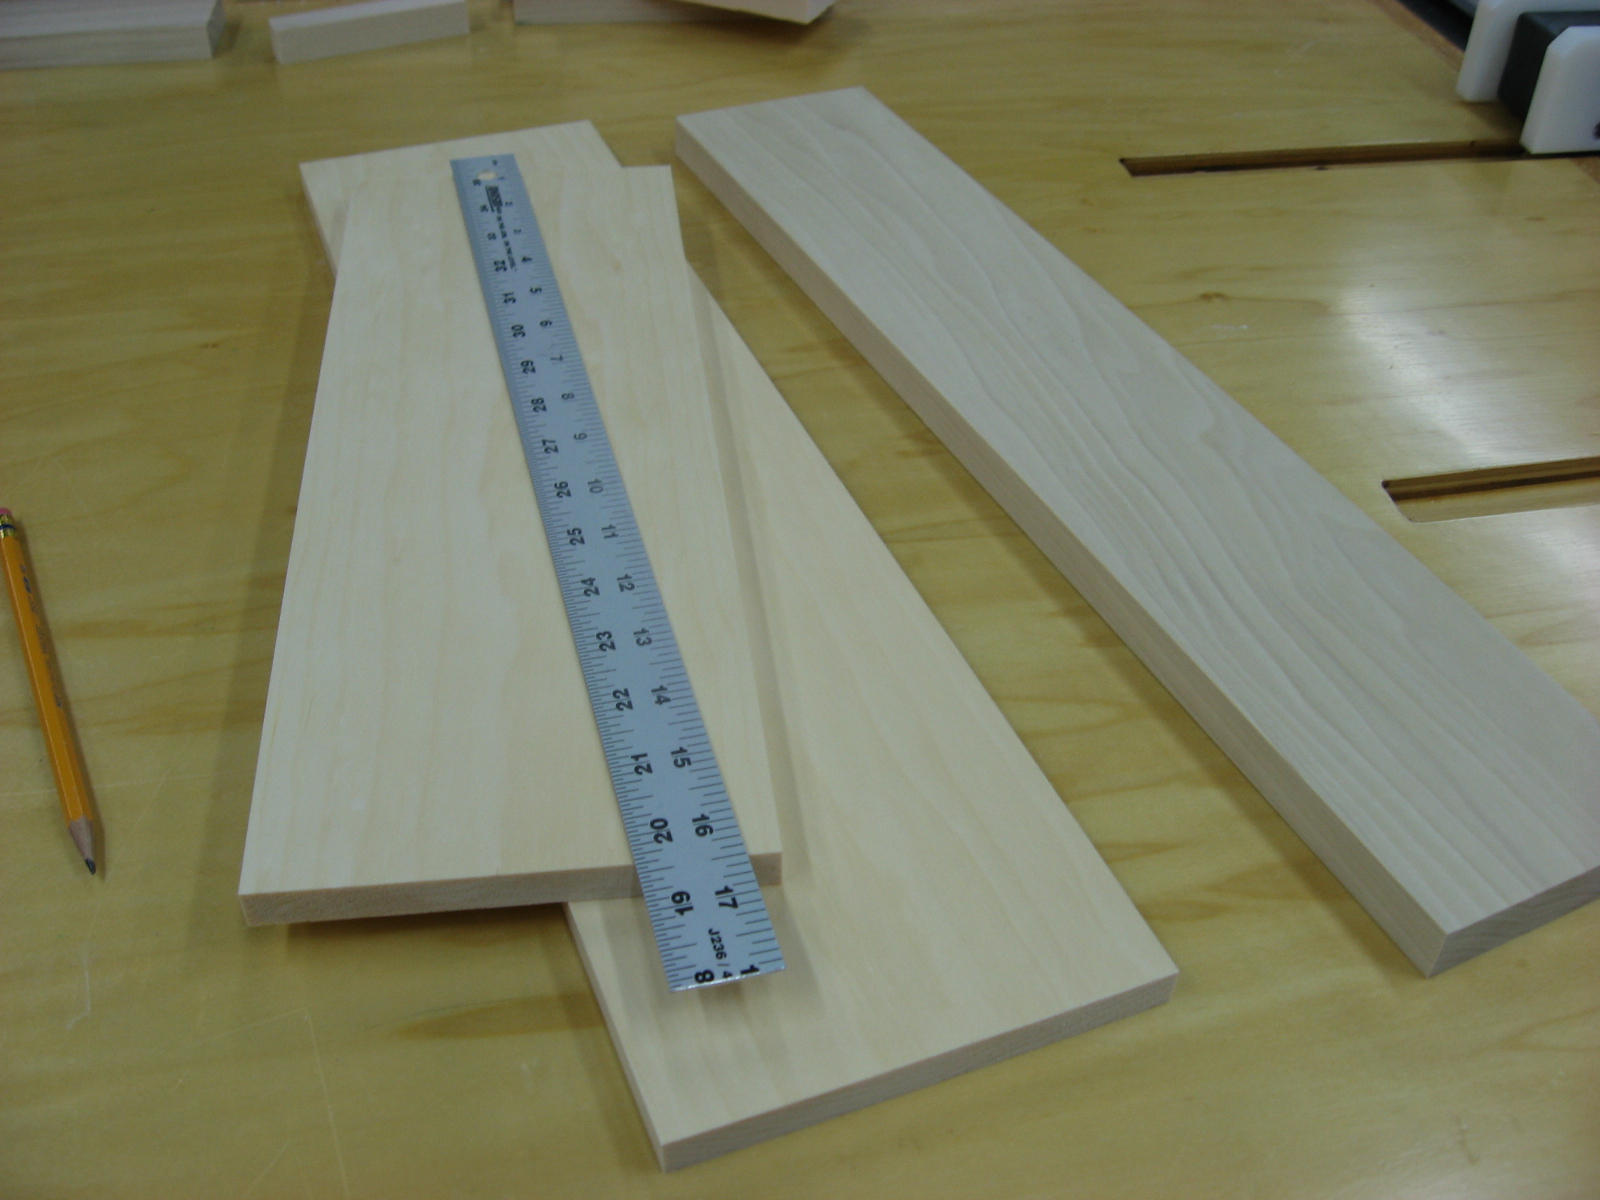
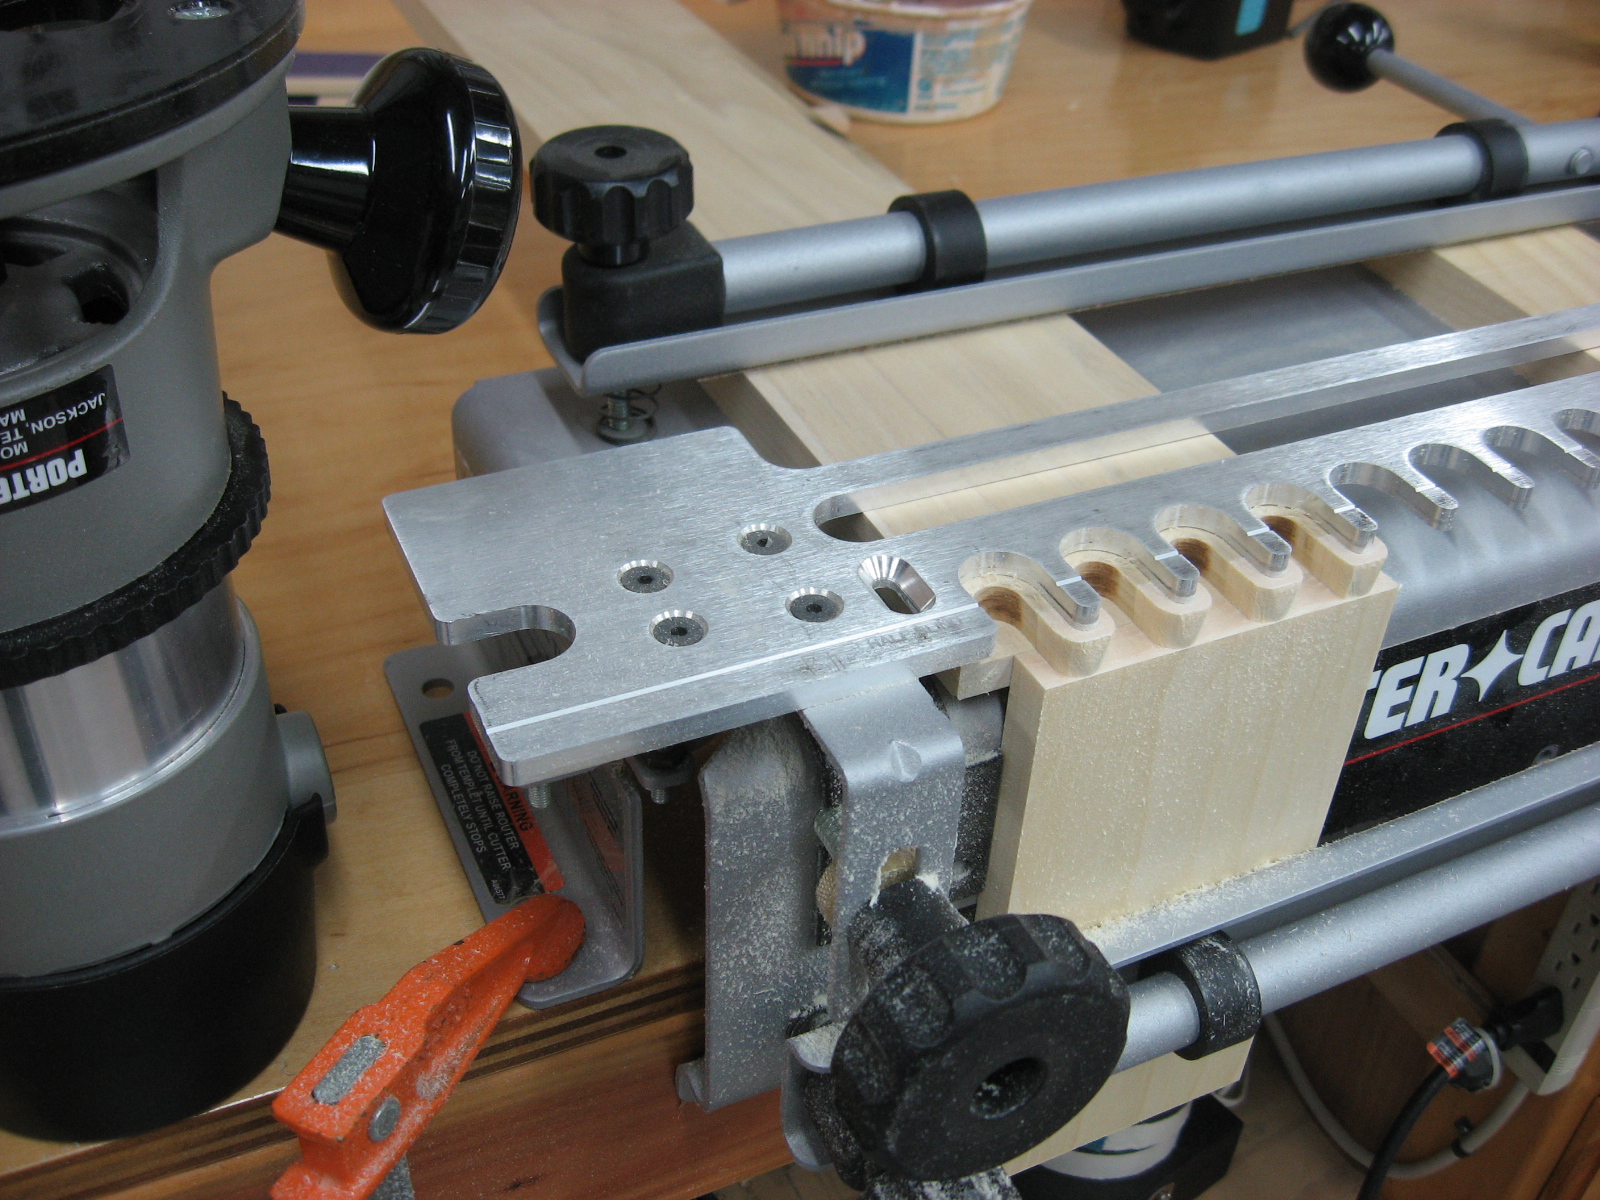
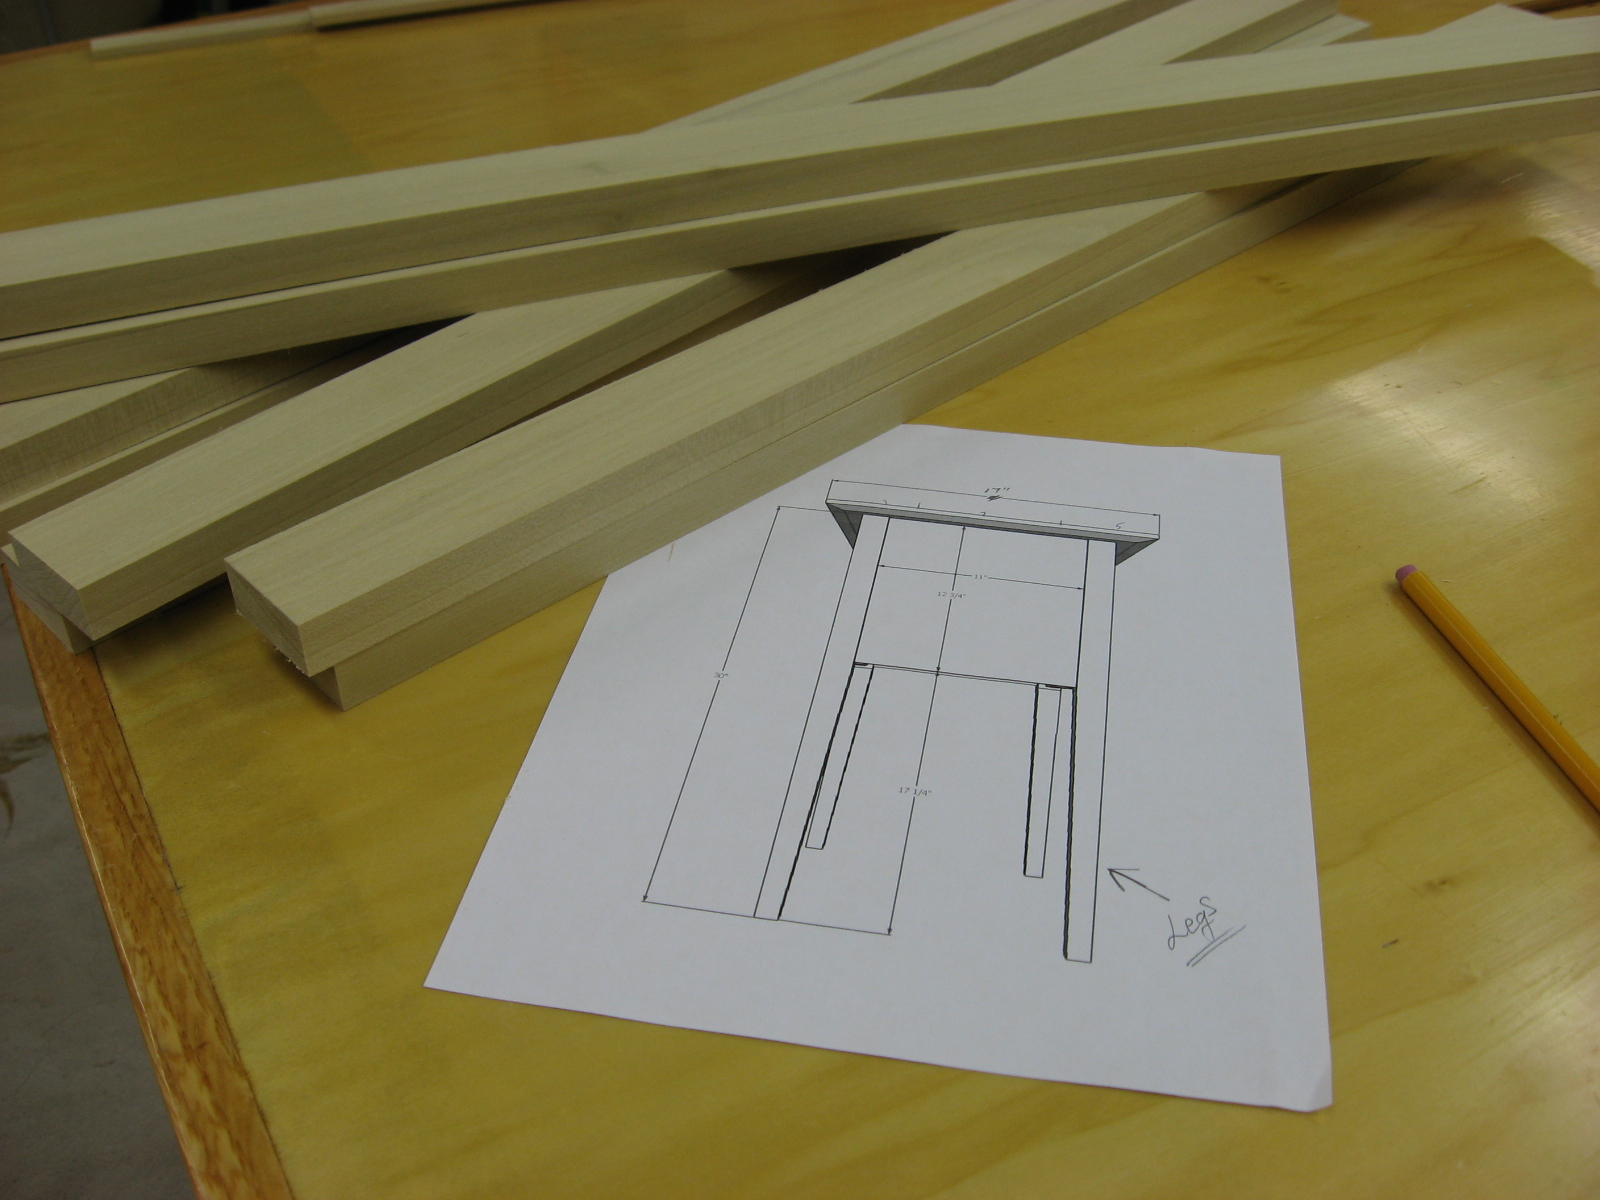
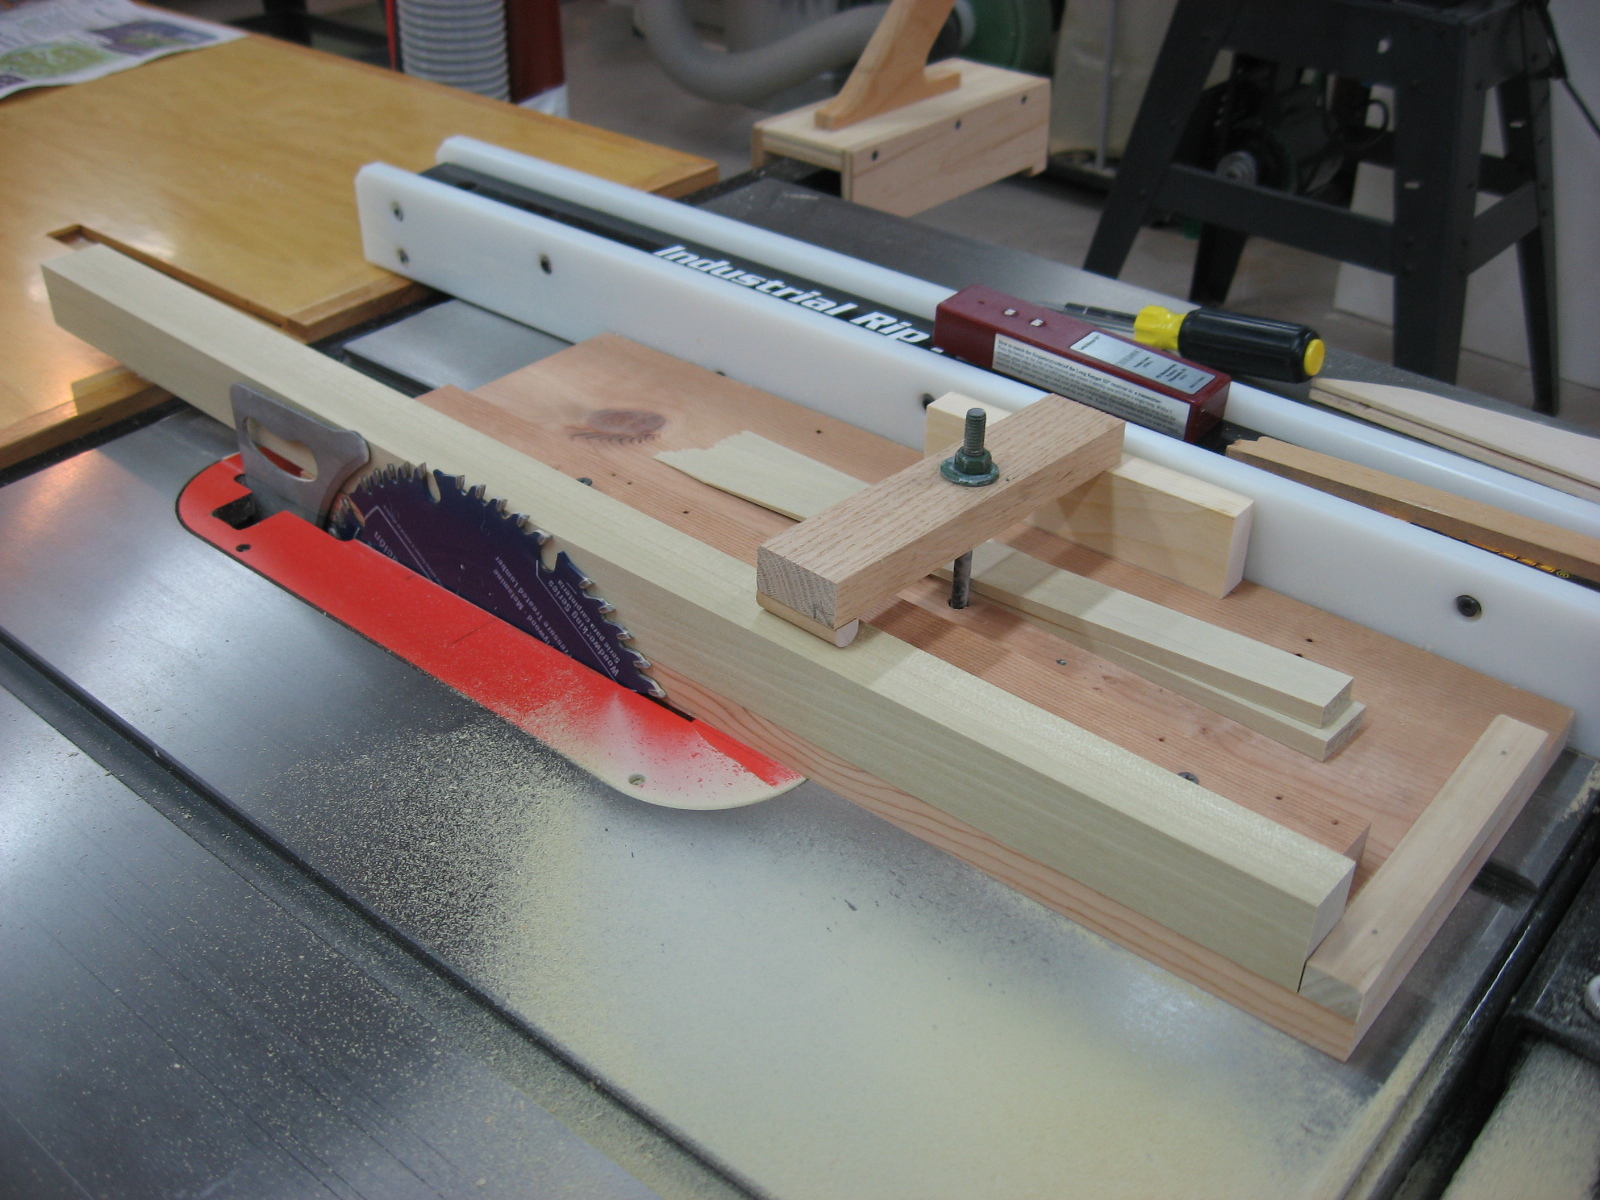
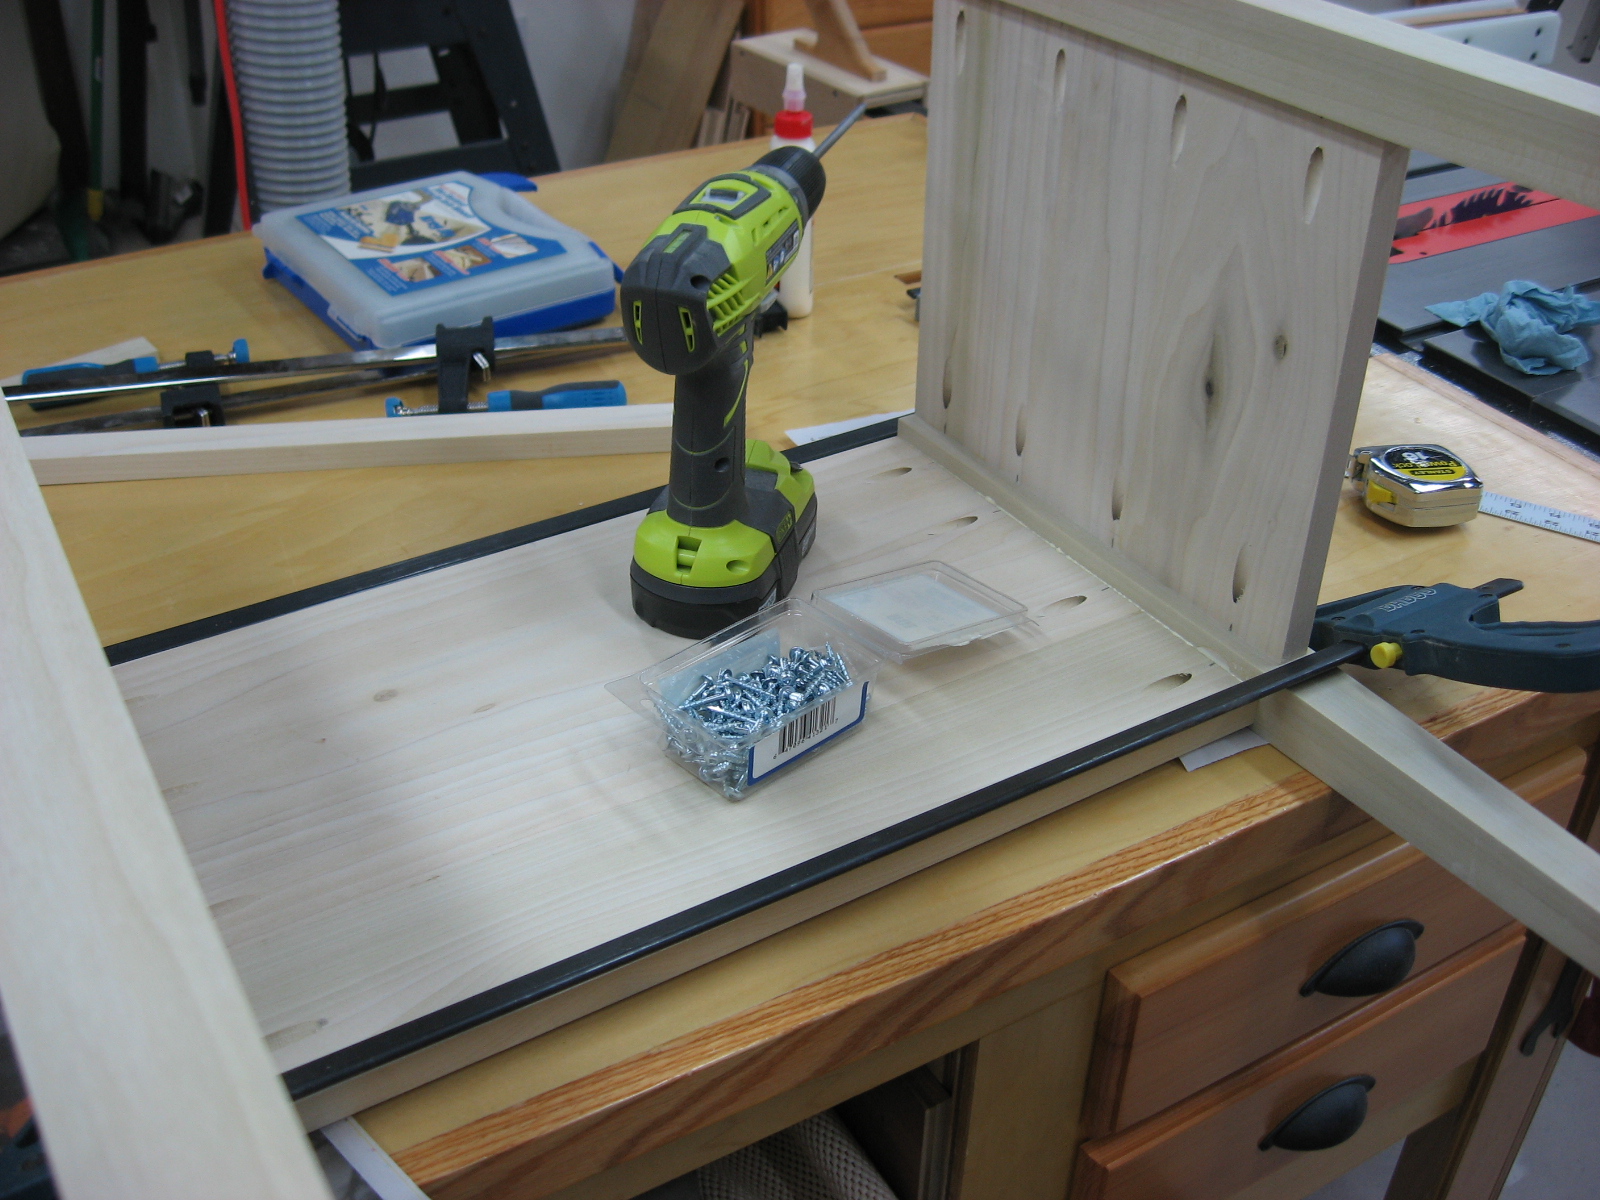
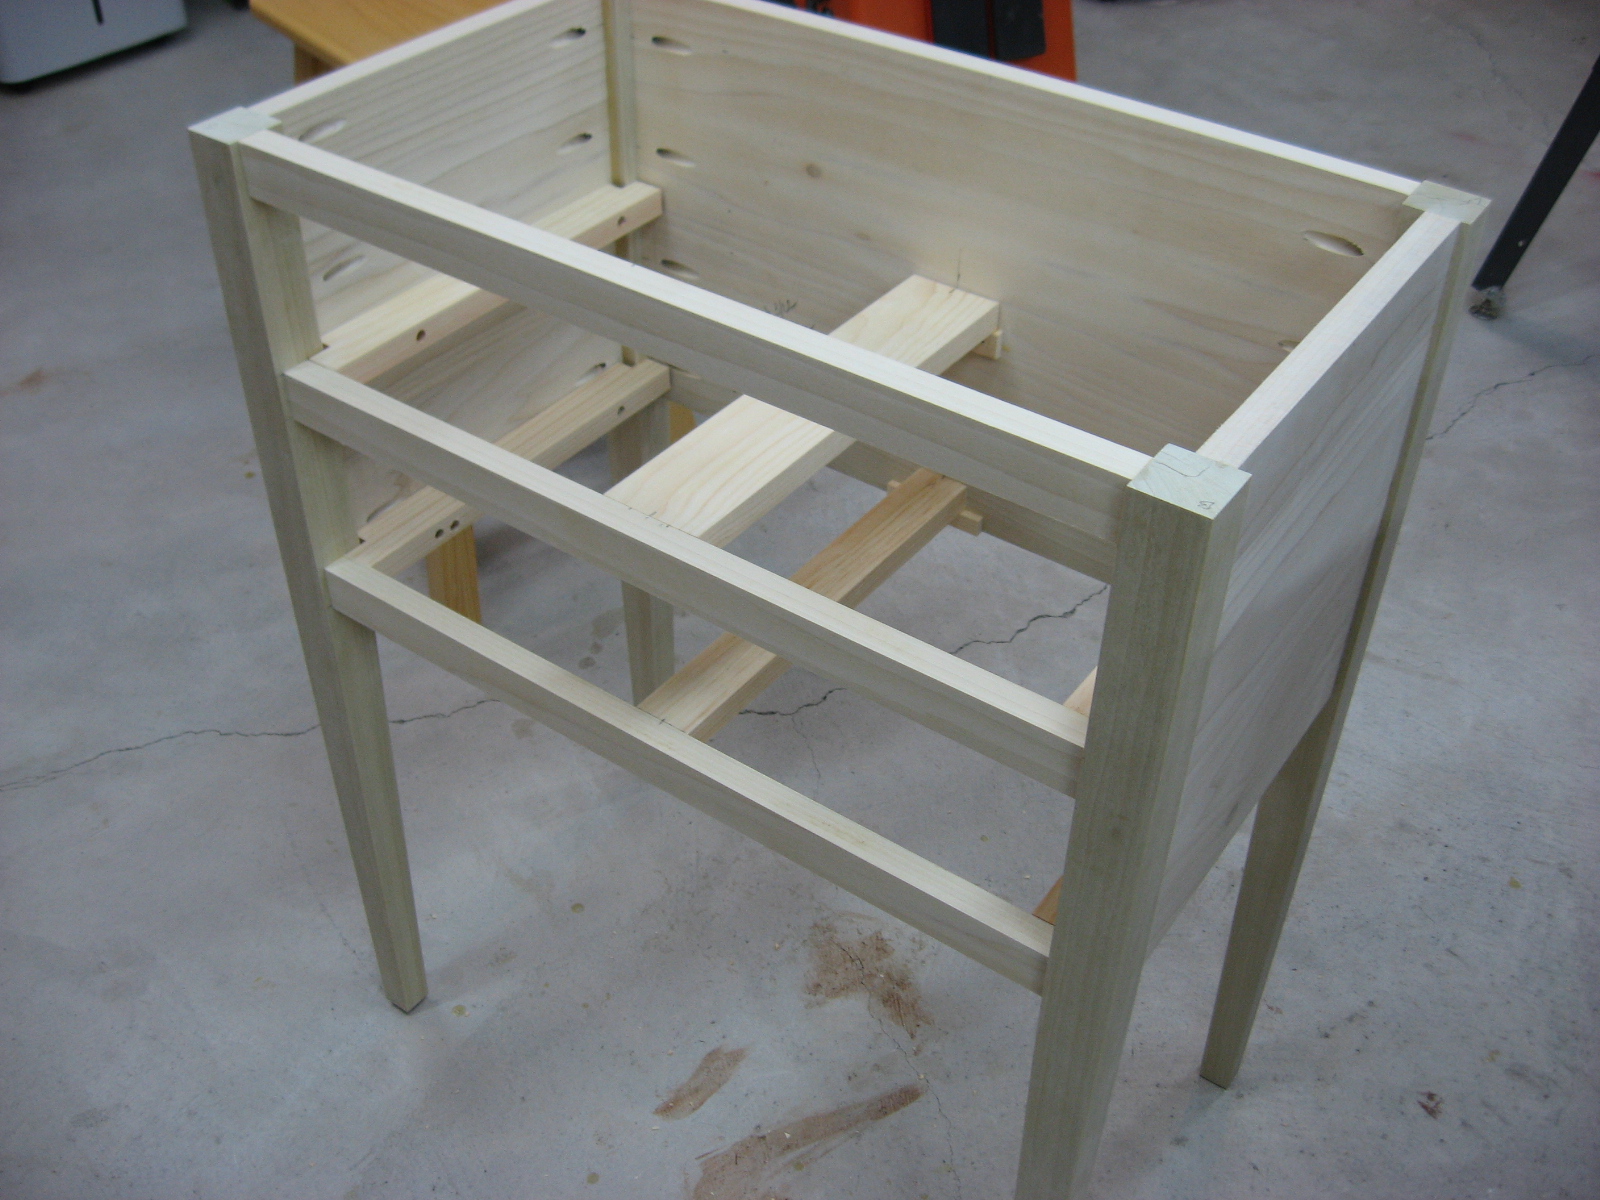
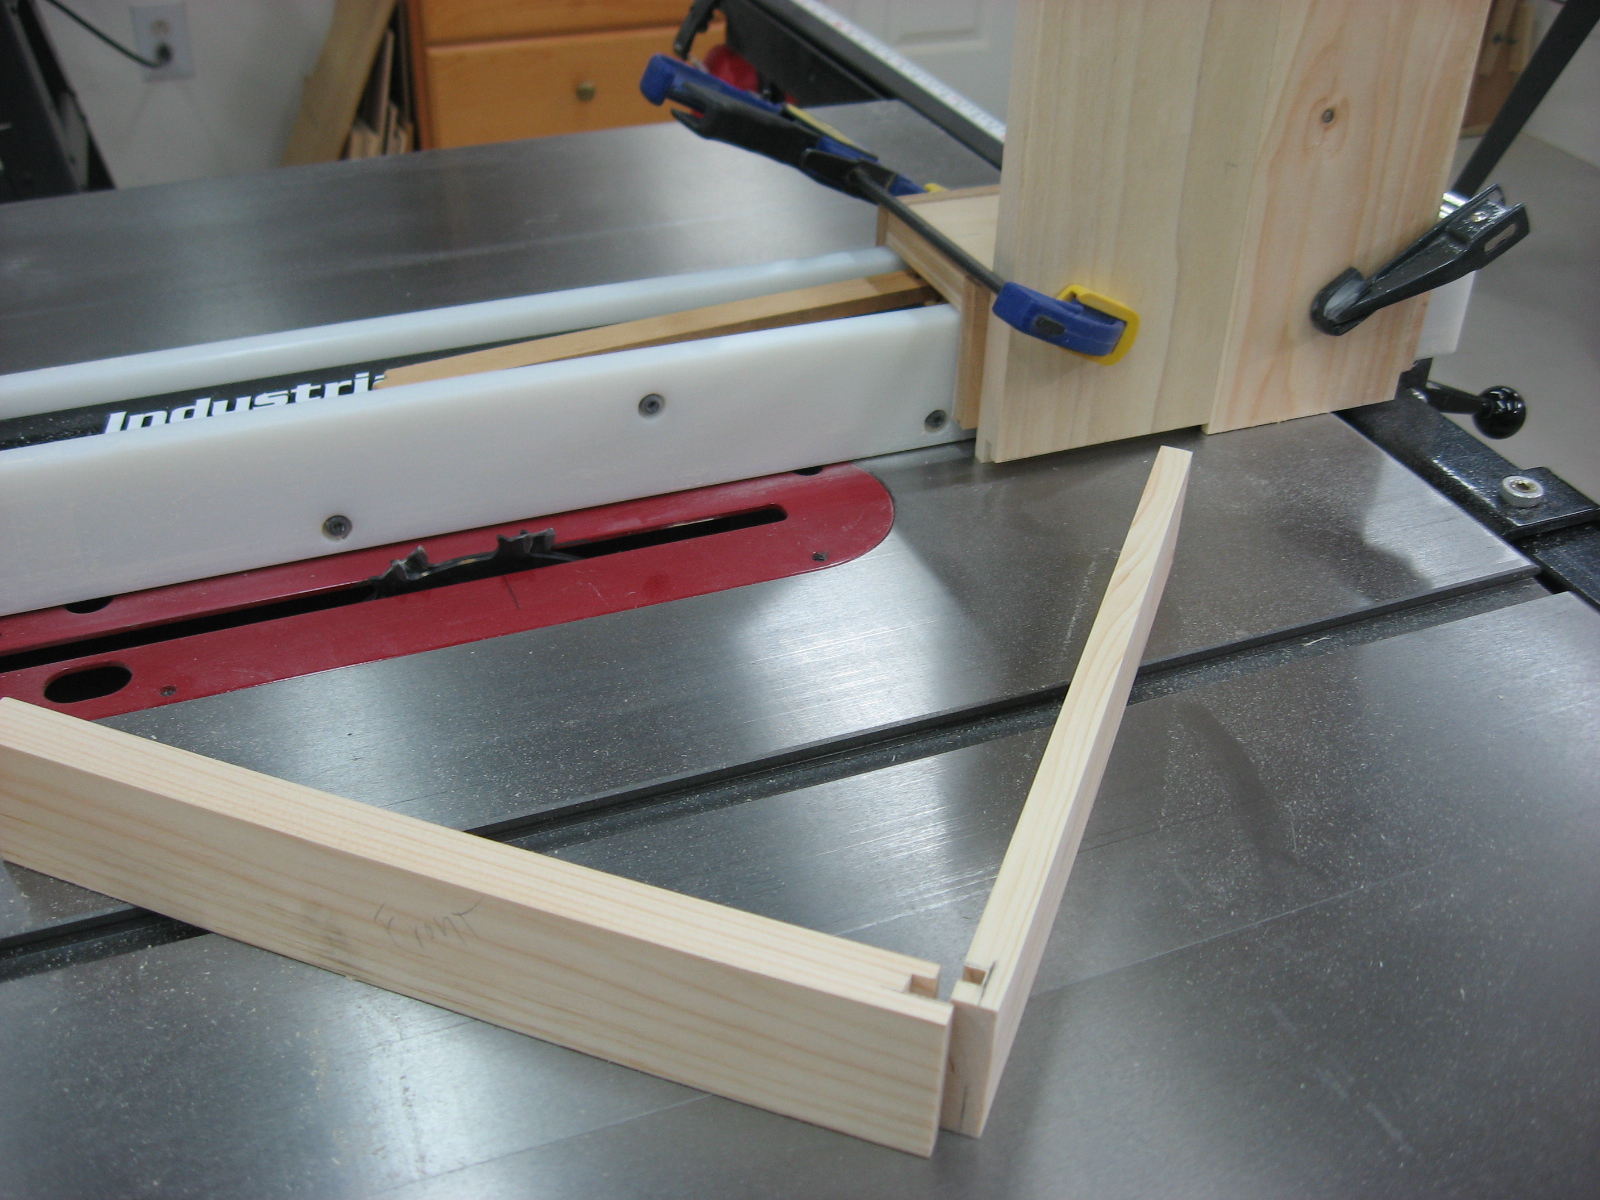
Stonefield Hall Entry Table This table was built in December of 2019 for the back entryway of our house. The design is a simple Shaker style but I added a small contemporary element to the lower shelf. The aprons, front rails and lower side stretchers are attached using pocket-hole screws rather than mortise and tenon joinery. I also decided to change my original design from 2 drawers to just one drawer. The legs were constructed using two 3/4" boards, glued with biscuits and tapered at the lower end below the shelf. I made a simple jig (see photo below) to cut the tapers on the table saw. I cut the drawer dovetails using my Porter-Cable 4212 dovetail jig. I used Poplar wood and finished it with 2 coats of Charles Neil's pre-color conditioner and Varathane oil-based Gunstock stain. Total construction time was about 18 hours not including the finishing steps. The SketchUp Model is available for download HERE.
|
 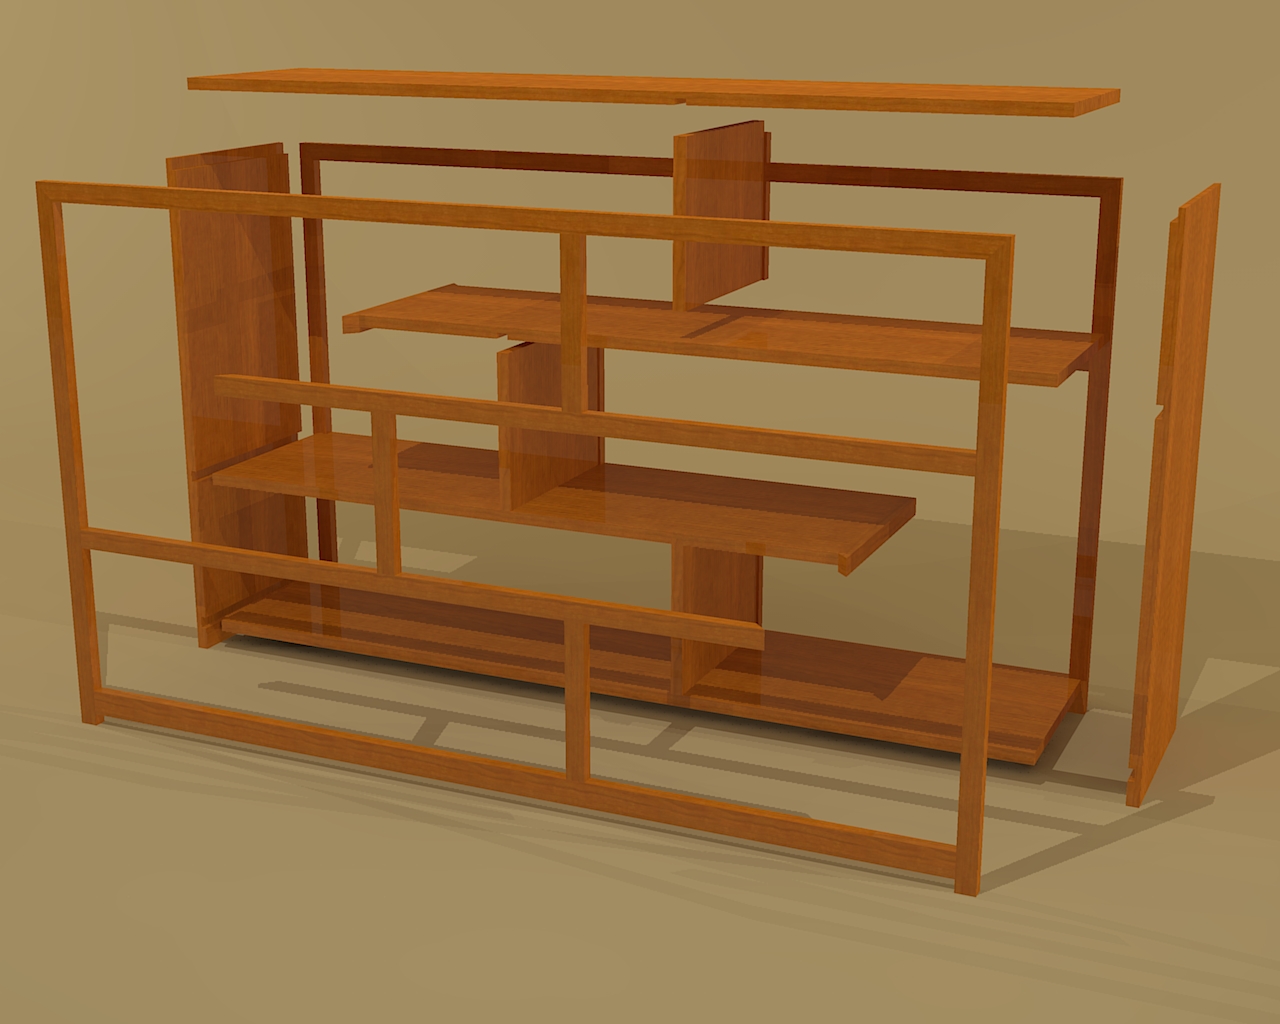 |
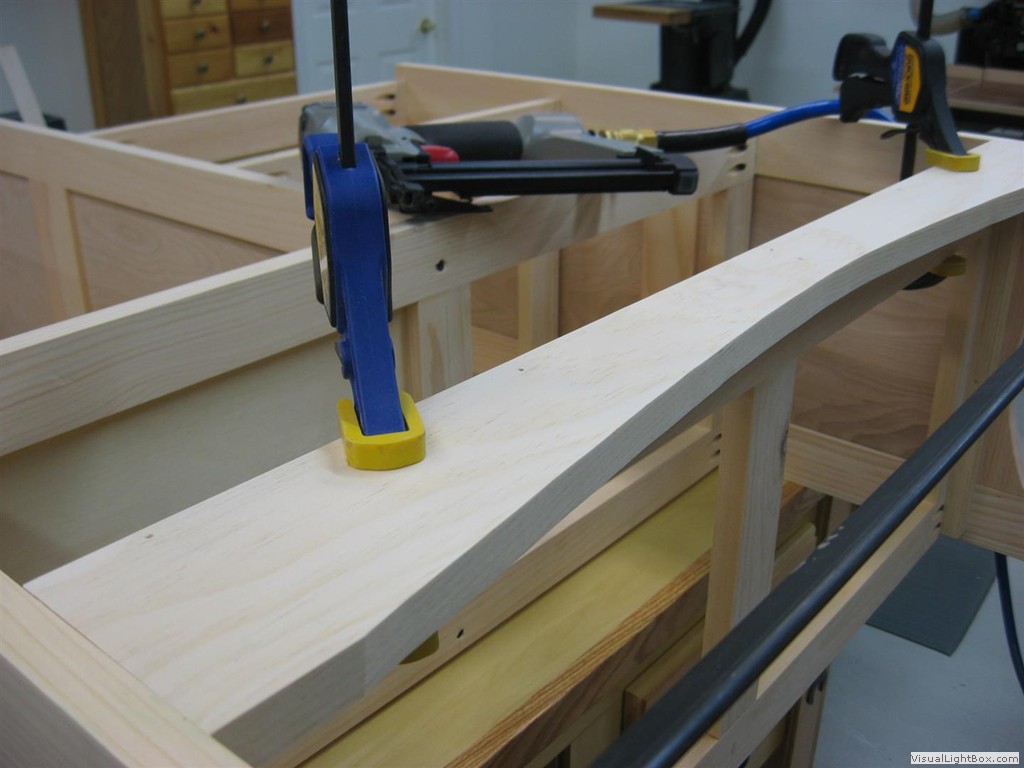
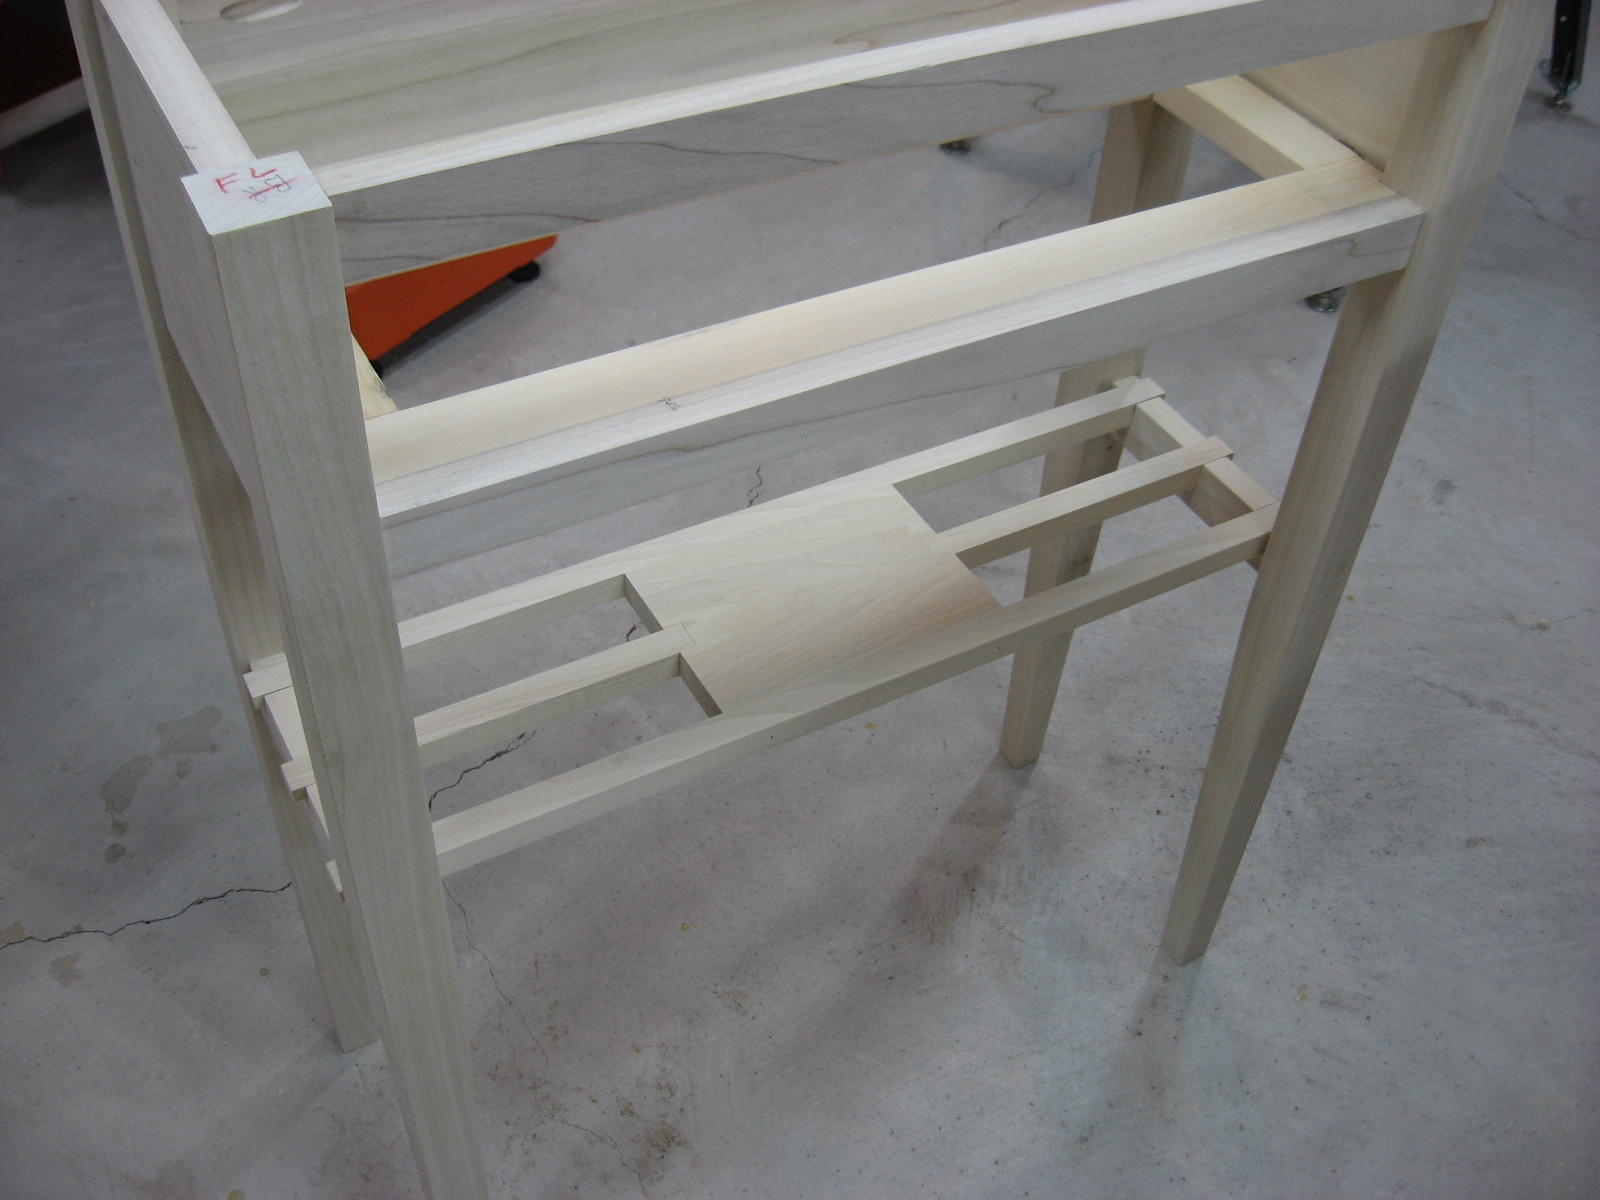
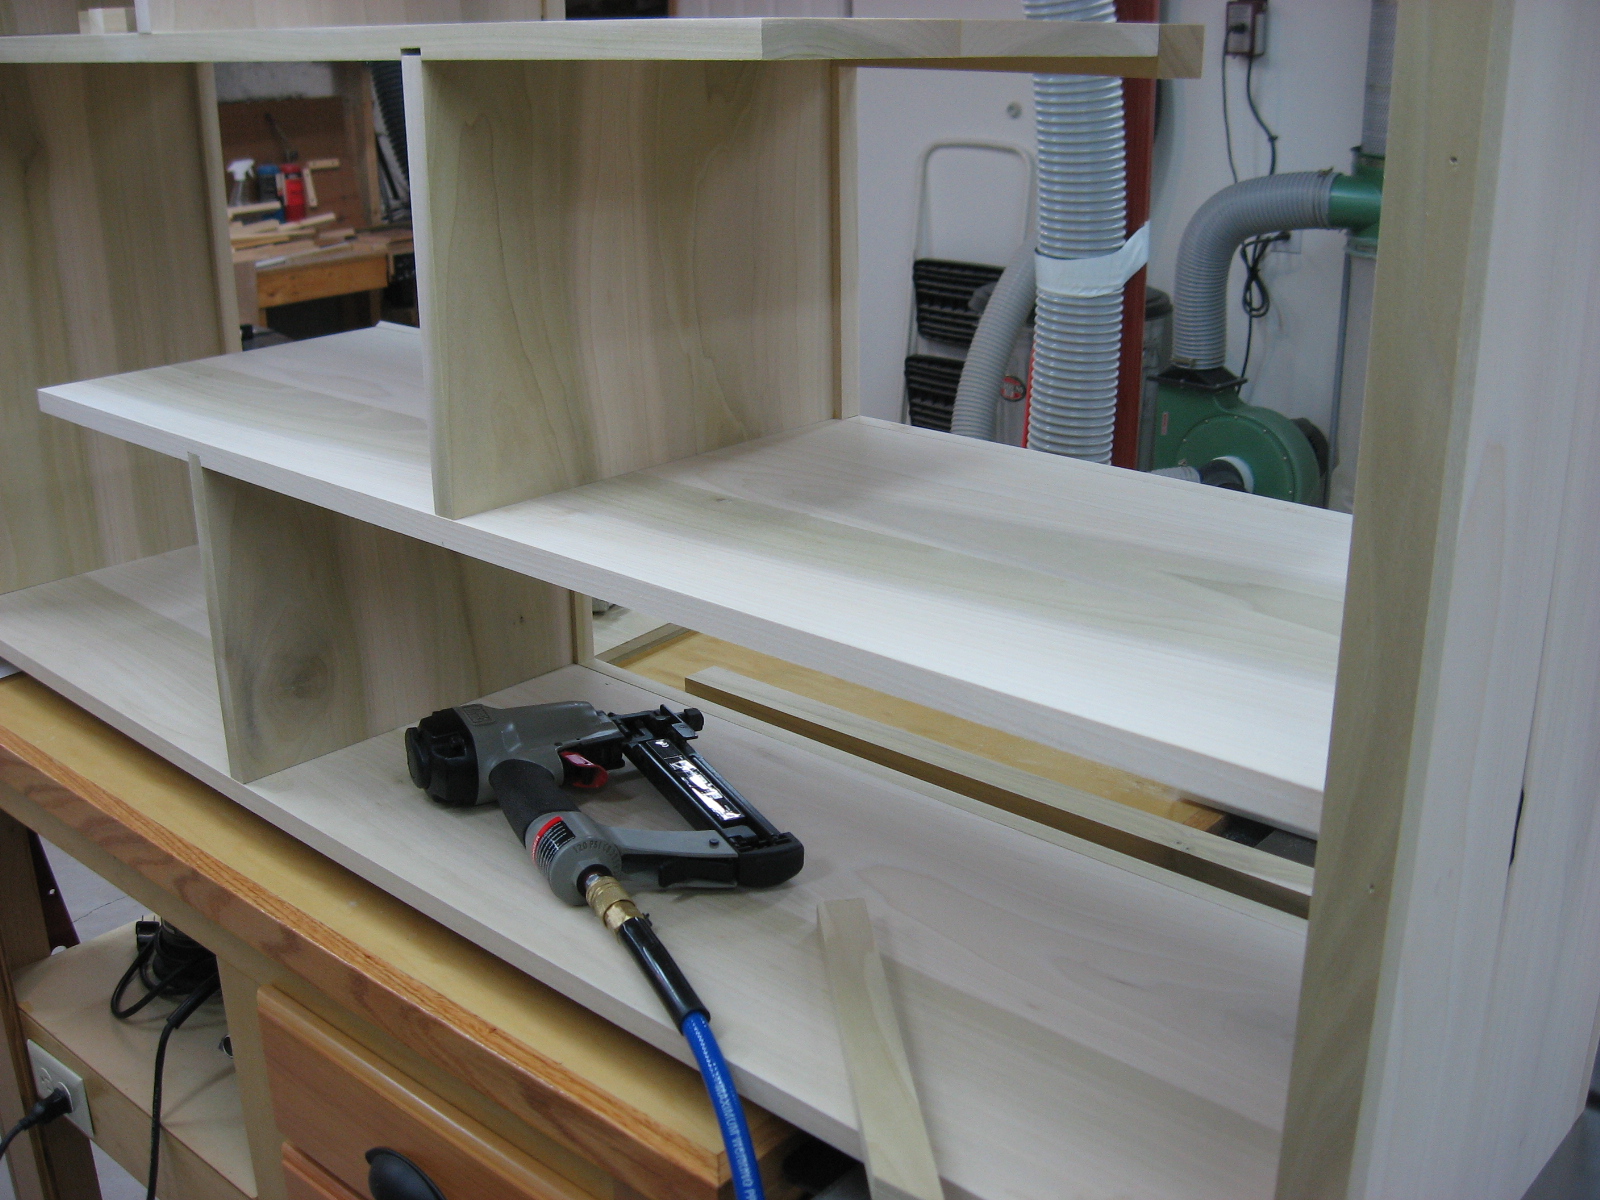
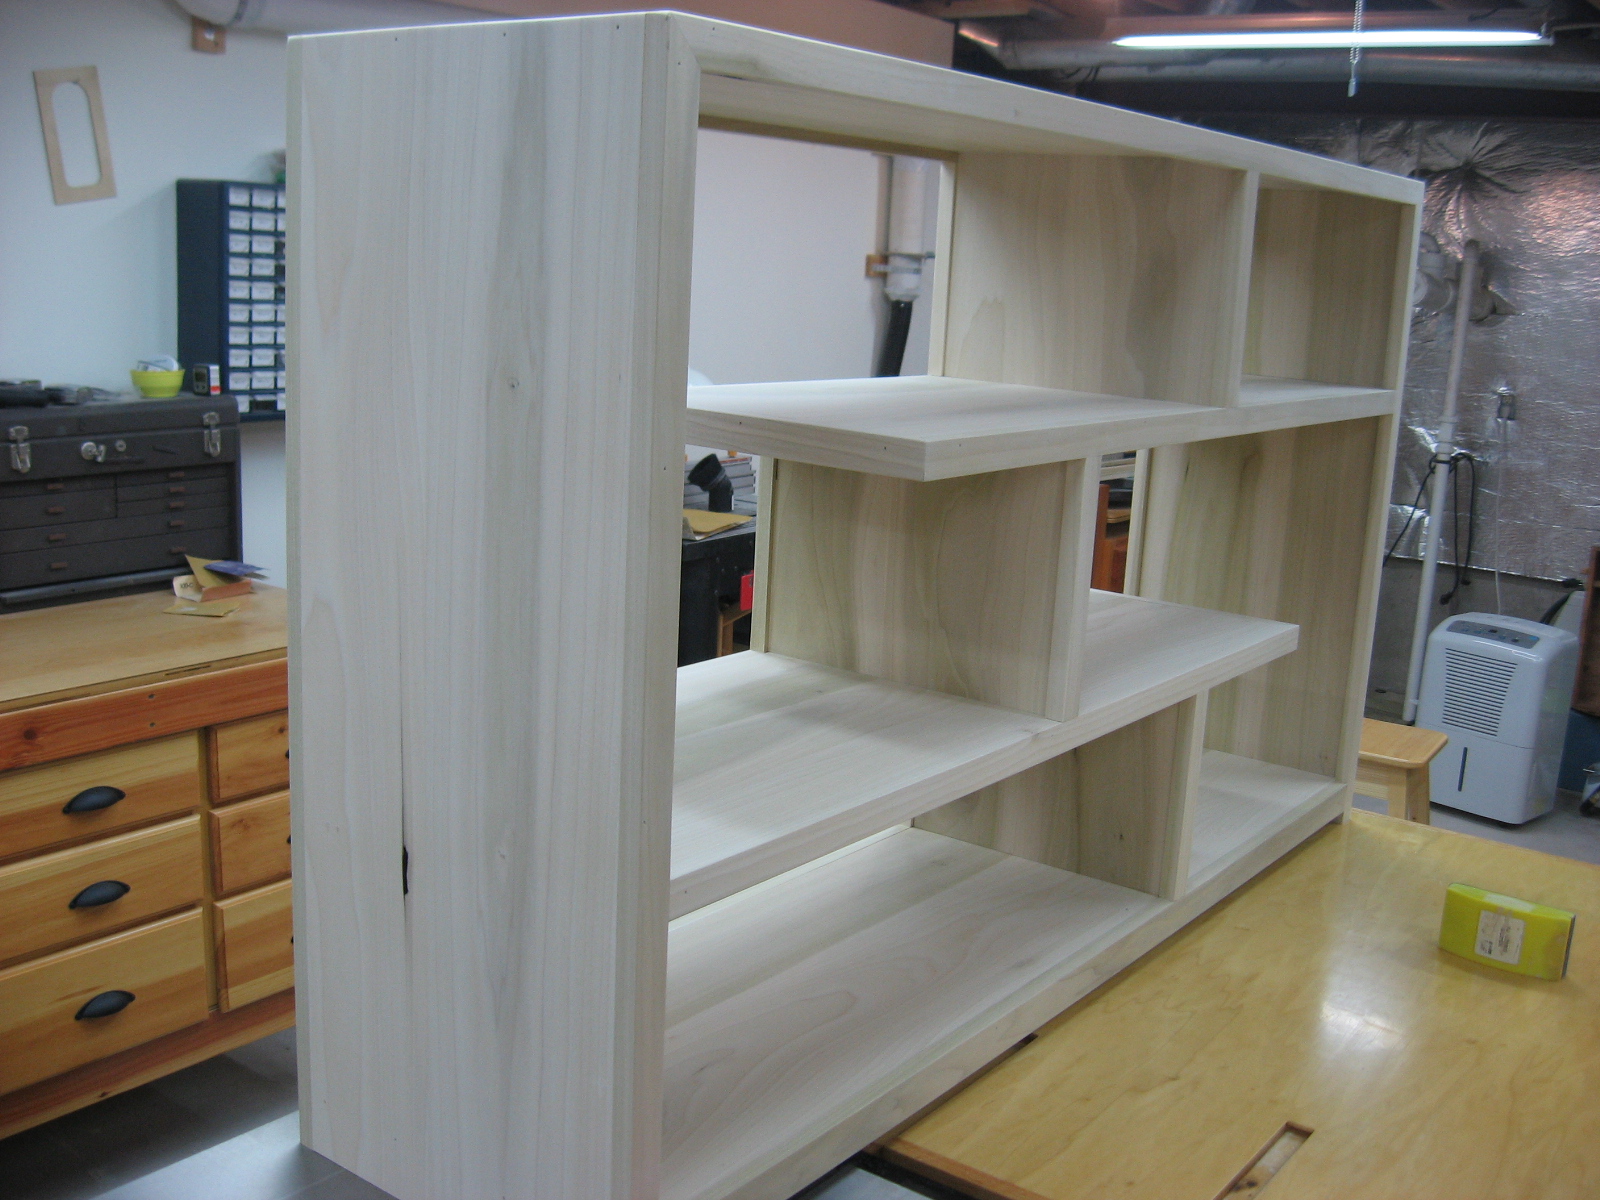
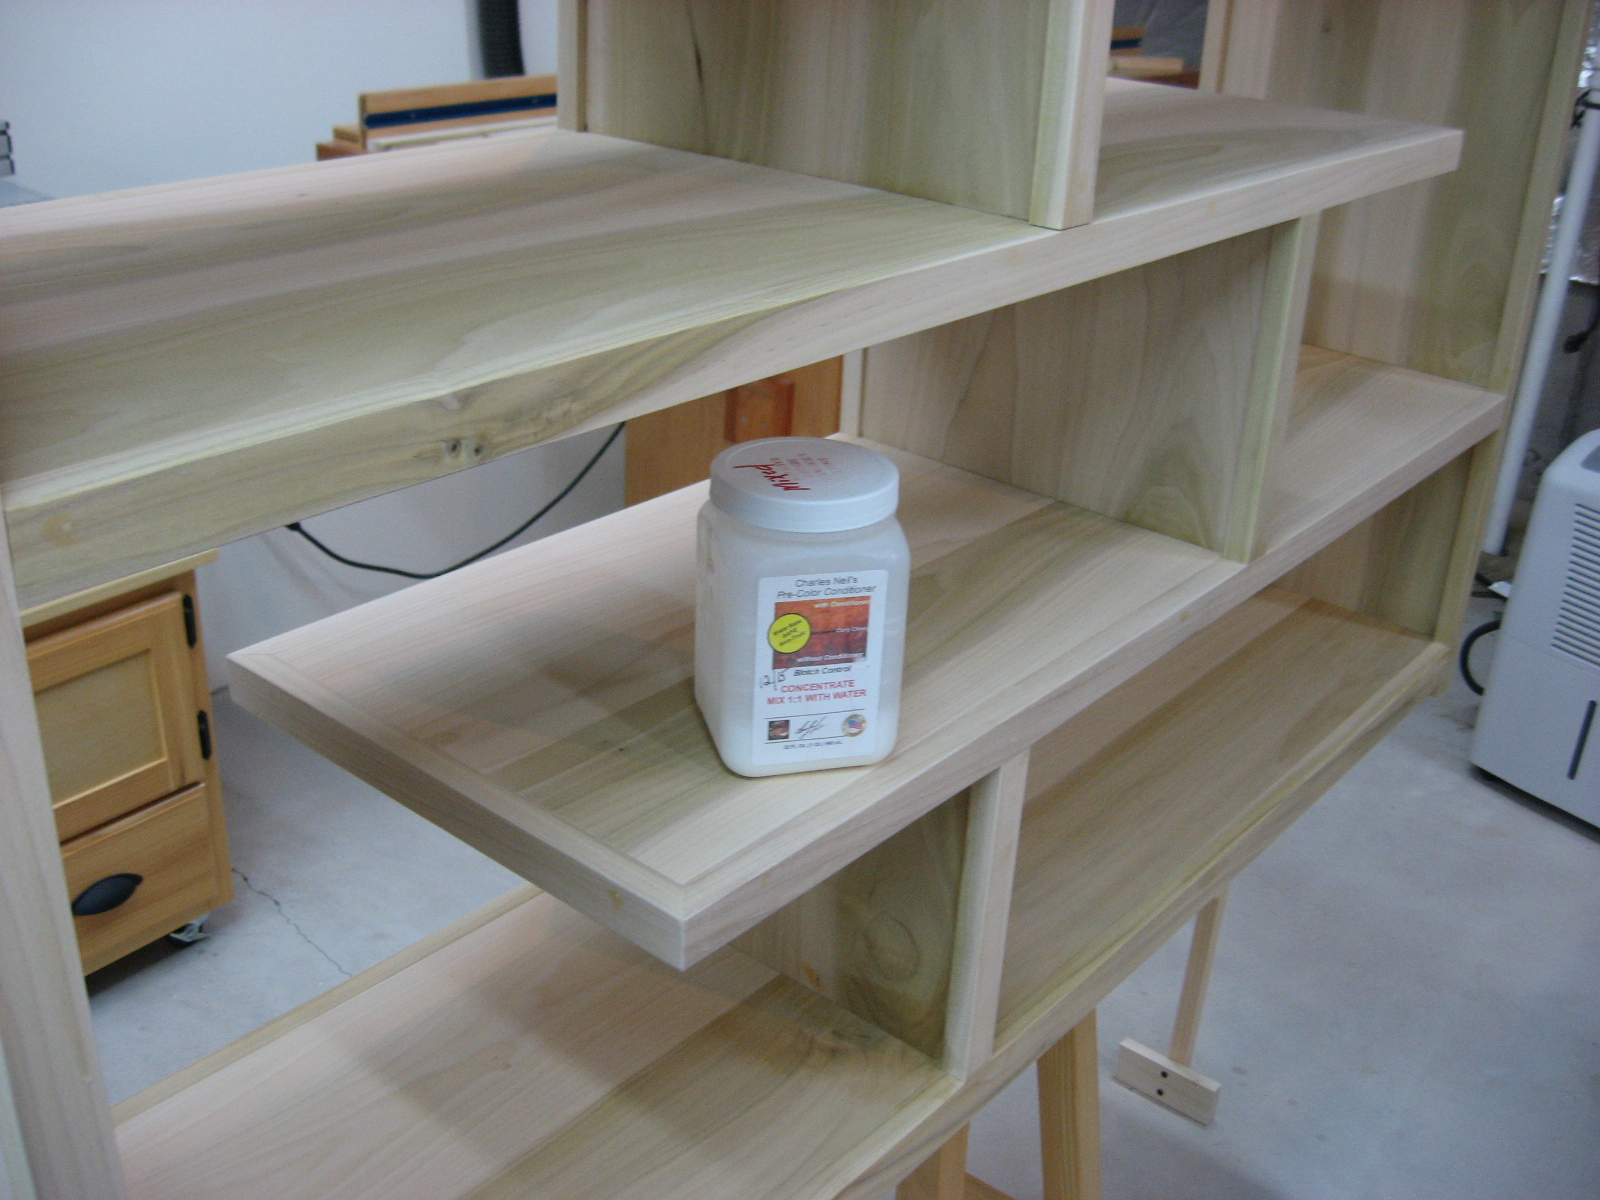
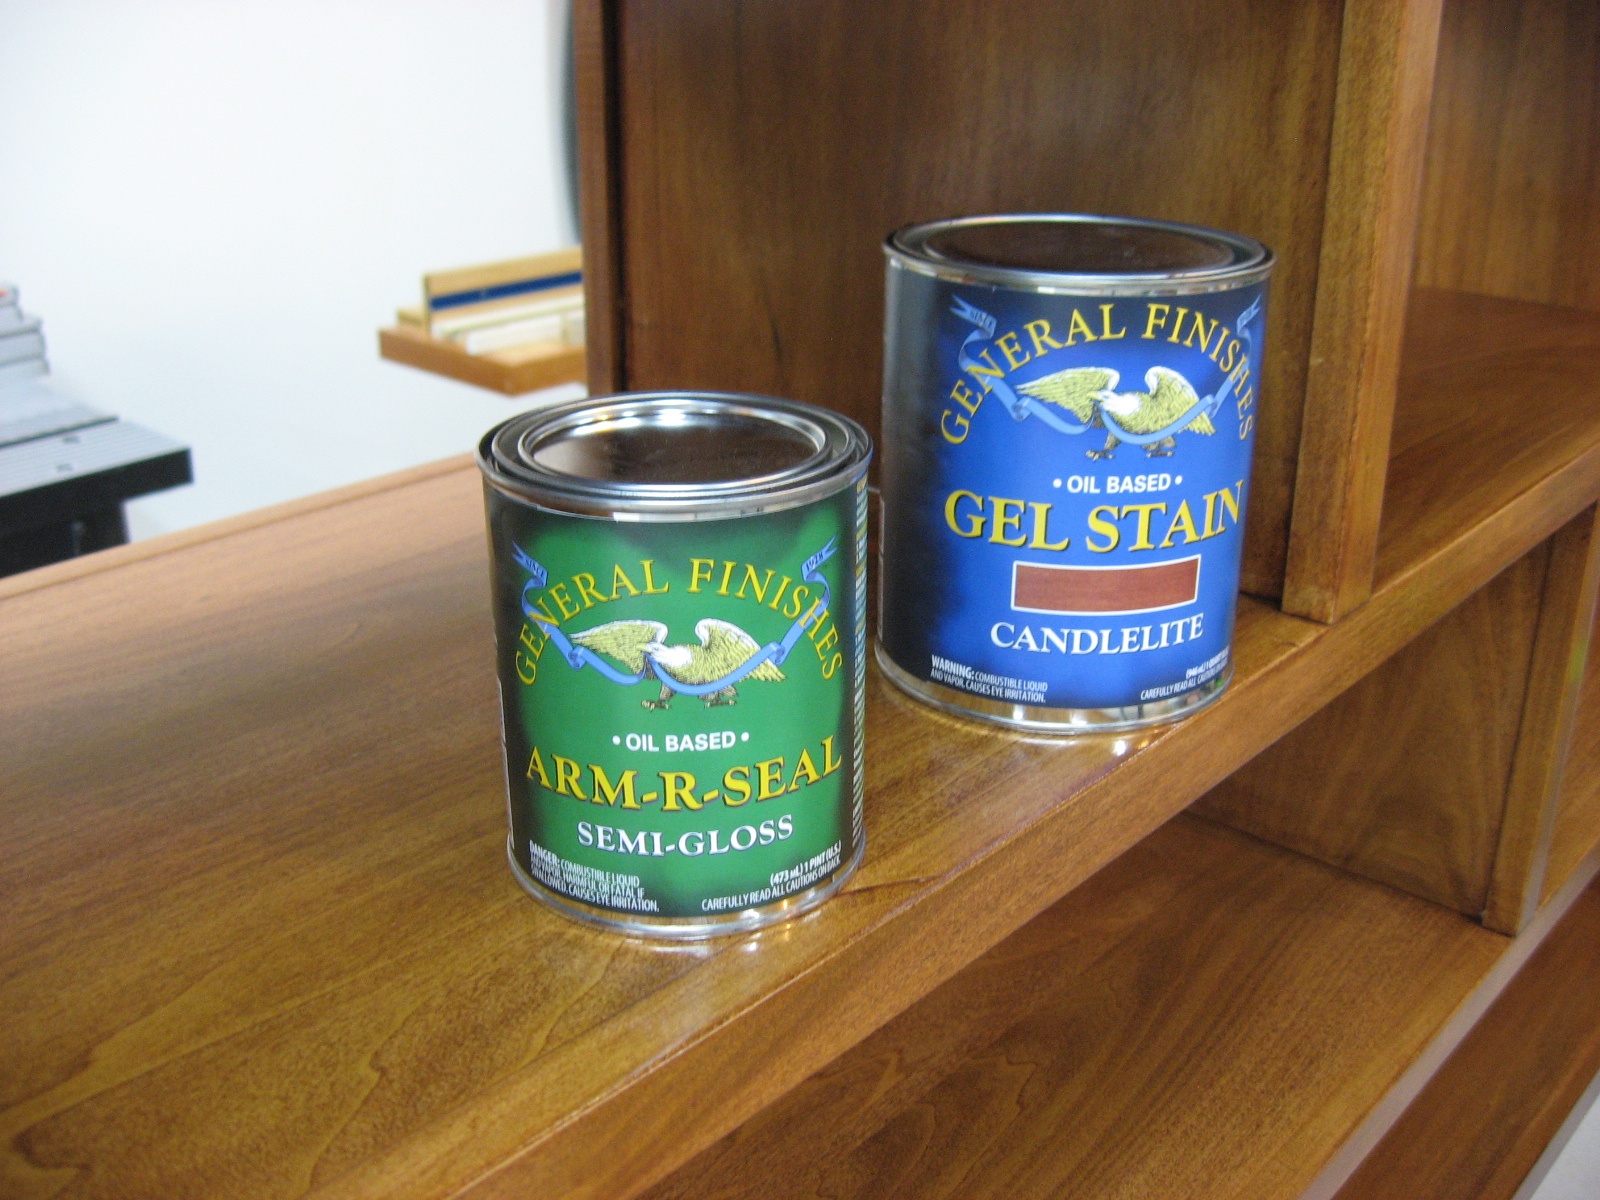
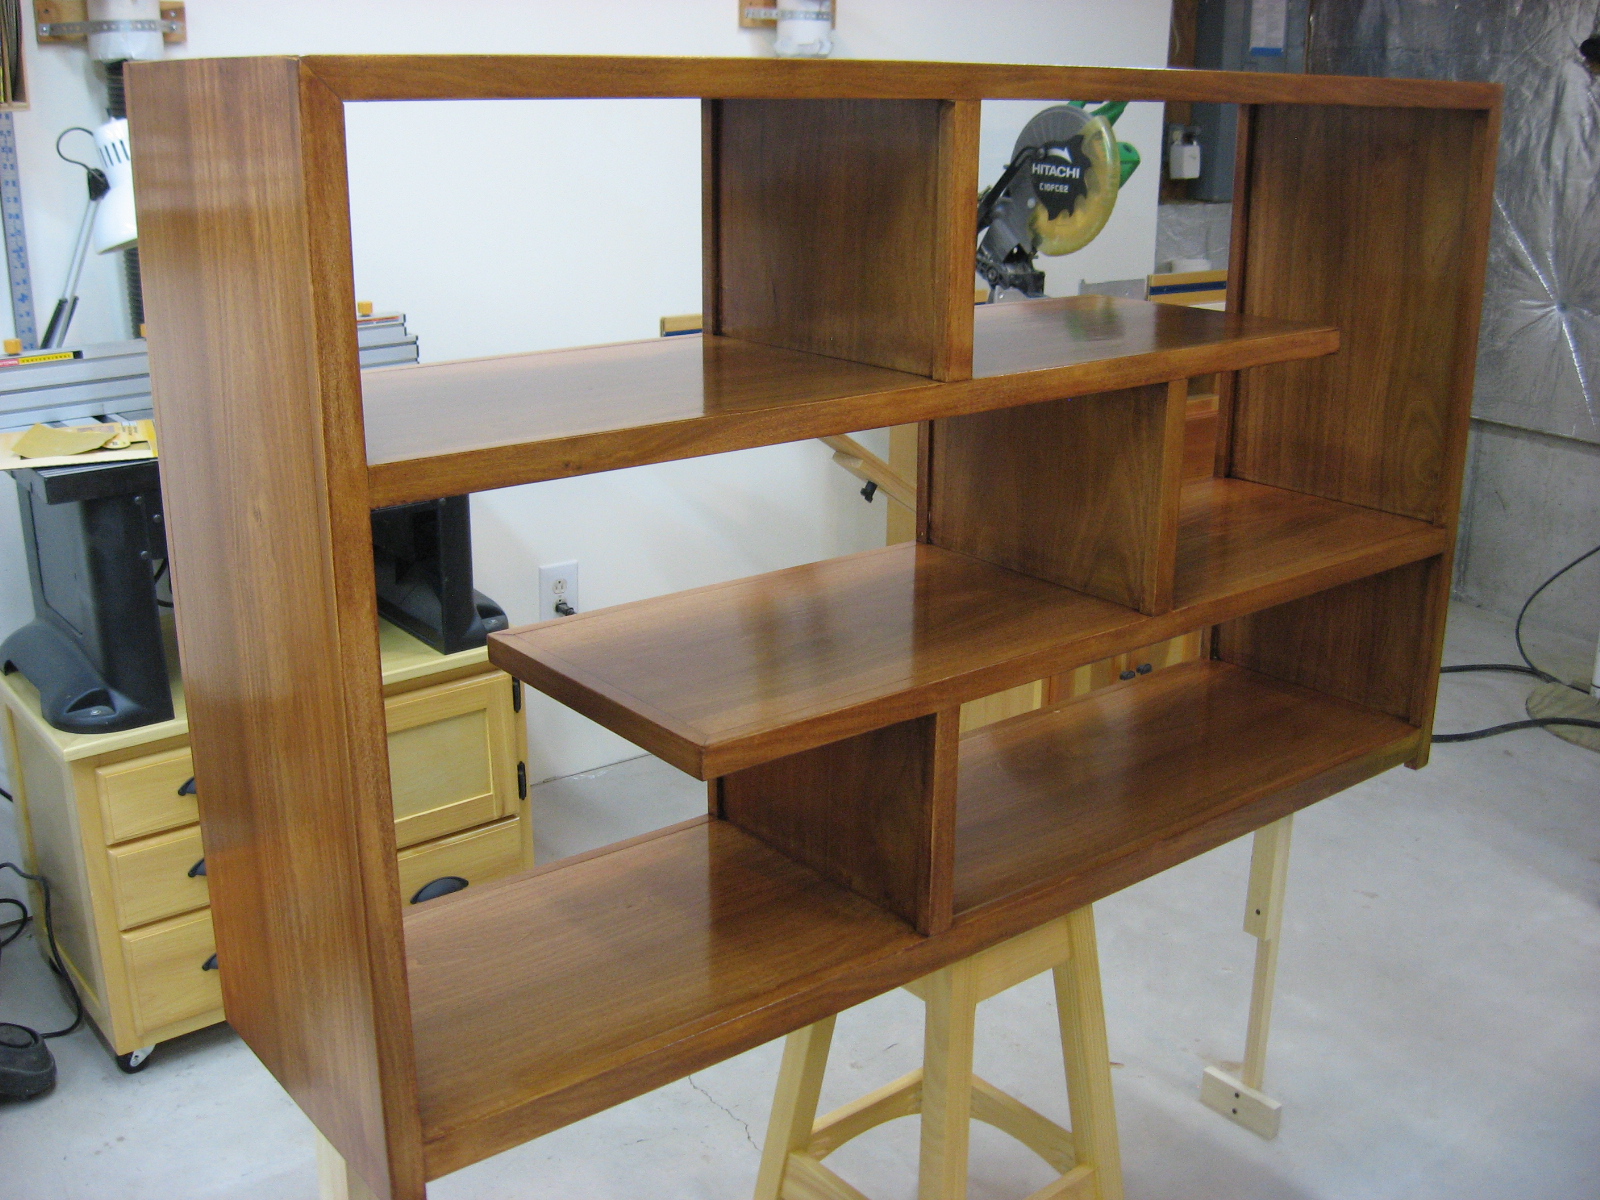
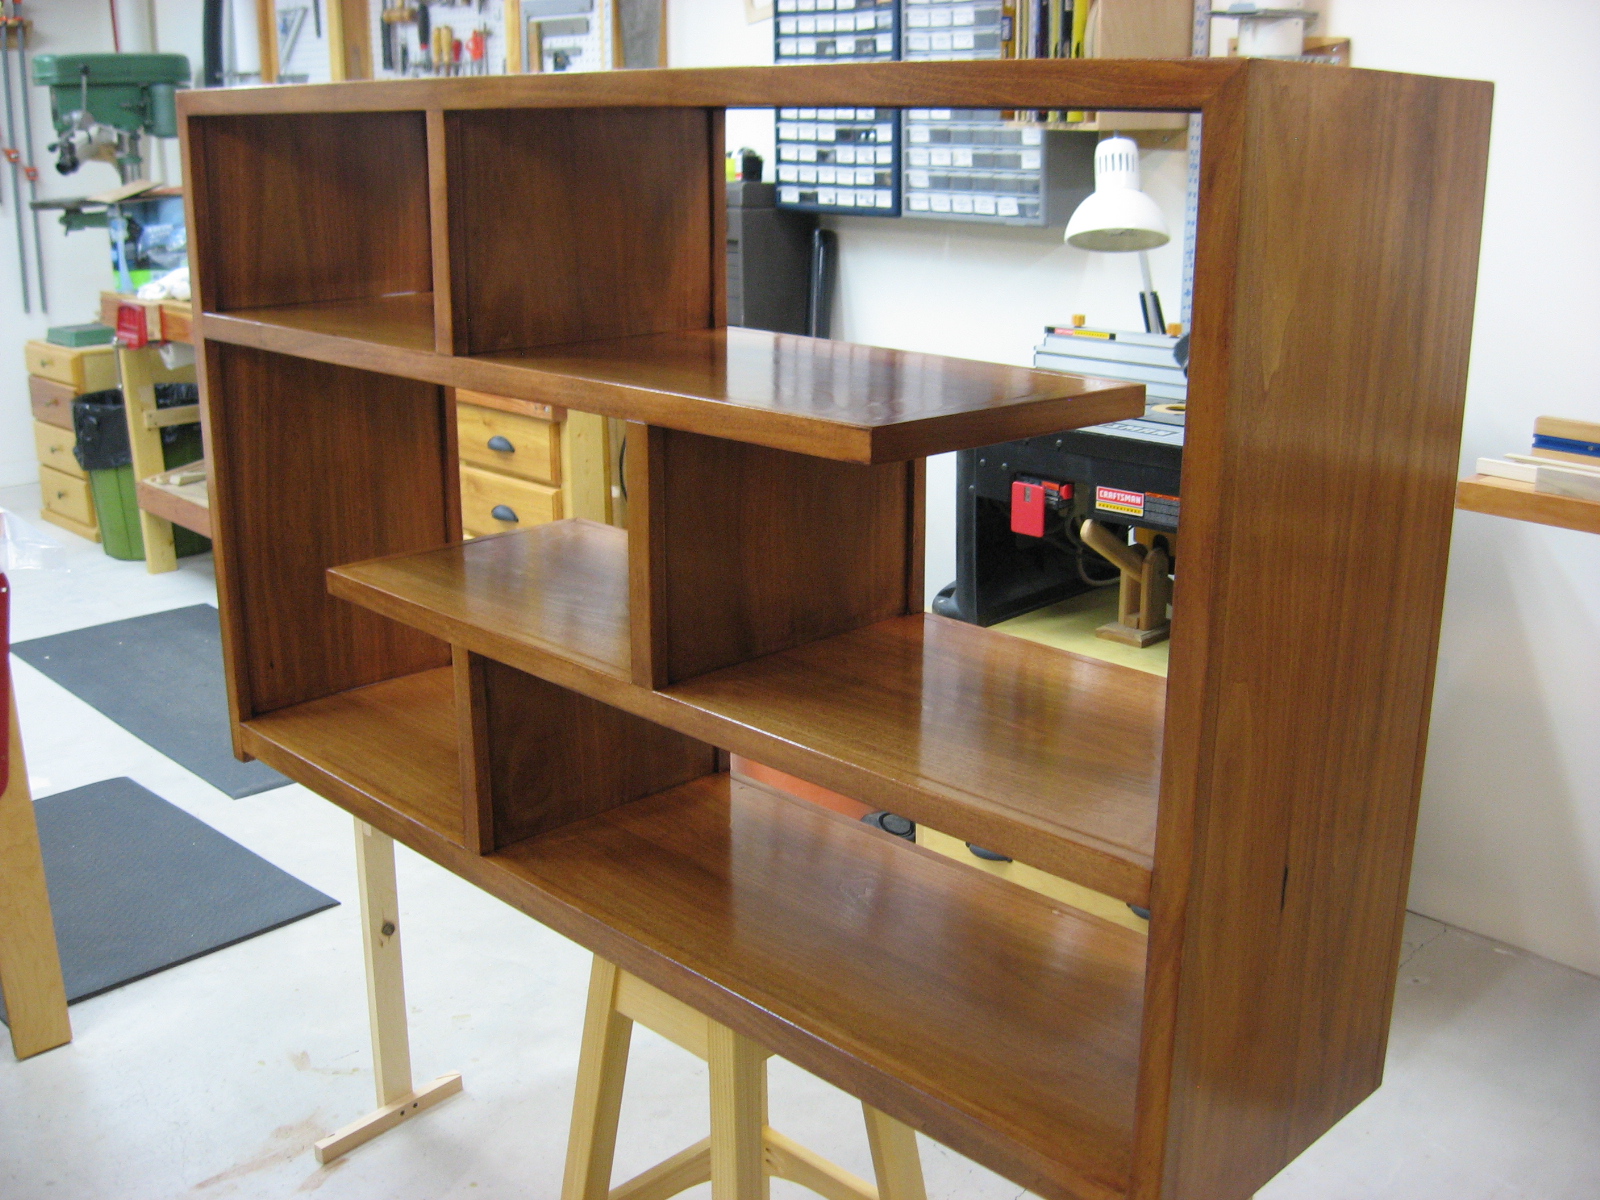
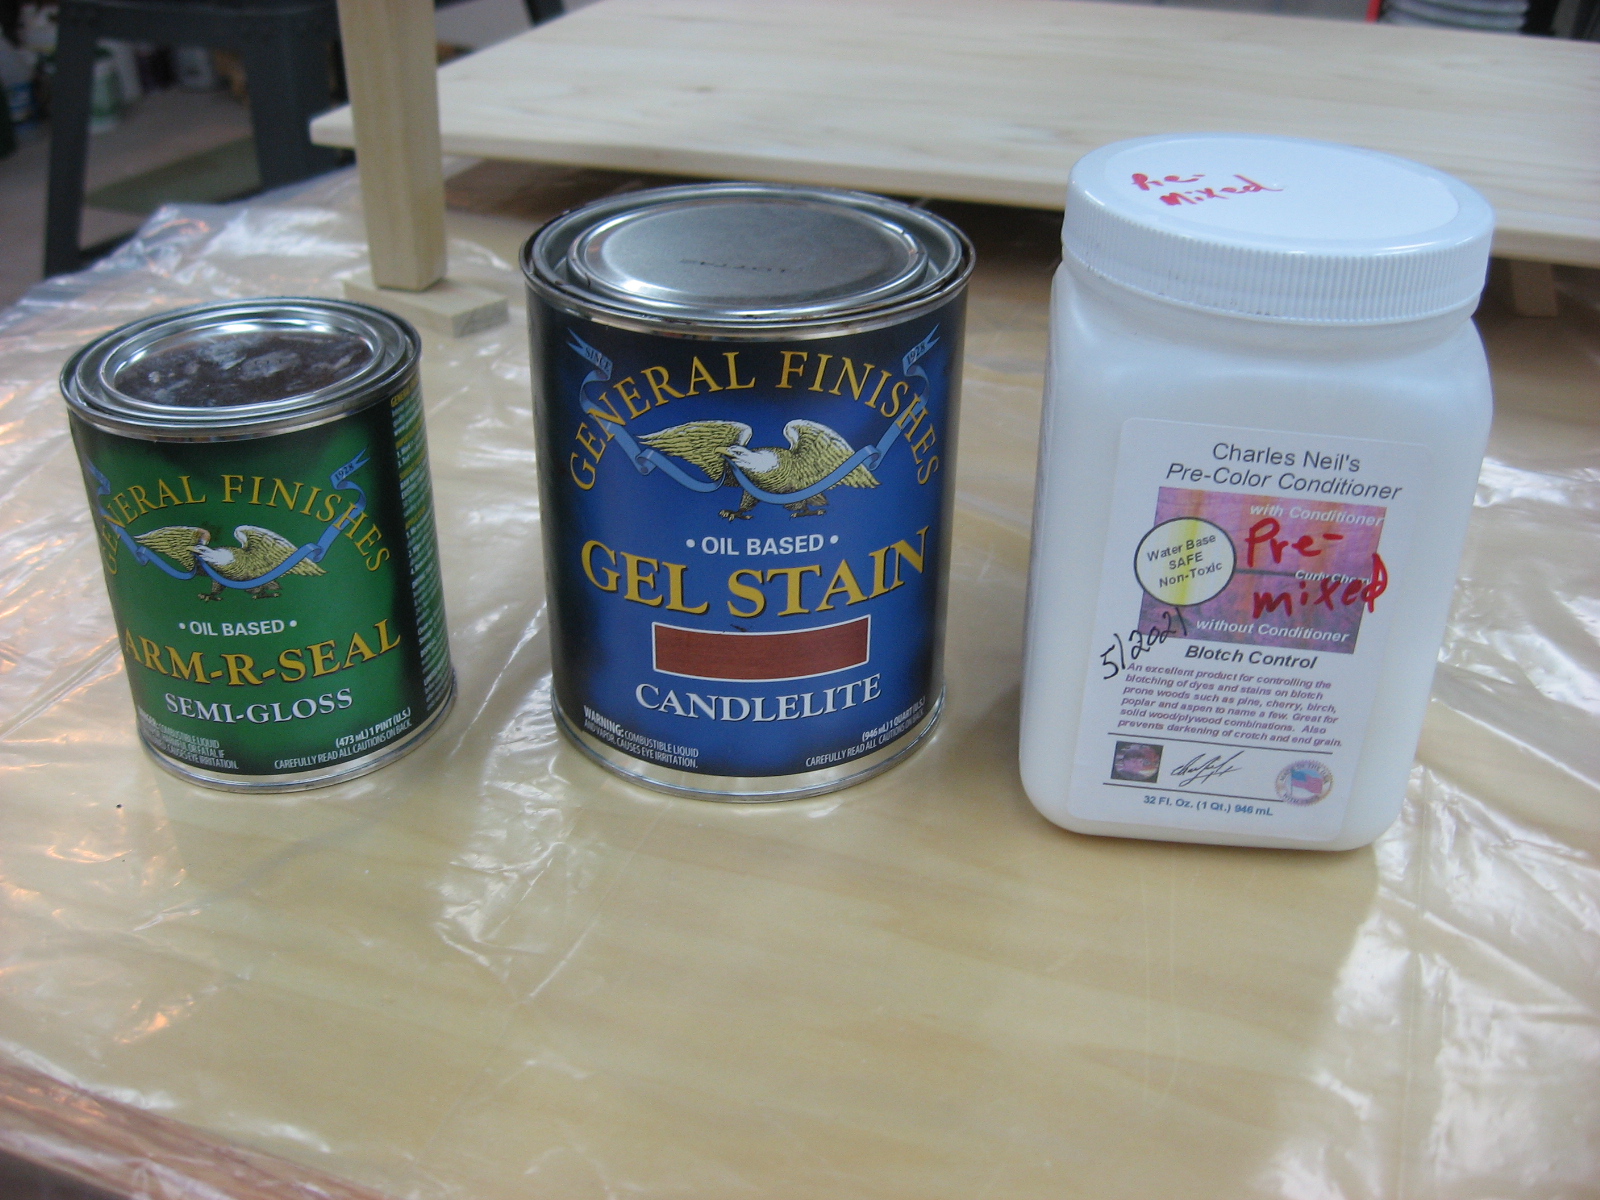
Honeoye Contemporary Console This cabinet was built in May of 2021 for our lake house and will sit under the wall mounted TV. The design is contemporary with open staggered shelves. The entire project was made with Poplar wood. The shelves are 14" wide so it was necessary to rip and join boards with glue and biscuits. The shelves were set into the sides with dados with glue. The front and back are equally faced with 1 1/8" trim pieces, giving the overall appearance of thicker material. I began the finishing with 2 coats of Charles Neil's pre-color conditioner, then applied a coat of General Finishes Candlelite oil based Gel Stain. (first time I've used gel stain and I was amazed how easy and well it went on and covered the wood). I then applied 4 coats of General Finishes Arm-R-Seal. (first time for Arm-R-Seal as well and I may never go back to Minwax Polyurethane) The SketchUp Model is available for download HERE.
|
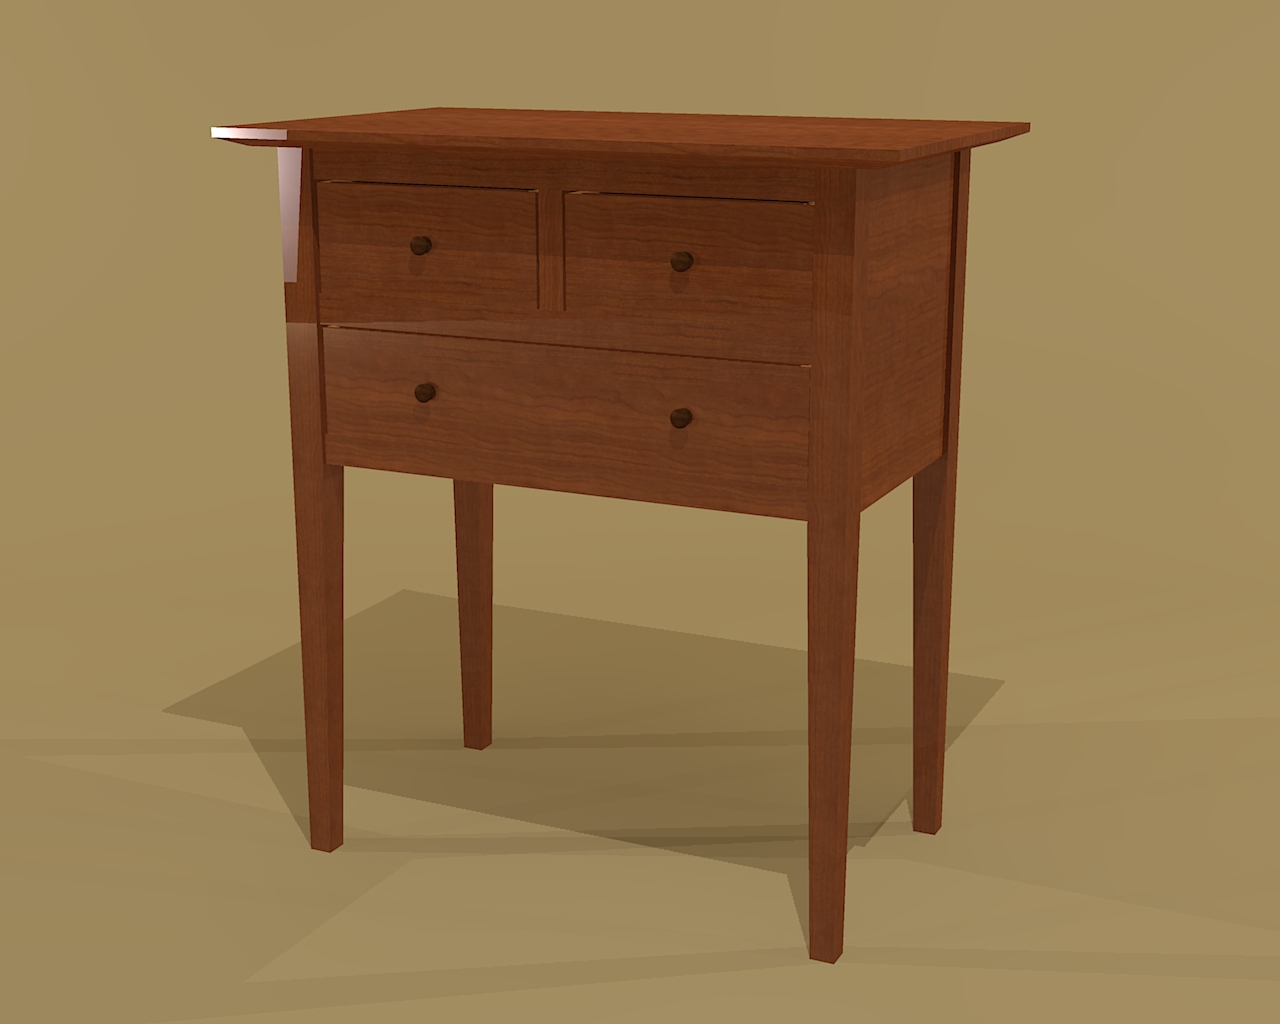  |
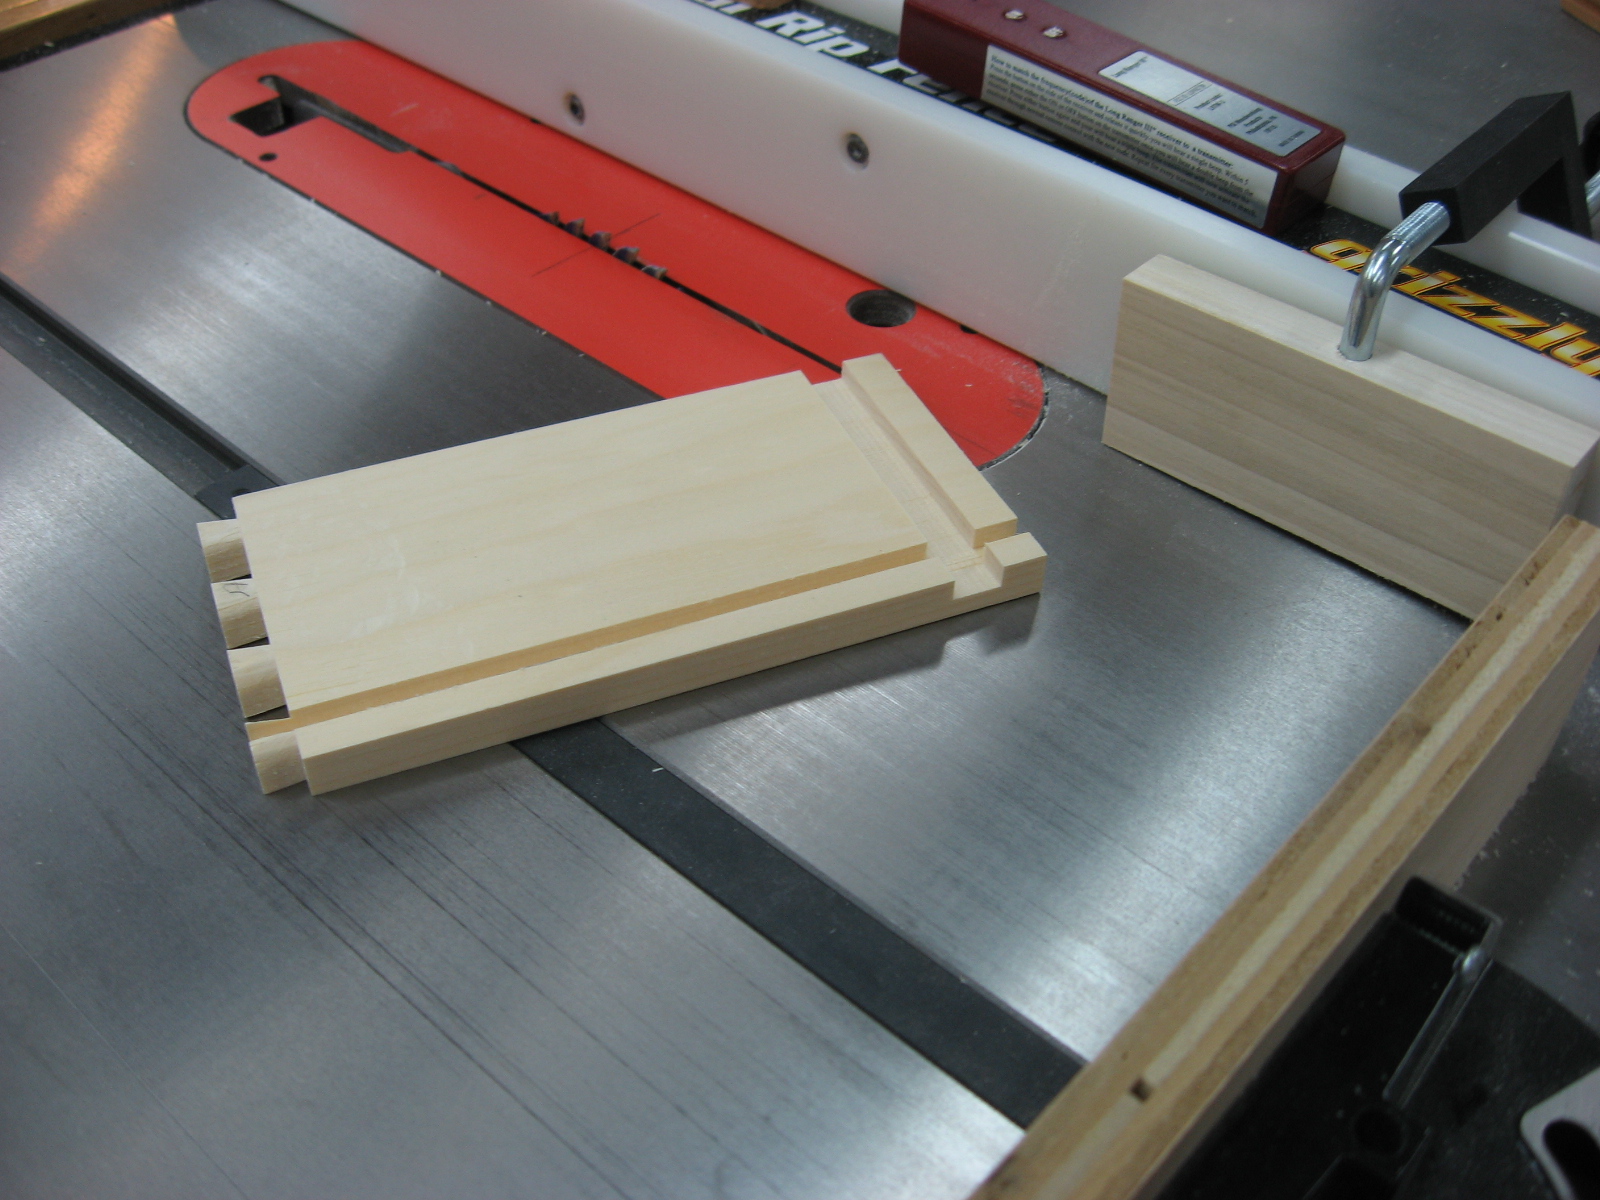
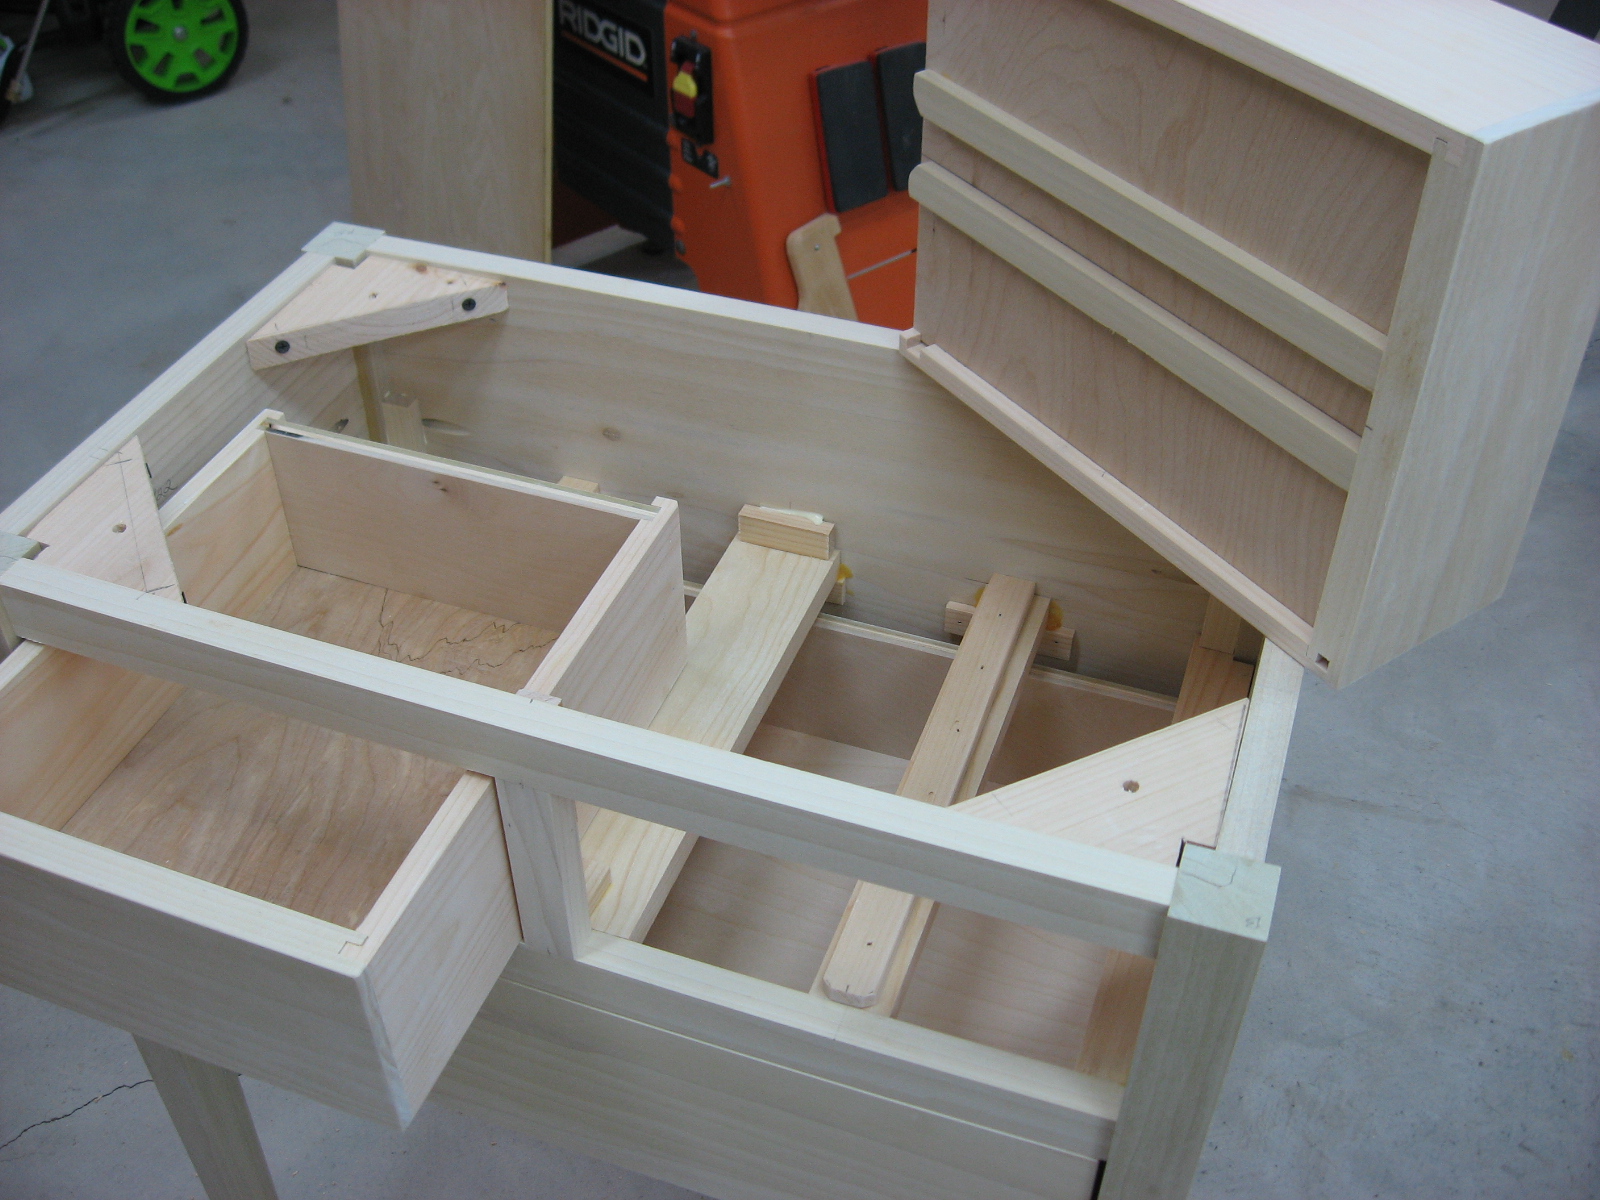
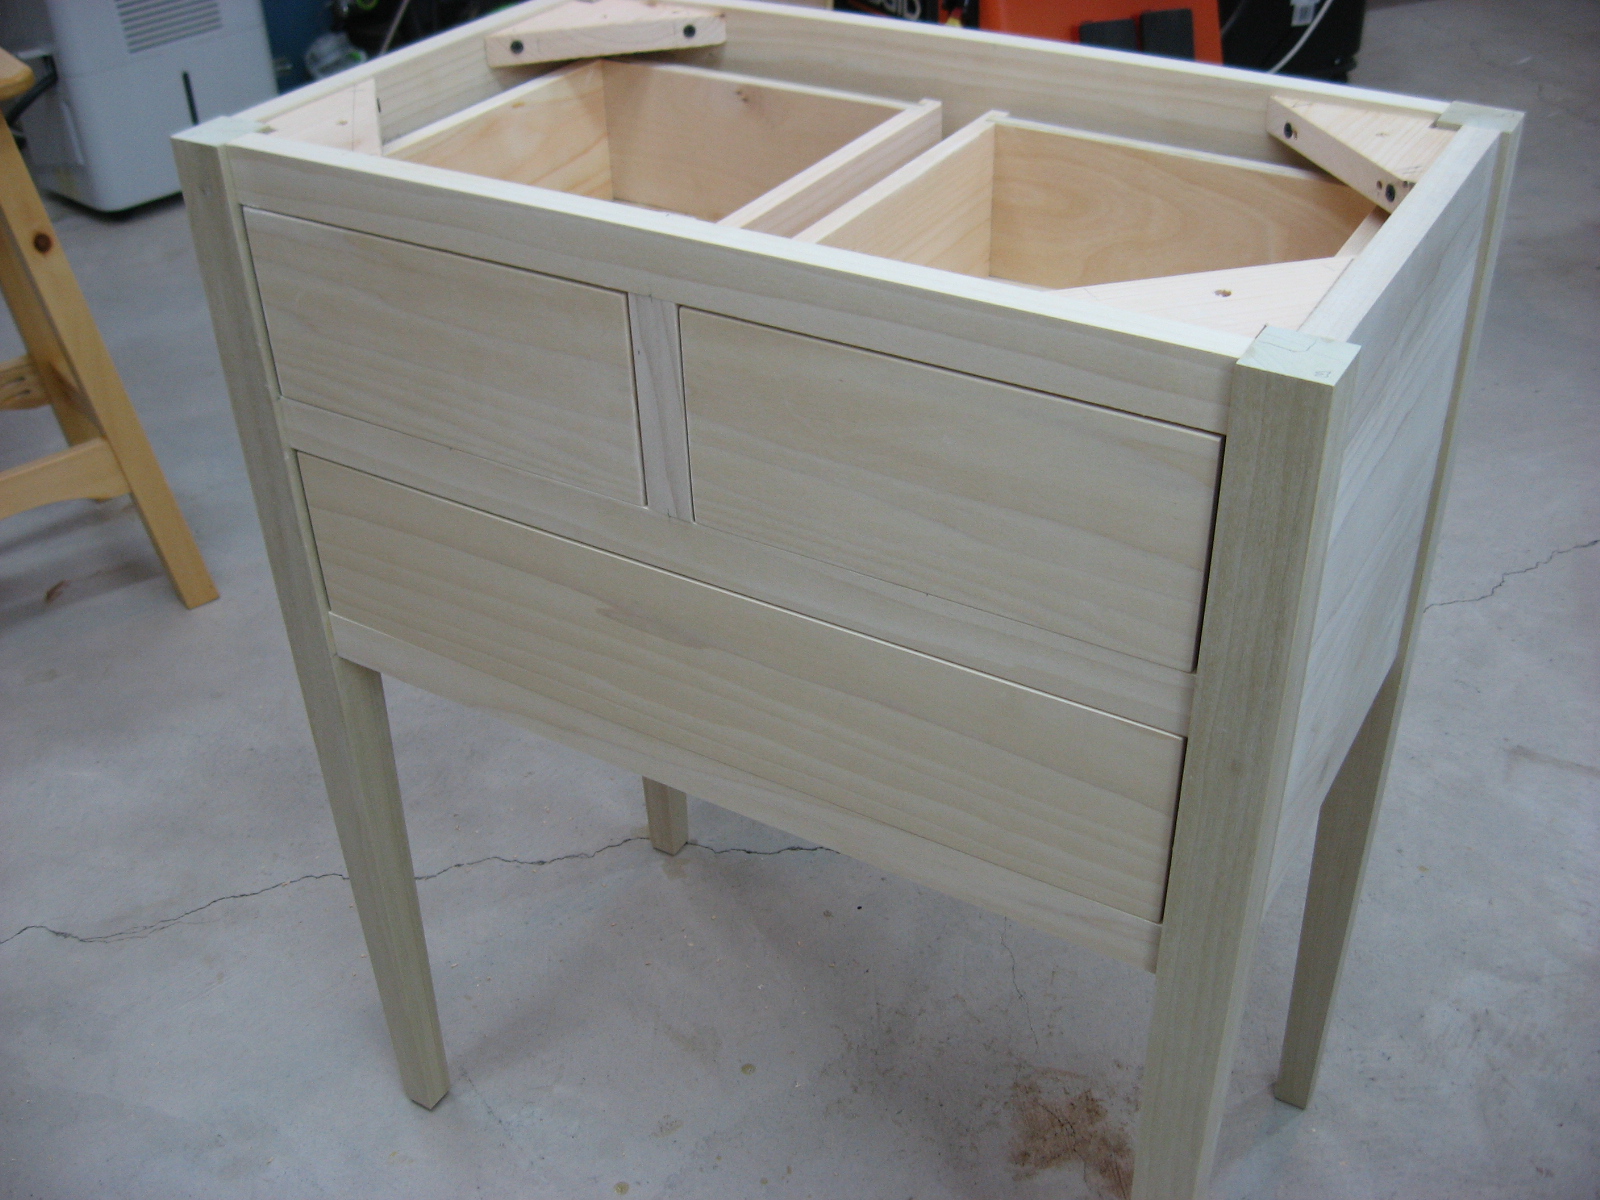
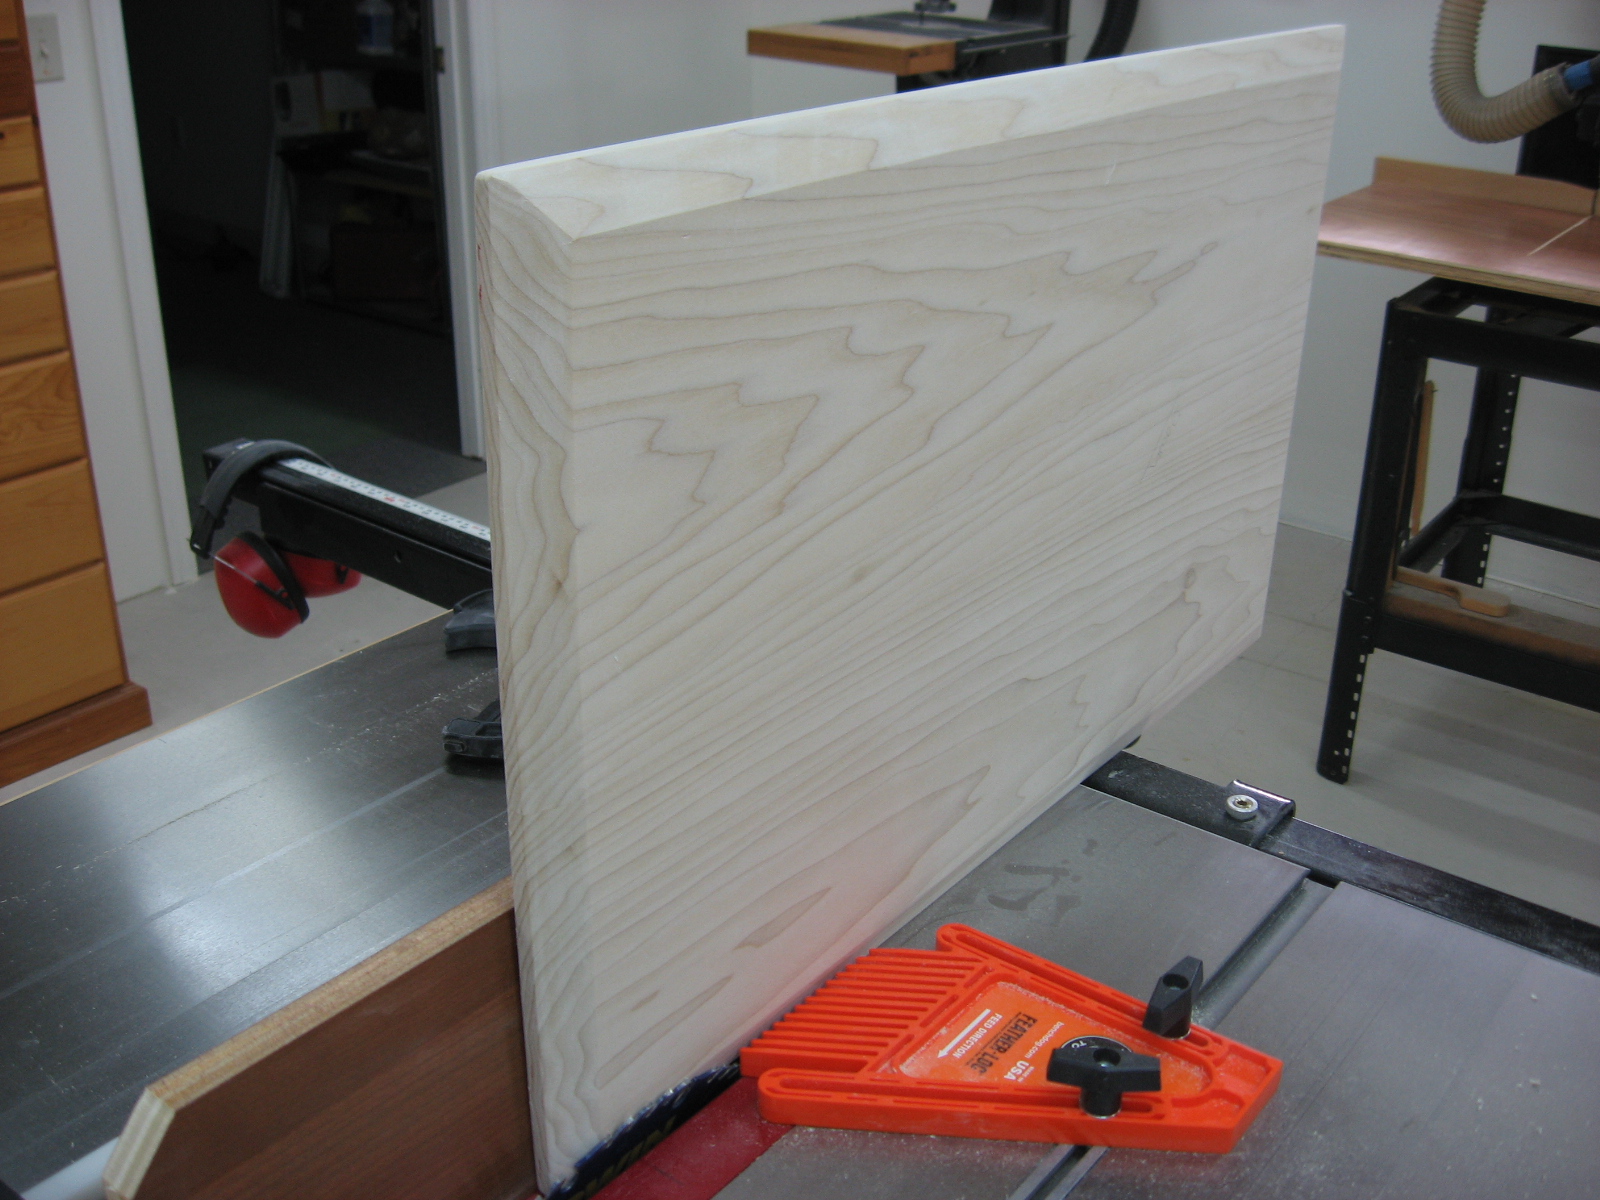
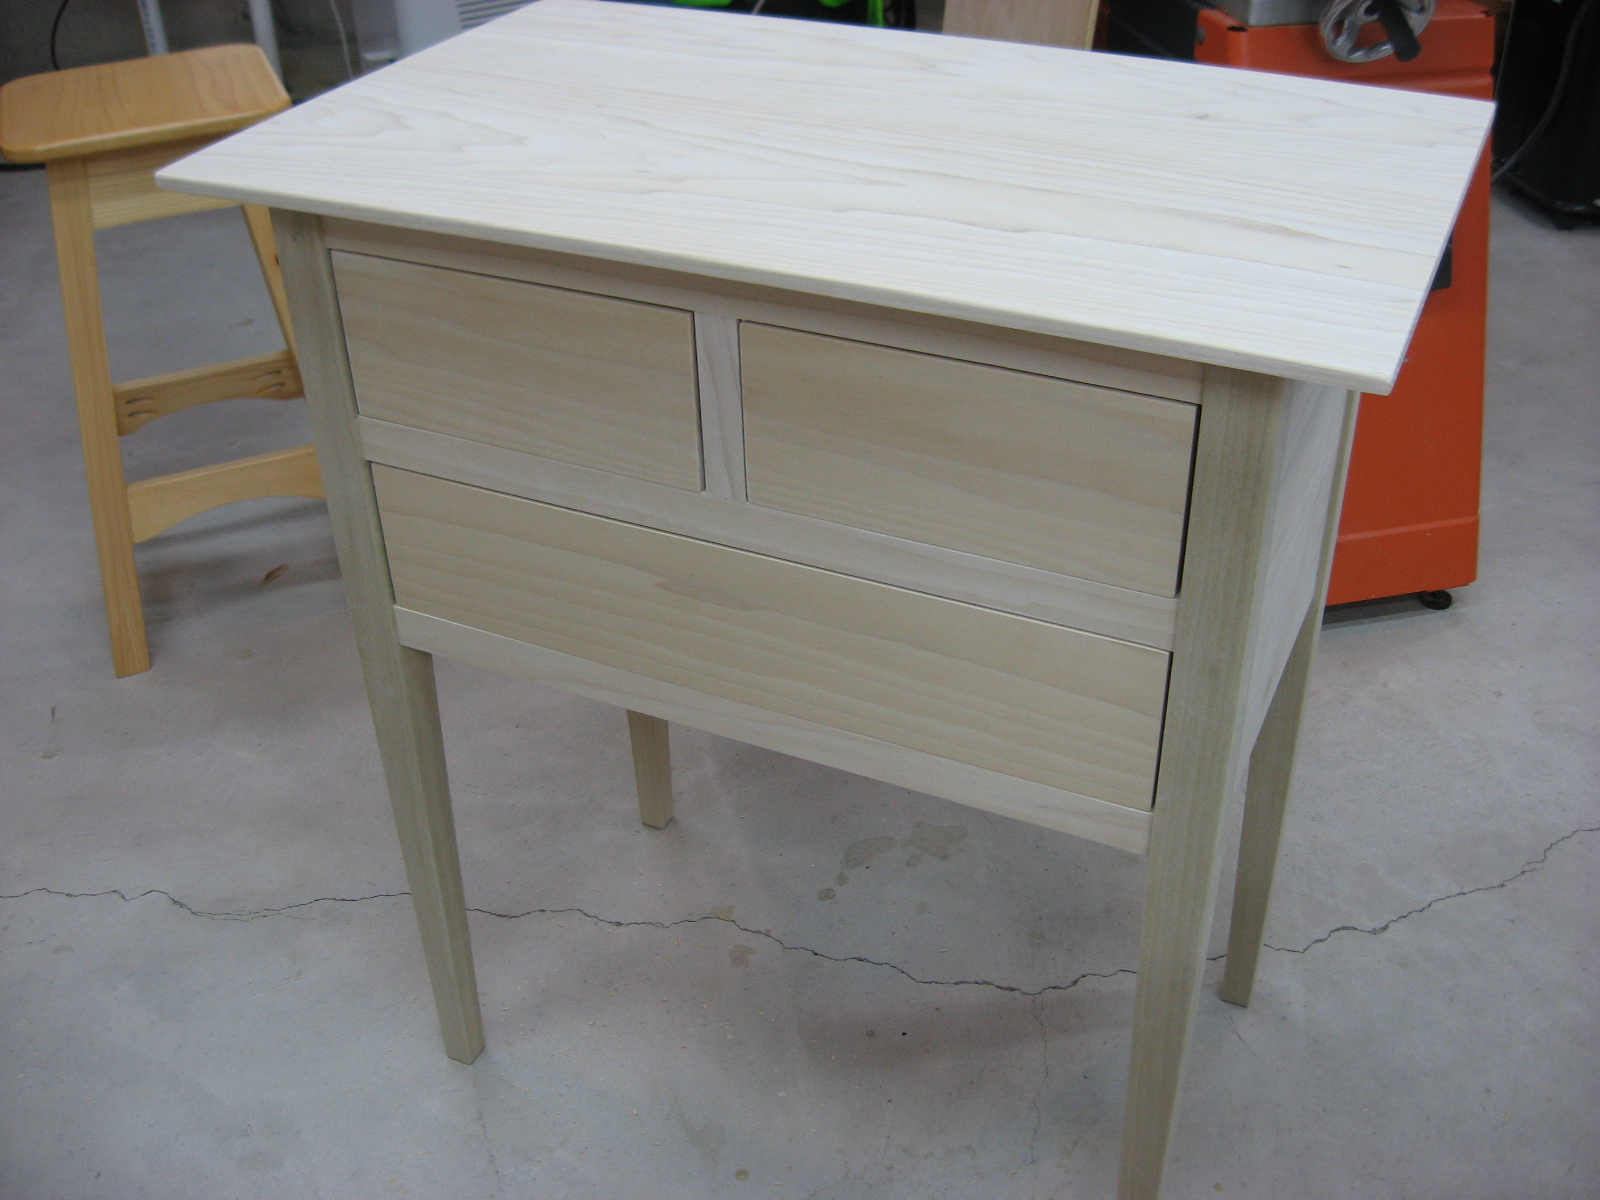
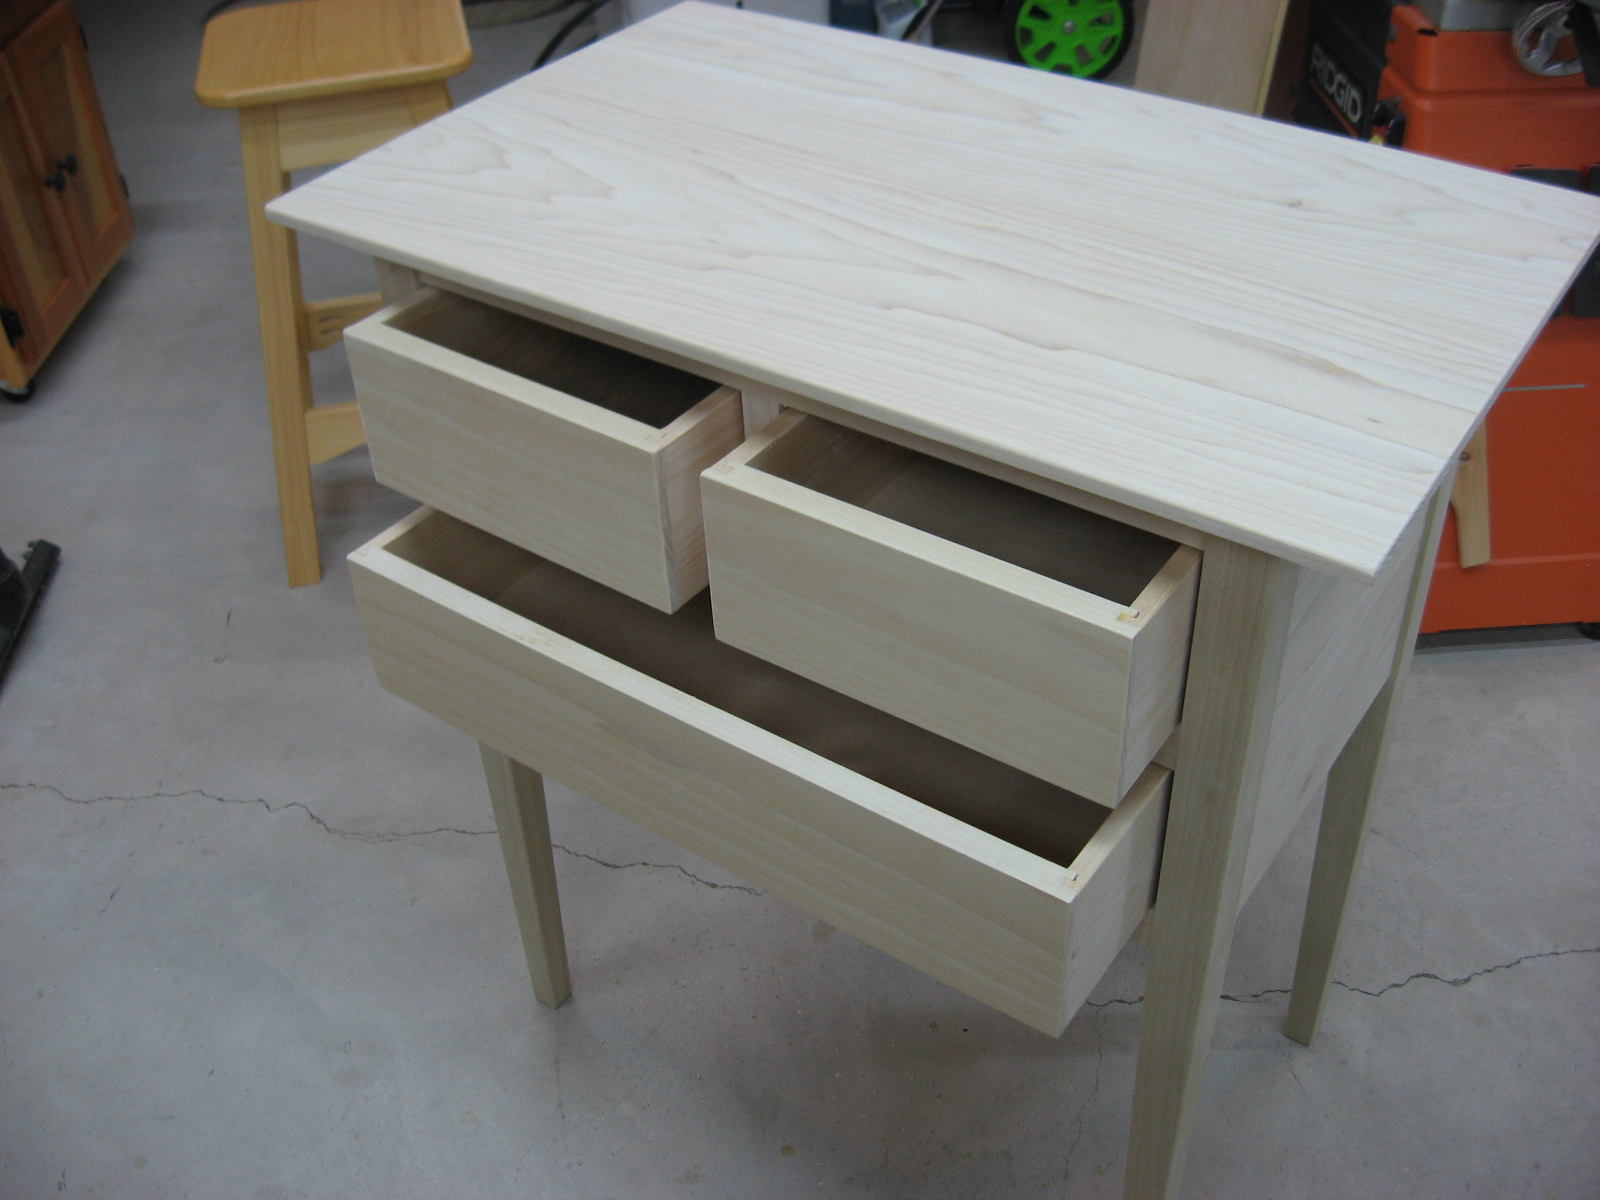
Honeoye Hall Table This table was built in March of 2022 for our lake house. The design is Shaker style with tapered legs and a set of 3 drawers. The total construction time was about 24 hours. The project was made using Poplar wood. The aprons and front rails are attached using pocket-hole screws rather than mortise and tenon joinery. I also designed the table with a set of 3 drawers rather than a more traditional 1 drawer. The legs are constructed using two 3/4" boards, glued, then tapered at the lower end below the bottom drawer. I used a simple shop made jig (see photo below) to cut the tapers on the table saw. The drawer front joinery was done with a half blind locking rabbet joint and was done on the table saw with a dado blade. I began the finishing process with 2 coats of Charles Neil's pre-color conditioner, then applied a coat of General Finishes Candlelite oil based Gel Stain. I then applied 4 coats of General Finishes simi-gloss Arm-R-Seal. The SketchUp Model is available for download HERE.
|